Best 2 Gluten Free Perogies Recipes


**Pierogies: A Culinary Journey through Eastern European Delights**
Hailing from the heart of Eastern Europe, pierogies have tantalized taste buds for centuries. These delectable dumplings, also known as vareniki in Ukrainian and kołduny in Polish, are a testament to the region's rich culinary heritage. Pierogies are essentially pockets of dough filled with an array of savory or sweet ingredients, then boiled, pan-fried, or baked to perfection. In this comprehensive guide, we embark on a culinary journey, exploring the diverse fillings and cooking methods that bring these dumplings to life. From the classic potato and cheese filling to the more adventurous sauerkraut and mushroom variation, pierogies offer a symphony of flavors that cater to every palate. Whether you prefer the traditional boiled method or the crispy delight of pan-fried pierogies, this article provides step-by-step instructions to create these Eastern European gems in the comfort of your own kitchen. So, don your apron, gather your ingredients, and prepare to be swept away by the irresistible charm of pierogies.
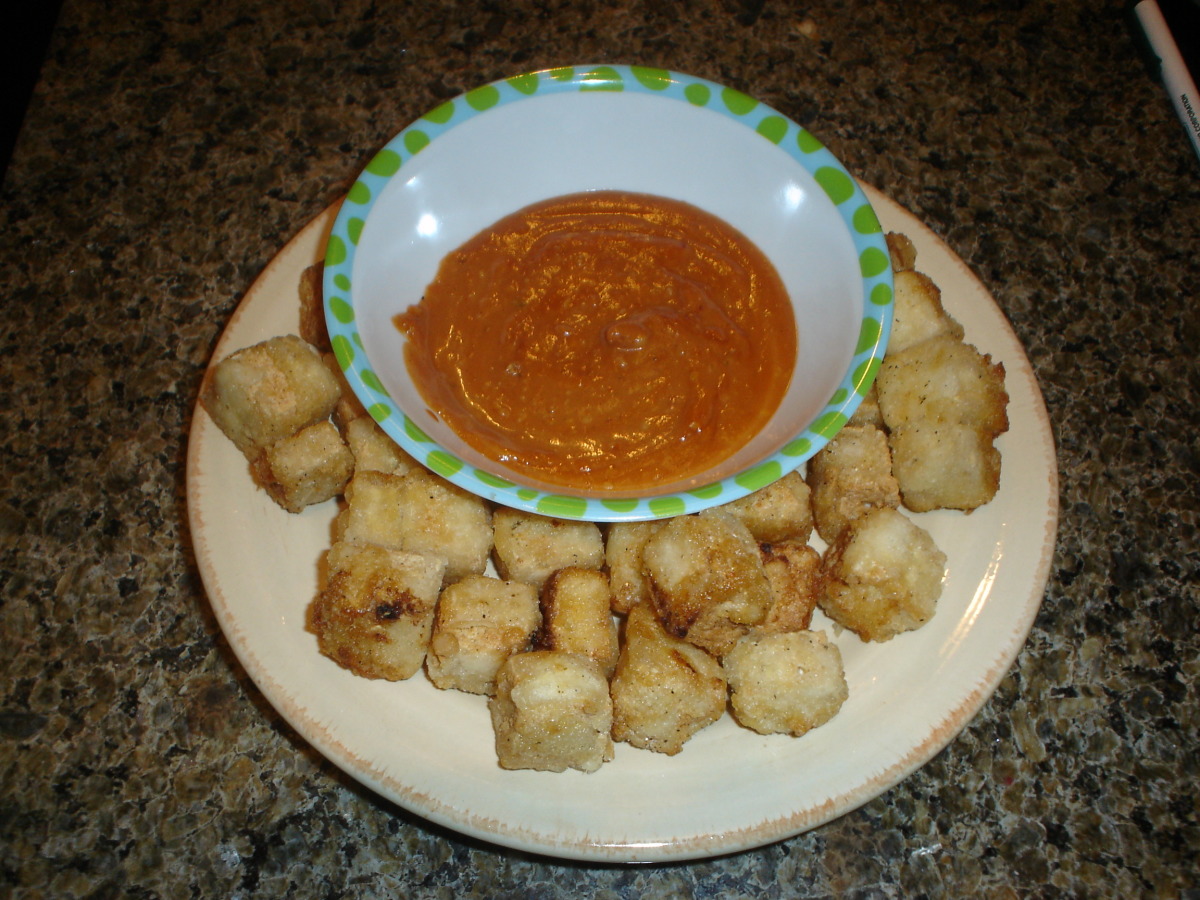
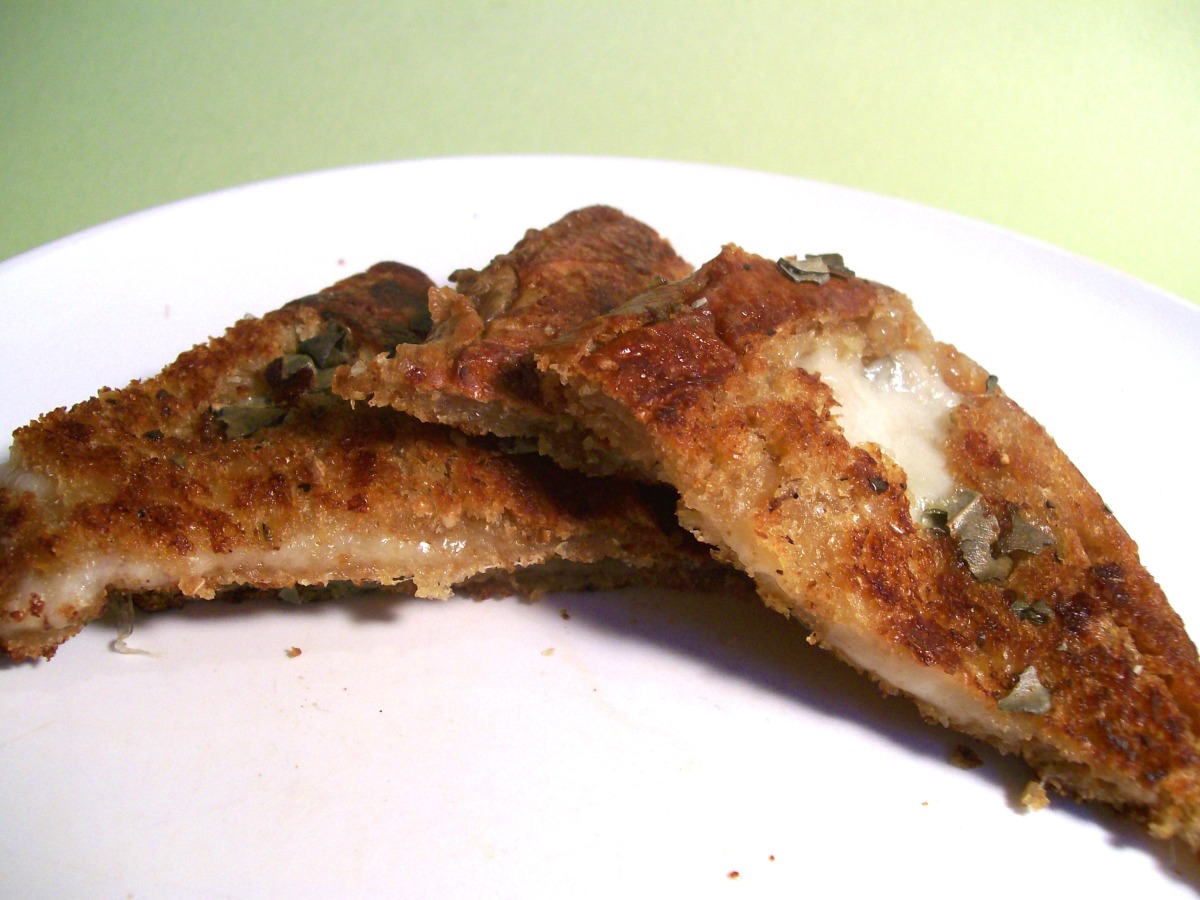
GLUTEN FREE PEROGIES

I usually double or triple this recipe to keep on hand in the freezer for quick easy meals. They take a bit of work, but it's worth it! This recipe is taken straight from the pages of Gluten Free Anytime Special. However, here are some trial and error suggestions: Make sure you OIL not flour your board and cutters. That might seem obvious to some but I am used to making pastry and didn't think the first time I made these. If you flour instead of oil the edges of your perogies will not stay sealed. Freeze your perogies before you cook any of them. They hold up much better that way. Cook them for a few extra minutes after they started to float. Being used to store bought perogies, I assumed they were done as soon as they floated and they were still uncooked inside. Or at least double check one before you put all your condiments on them and pop them in the microwave for a couple of minutes if need be. I don't have a recipe that I use for filling. I usually just mash some potatoes with cheddar cheese and cottage cheese and add salt and pepper and chives. Whatever you use for filling is completely personal choice.
Provided by zepharum
Categories Canadian
Time 1h20m
Yield 6 serving(s)
Number Of Ingredients 12
Steps:
- Place first five ingredients in a blender and blend until smooth. Pour into a medium sized bowl.
- Sift and mix dry ingredients together and add to liquid mixture.
- Knead well with hands until dough is smooth.
- Cover and let stand while you make the filling.
- Roll thin on an oiled surface. Cut with 2 1/2 inch round cutter. Place teaspoonful of filling on each piece and seal edges tightly together.
- Drop perogies into boiling salted water. Boil for five minutes after the perogies float to the top of the water.
- Toss in melted butter and serve with onion, bacon bits and sour cream.
Nutrition Facts : Calories 297.5, Fat 6.3, SaturatedFat 2, Cholesterol 41.6, Sodium 550.2, Carbohydrate 49.5, Fiber 1.8, Sugar 0.7, Protein 9.7
GLUTEN FREE CHEDDAR BACON PEROGIES

This is a combination of several recipes I have tried over the years. My family prefers these to the perogies bought in Polish bakeries. I also use a rice based "cheddar" to make it dairy free.
Provided by Az B8990
Categories Polish
Time 1h10m
Yield 24 serving(s)
Number Of Ingredients 12
Steps:
- Filling:.
- Cook the onion in the butter until tender.
- Add onions and cheese to hot cooked potatoes and mash thoroughly.
- Add bacon, salt, and pepper to taste.
- Set aside, let cool to room temperature before using.
- Dough:.
- Mix flour and salt in a deep bowl.
- Add egg, mashed potatoes, melted butter, and enough water to make dough medium soft.
- Knead until smooth (use floured board).
- Divide dough into 2 parts, cover, let stand 10 minutes.
- Roll dough thin on floured board.
- Cut dough using a round cookie cutter or drinking glass.
- Place spoonful of filling in each circle - fold in half.
- Press edges together with fingers. If dough does not stick, dampen edges slightly.
- Place on floured board and cover with damp towel to keep moist.
- Place perogies in pot of rapidly boiling salt water - do not over crowd pot.
- Stir gently to keep from sticking - do not use a sharp spoon.
- Cook until perogies begin to float and are well puffed, about 3 minutes.
- Remove from pot and drain well.
- Continue to cook remaining perogies.
- If desired, after boiling fry with butter and chopped onions until slightly browned.
Nutrition Facts : Calories 113.6, Fat 5.8, SaturatedFat 3.6, Cholesterol 25.1, Sodium 192.4, Carbohydrate 11.7, Fiber 1.4, Sugar 0.7, Protein 4
Tips:
- Use a food processor to make the dough. This will save you time and effort, and it will also help to ensure that the dough is evenly mixed.
- If you don't have a food processor, you can make the dough by hand. Just be sure to mix the ingredients until they are well combined.
- Let the dough rest for at least 30 minutes before rolling it out. This will help the dough to become more elastic and easier to work with.
- When rolling out the dough, be sure to use a lightly floured surface. This will prevent the dough from sticking.
- If the dough is too sticky, you can add a little more flour. However, be careful not to add too much flour, or the dough will become dry and crumbly.
- When filling the pierogies, be sure to leave a little space around the edges. This will allow the pierogies to seal properly.
- To seal the pierogies, use a fork to press the edges together. You can also use a pierogi press or a dumpling maker.
- Cook the pierogies in boiling water for 3-4 minutes, or until they float to the top.
Conclusion:
Pierogies are a delicious and versatile dish that can be enjoyed by people of all ages. They are also relatively easy to make, especially if you follow the tips in this article. So next time you are looking for a new and exciting dish to try, give pierogies a try. You won't be disappointed.
Are you curently on diet or you just want to control your food's nutritions, ingredients? We will help you find recipes by cooking method, nutrition, ingredients...
Check it out »
#time-to-make #course #cuisine #preparation #occasion #north-american #main-dish #side-dishes #american #canadian #european #heirloom-historical #holiday-event #food-processor-blender #freezer #stove-top #dietary #gluten-free #oamc-freezer-make-ahead #free-of-something #equipment #small-appliance #number-of-servings #4-hours-or-less
You'll also love