Best 3 Essene Bread Raw Sprouted Bread Recipes


**Discover the Ancient Goodness: A Culinary Journey into Essene Bread and Its Sprouted Variations**
Throughout history, culinary traditions have celebrated the nourishing power of sprouted grains. Among these, Essene bread stands out as a testament to the ingenuity and health-conscious practices of ancient civilizations. Originating from the spiritual community of Essenes, this unique bread is crafted from a blend of sprouted grains and seeds, offering a delightful symphony of flavors and textures. Our curated collection of Essene bread recipes takes you on a culinary odyssey, exploring diverse variations that cater to various dietary preferences and tastes. From the classic Essene bread, a symbol of wholesome goodness, to the innovative sprouted buckwheat and quinoa bread, each recipe promises a unique sensory experience. With a focus on natural ingredients and mindful preparation, these recipes unlock the nutritional treasures of sprouted grains, inviting you to savor the essence of ancient wisdom in every bite. Embark on this culinary journey and rediscover the goodness of Essene bread, a testament to the enduring legacy of healthy and flavorful cuisine.
ESSENE BREAD
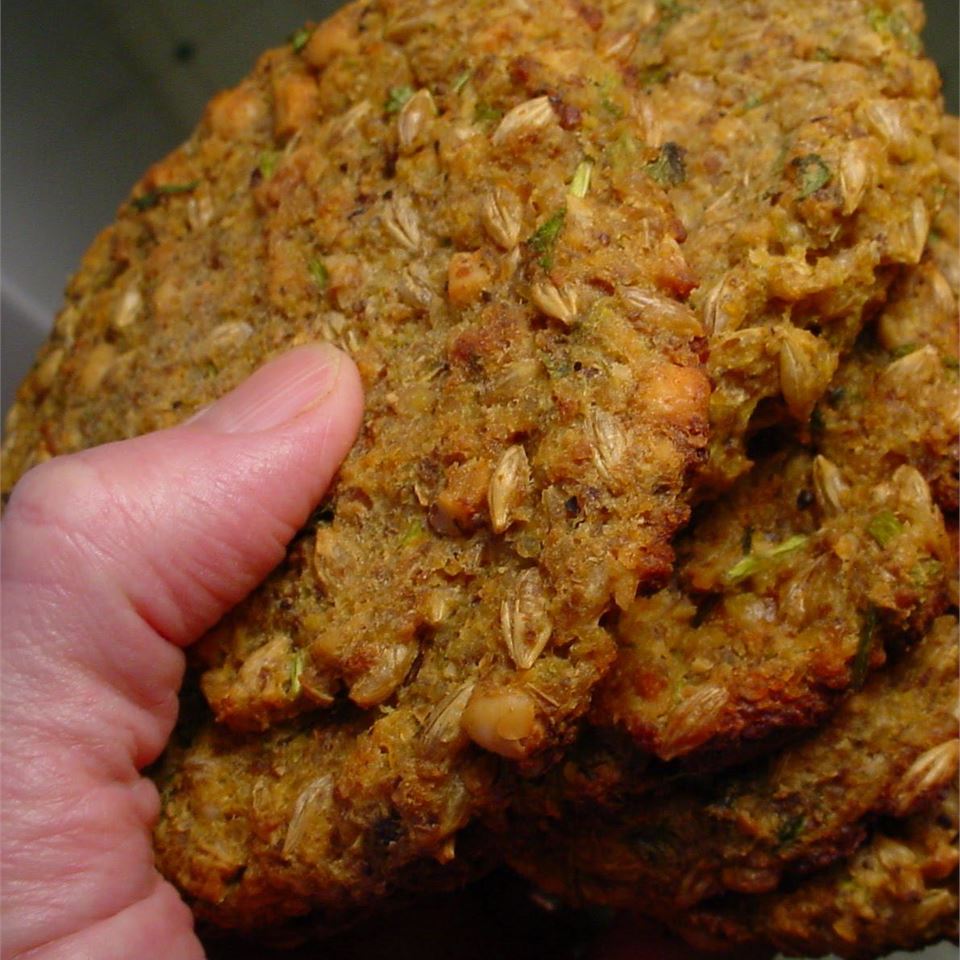
This is a sprouted bread recipe - very old, and said to have been created back in the biblical days. Also, this recipe literally, takes days to make. Your efforts and time will be well rewarded with a couple of the most singular breads-solid, sweet, and moist. Wheat berries are available from your local natural foods store. Traditionally, Essene bread was probably baked on hot rocks under scorching sunlight, but where I and most of us live, this is not possible. Baking at the oven temperatures which I suggest might destroy the sprout enzymes, but monitoring baking loaves for much longer than 2 hours is too long for me. Guaranteeing the preservation of the enzymes might require baking at a very low temperature for perhaps 4 hours. If you have the stamina, then go for it.
Provided by MARBALET
Categories Bread
Yield 12
Number Of Ingredients 3
Steps:
- Beginning several days before you hope to be eating this bread, rinse the wheat berries in cool water, drain and submerge the berries with cool water in a large bowl. Cover the bowl with a plate or cloth, and allow the berries to soak at normal room temperature overnight or for about 12 hours. The berries will soak up a considerable amount of water. Drain the berries in a colander, cover the colander with a plate to prevent the berries from drying out, and set it in a place away from light and where the sun won't shine on it. Rinse the berries about 3 times a day, and they will soon begin to sprout. In a couple of days the sprouts will reach their optimum length of about l/4 inch. Growth depends on moisture and temperature so be patient.
- Grind in a food mill or in a food processor.
- After grinding, dump the mushed up grain onto a clean work surface. Squeeze and knead the grain for about 10 minutes, and then form up 2 small round, hearth-style loaves with your hands. Sprinkle an insulated cookie sheet with a little bran or cornmeal, and put the loaves on it.
- Preheating the oven is not necessary. Cover the loaves with cloches, and bake at 350 degrees F (175 degrees C) for 30 minutes. Then turn the oven down to 325 degrees F (165 degrees C), and bake for approximately 2 hours and 15 minutes more. Allow the breads to cool thoroughly on cooling racks for several hours, and then, because of the high moisture content, store in the refrigerator. For best results, slice this bread thinly, or break with hands
Nutrition Facts : Calories 162.7 calories, Carbohydrate 34.6 g, Fat 1 g, Fiber 7 g, Protein 6.1 g, Sodium 0.1 mg
SPROUTED BREAD
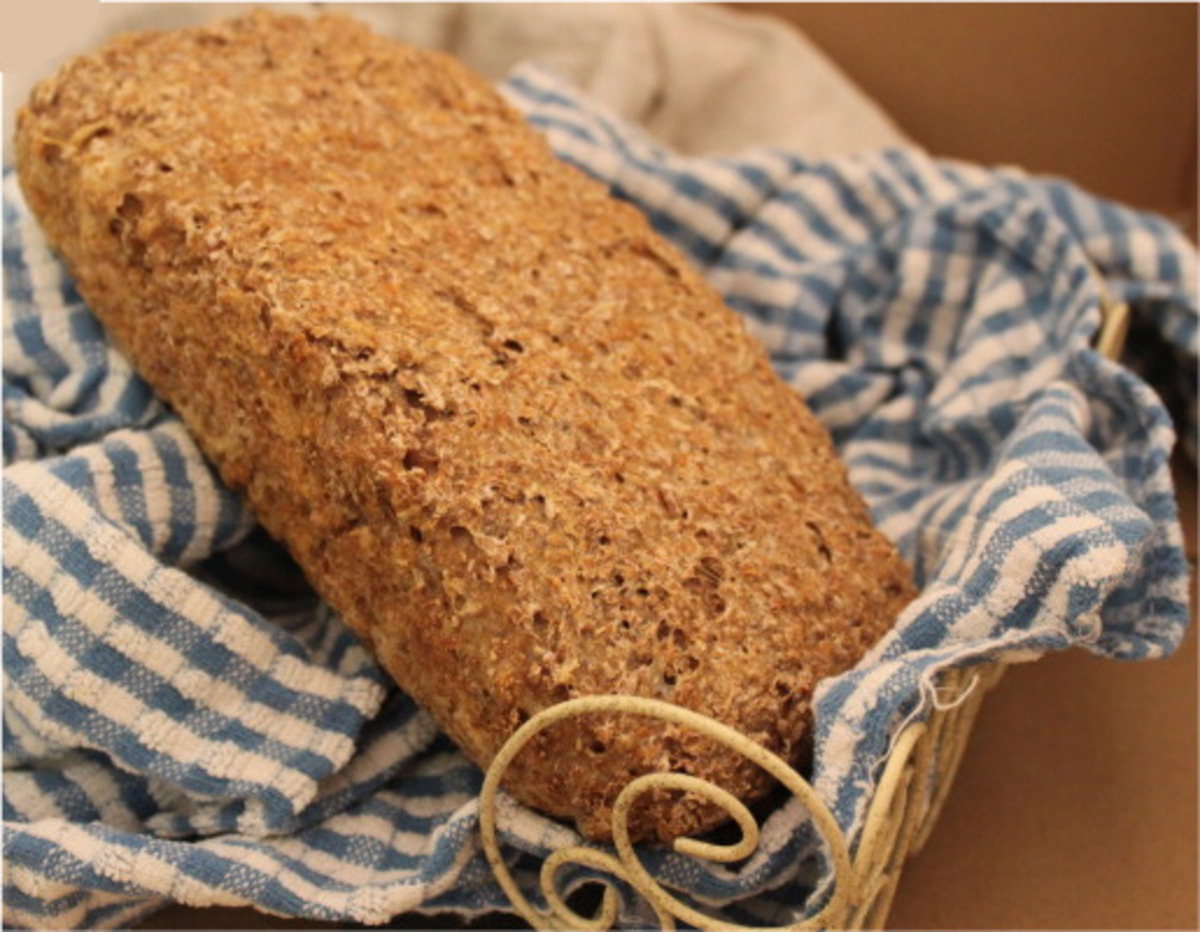
I was searching for a recipe for sprouted wheat berry bread, and I FINALLY found one from the Boston Globe. I made several minor changes, and for the sake of the nutritional analysis, that is how I am going to post it; but you can use any combination of grains, like some combination of wheat berries, rye berries, barley, spelt, lentils, soybeans, mung beans, or chickpeas. The weird measurement for the yeast is because I halved the original recipe, which called for one envelope. I used an eight-inch loaf pan, but that gave me a pretty flat loaf; next time I'd use a smaller one. If you use the measurements listed, you will get sixteen 70-calorie slices, or eight 140-calorie slices. This bread is dense and chewy; if you're looking for a light sandwich bread, this isn't it!
Provided by brokenburner
Categories Yeast Breads
Time P3DT50m
Yield 8-16 slices, 8-16 serving(s)
Number Of Ingredients 8
Steps:
- Two to three days before baking, soak the wheat berries in a container of cold water for 12 to 24 hours at room temperature.
- Drain them, return them to the container, cover with plastic wrap, and leave on the kitchen counter. Wait 2 to 3 days until the grains begin to sprout, rinsing and draining them once or twice so they are always damp. As soon as little tails appear, the wheat berries have sprouted and are ready. You can store them in the fridge until you are ready to make the dough.
- In a food processor, work the sprouted wheat berries into a pulp. If the processor starts to generate heat, give it a break before continuing.
- Combine the water with the almond milk. (You want the liquid to be room temperature, so if the almond milk was refrigerated, use boiling water.).
- Using the dough hook of an electric mixer, combine the sprout pulp, ALL of the vital wheat gluten, salt, yeast, honey, and half of the liquid. Mix on slow speed for 1 minute to bring the ingredients together into a ball, adding additional water as needed. Continue mixing 2 to 3 minutes, occasionally scraping down the bowl. The dough should form a sticky ball.
- Mist a work surface with a spray of water. Place the dough on the surface and knead with wet hands for 1 to 2 minutes. Although the dough will be sticky on the surface, it should have the strength and feel of normal bread dough. Form the dough into a ball and let it rest on the work surface for 5 minutes. Meanwhile, lightly oil a bowl.
- Resume kneading the dough for 1 minute with wet hands to strengthen it. The dough should have strength yet still feel soft, supple, and very tacky. Form the dough into a ball and transfer it to the bowl, rolling to coat with oil. Cover loosely with plastic wrap and let it rise at room temperature for 45 to 60 minutes or until it is about 1 1/2 times its original size.
- Line a loaf pan with foil (not necessary, but makes for an easier cleanup!), and / or spray with nonstick spray. Form the dough into a loaf shape and place it in the pan. Cover loosely with plastic wrap and let rise at room temperature for 45 to 60 minutes or until it is about 1 1/2 times its original size.
- Preheat the oven to 425 degrees. When you put the loaf in the oven, turn down the heat to 350 degrees. Bake for 20 minutes, rotate the loaf, and then bake for another 30 minutes, until the bottom of the loaf sounds hollow when it is tapped.
- Let cool on a wire rack for at least one hour before slicing.
Nutrition Facts : Calories 27, Fat 0.1, Sodium 147.2, Carbohydrate 3, Fiber 0.1, Sugar 2.2, Protein 3.8
ESSENE BREAD FOR THE BREAD MACHINE
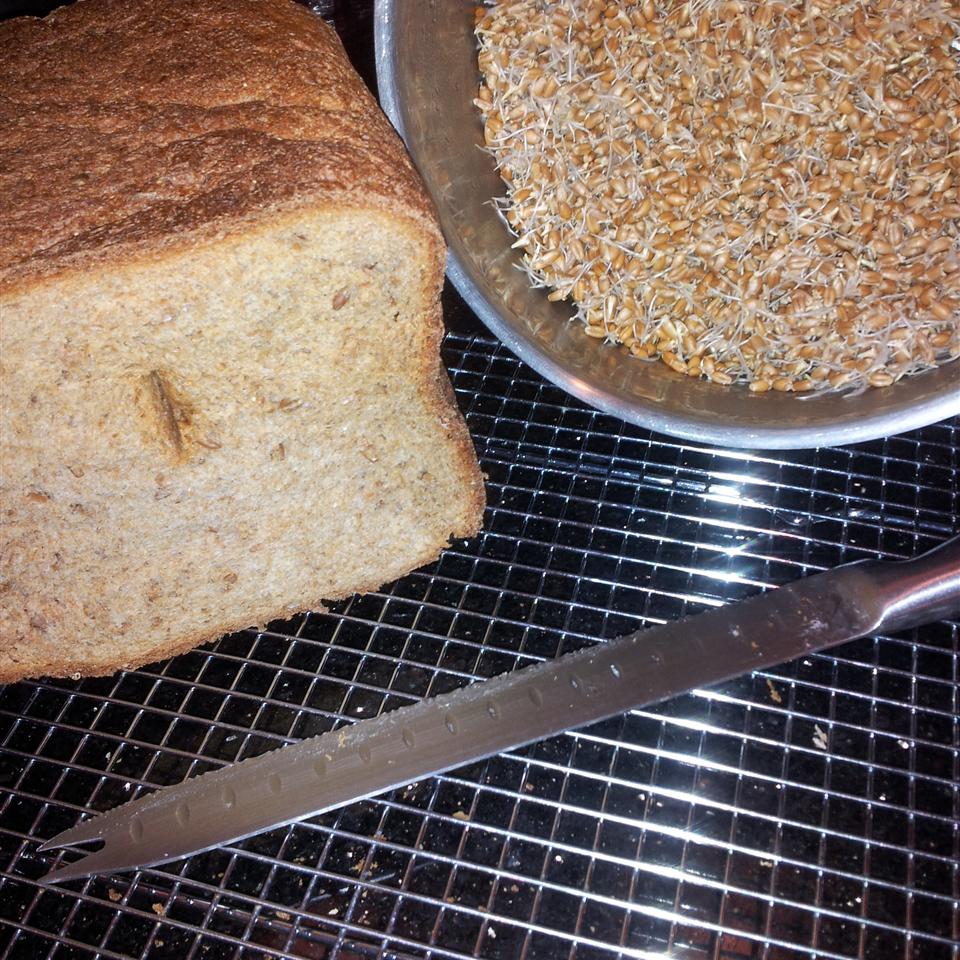
It will take several days for the wheat berries to sprout before you can use them in this recipe. The reward for your patience is a hearty loaf packed with protein. Special care needs to be taken with this bread and the instructions need to be followed very carefully.
Provided by MARBALET
Categories Bread Yeast Bread Recipes Whole Grain Bread Recipes Wheat Bread
Time P3DT11h20m
Yield 15
Number Of Ingredients 9
Steps:
- Beginning several days before you hope to be eating this bread, rinse 1/2 cup raw wheat berries in cool water; drain. Soak the berries with cool water in a large bowl. Cover the bowl with a plate or cloth, and allow the berries to soak at normal room temperature overnight or for about 12 hours. The berries will soak up a considerable amount of water. Drain the berries in a colander, cover the colander with a plate to prevent the berries from drying out, and set it in a place away from light. Rinse the berries about 3 times a day, and they will soon begin to sprout. In a couple of days the sprouts will reach their optimum length of about l/4 inch. Drain the sprouts and grind them in a blender or food processor.
- Place ingredients in the pan of the bread machine in the order recommended by the manufacturer. Select Whole Wheat cycle and Medium Crust setting; press Start.
- If your machine has a raisin cycle, you can put the sprouts in at the beep for more intact sprouts. If not, the bread may have a mushy consistency.
Nutrition Facts : Calories 104.2 calories, Carbohydrate 20.6 g, Cholesterol 12.9 mg, Fat 0.9 g, Fiber 3.1 g, Protein 4.9 g, SaturatedFat 0.2 g, Sodium 124.5 mg, Sugar 2.3 g
Tips:
- Activate Nuts and Seeds: Soaking nuts and seeds in water overnight or for at least 8 hours helps activate them, making them easier to digest and increasing their nutritional value.
- Use Fresh, High-Quality Ingredients: Choose organic, non-GMO ingredients whenever possible to ensure the best flavor and nutritional content.
- Experiment with Different Flours: Besides almond and sunflower seed flour, you can also try other gluten-free flours like coconut flour, buckwheat flour, or oat flour.
- Control Moisture: The amount of water or liquid you add may vary depending on the ingredients used. Adjust as needed to achieve the right consistency.
- Dehydrating Techniques: You can use a food dehydrator or your oven at a low temperature to dehydrate the bread. Make sure to check the bread regularly to prevent over-drying.
Conclusion:
Essene bread, a unique and nutritious alternative to traditional bread, offers a wealth of health benefits and is suitable for various dietary preferences. By following these tips and experimenting with different ingredients and techniques, you can create delicious and wholesome Essene bread that aligns with your dietary goals and preferences. Remember, the key to successful Essene bread making lies in carefully selecting high-quality ingredients, maintaining the right moisture balance, and using appropriate dehydrating methods. Embrace the joy of creating this ancient bread and enjoy its goodness as part of a balanced, healthy lifestyle.
Are you curently on diet or you just want to control your food's nutritions, ingredients? We will help you find recipes by cooking method, nutrition, ingredients...
Check it out »
You'll also love