Indulge in the delightful experience of homemade custard slices, a classic dessert that combines a crisp and flaky puff pastry with a velvety custard filling. This versatile treat allows for creative variations, from traditional vanilla custard to indulgent chocolate or fruity fillings. With our curated collection of recipes, you'll discover the secrets to crafting the perfect custard slice, whether you prefer a classic approach or a modern twist. From selecting the finest ingredients to mastering the art of blind baking and achieving the perfect custard consistency, we guide you through each step to create a dessert that will tantalize taste buds and leave you craving more.
Check out the recipes below so you can choose the best recipe for yourself!
CUSTARD (VANILLA) SLICE
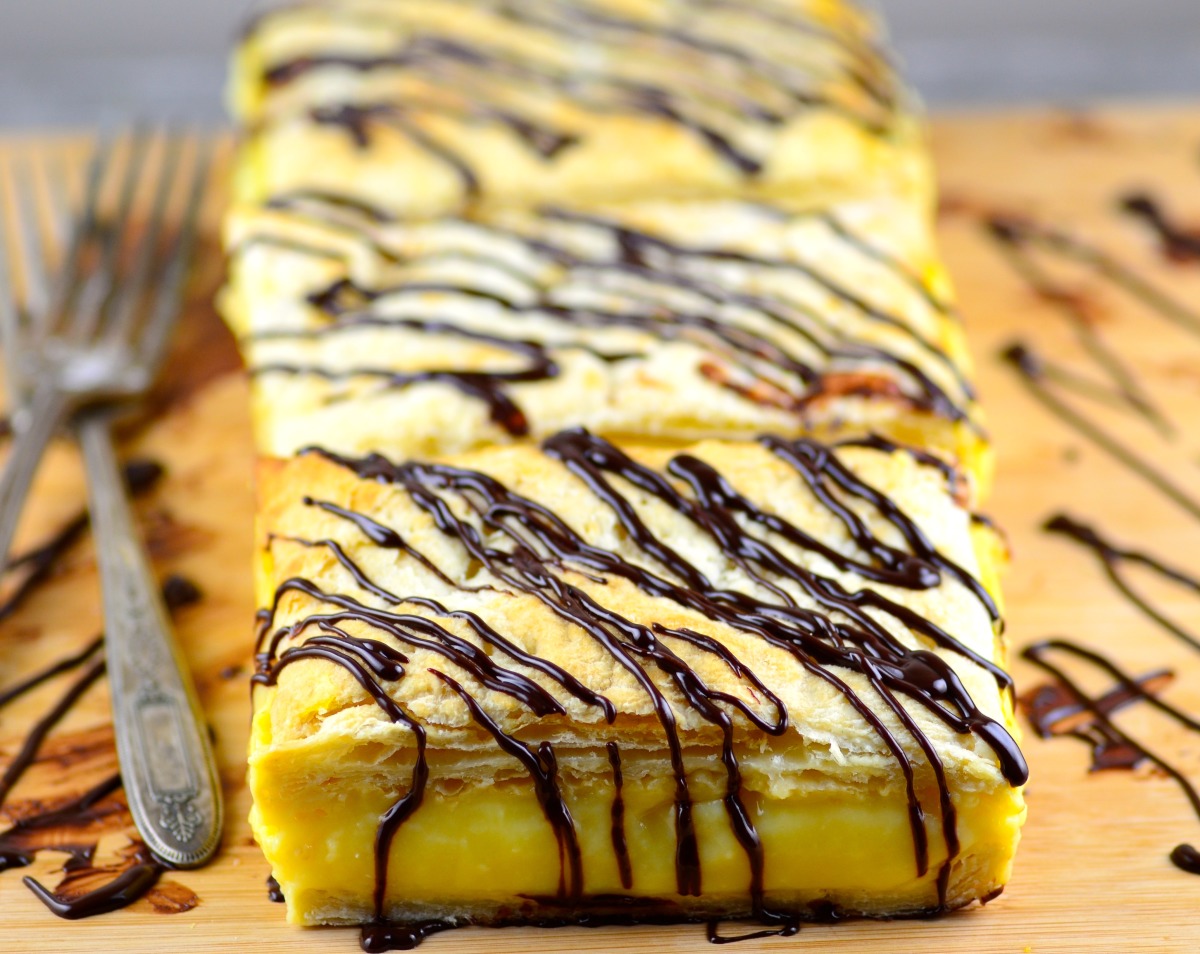
Easiest and yummiest custard slice you'll ever make! One of my friends is addicted to it and I have to bring it to every Girl's Night we have or else! My dad says it's the best he's ever tasted. You can try adding cocoa powder to make a choc custard. I haven't tried that yet.
Provided by katej76
Categories Dessert
Time 30m
Yield 16 serving(s)
Number Of Ingredients 5
Steps:
- Place piece greaseproof paper onto a flat biscuit tray and spray with cooking spray. Put a sheet of puff pastry on tray and pierce all over with a fork, but don't go all the way through pastry.
- Put in oven about 200°C until puffed up and golden.
- Let cool for a few minutes and gently push pastry down (I use a teatowel so my hands don't get burned) so it's flat. Take it off baking tray and remove paper.
- Put pastry into a square dish that has been greased and lined with greaseproof paper. If pastry too big trim the sides a little. It should be a snug fit.
- Bake second sheet of pastry, remove the paper and set pastry to one side until custard is done.
- For the custard, put the sugar and custard powder into a large saucepan and mix together with a wire whisk.
- Add the milk and mix to combine well.
- Put saucepan on stovetop and heat on medium high until mixture begins to thicken, then lower the heat until mixture is very thick and hard to stir. I find using the wire whisk until mix begins to thicken prevents lumps, then use a spoon to stir it.
- Add vanilla and mix well then pour into prepared dish.
- Smooth top so it's even and put 2nd pastry sheet on top.
- The icing amount depends on how thick a layer you want it, but I usually melt about 1 tablespoon of butter with 1 teaspoon boiling water. Then I add icing sugar, passionfruit pulp and a bit of water or lemon juice until it's the right consistency and amount--you don't want it too runny.
- Pour the icing on top and put in fridge for a few hours or overnight.
- Cut into squares and enjoy!
Nutrition Facts : Calories 258.1, Fat 13.9, SaturatedFat 4.3, Cholesterol 8.5, Sodium 106.5, Carbohydrate 29.2, Fiber 0.5, Sugar 12.8, Protein 4.2
CUSTARD SLICE
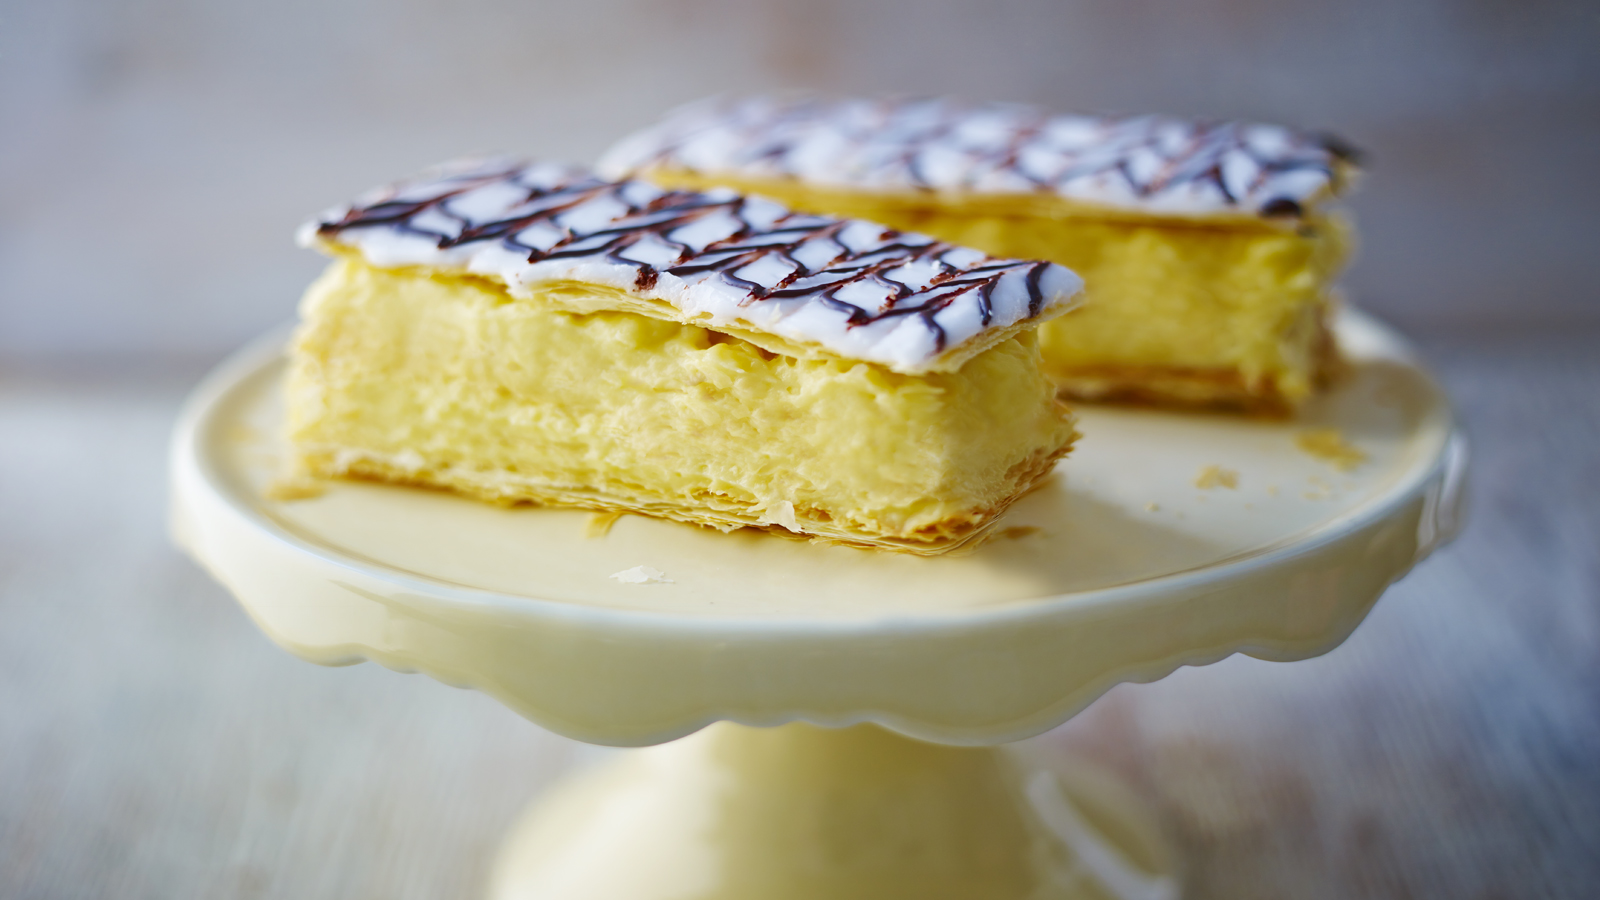
A real teatime indulgence, this custard slice recipe will certainly bring back memories. Our own great British pâtisserie!
Provided by Paul Hollywood
Categories Cakes and baking
Yield Makes 8 slices
Number Of Ingredients 13
Steps:
- In a large bowl mix the flour and salt together. Rub in a third of the butter until the mixture resembles fine breadcrumbs. Then roughly rub in the remaining butter, leaving large lumps.
- Add the water a little at a time until the pastry just binds together (you may not need all the water).
- Tip the pastry out onto a floured work surface. Roll into a narrow rectangle about 2.5cm/1in thick.
- With the pastry vertically in front of you fold the bottom third of the pastry up onto the middle third then the top third down onto the other thirds. This is called a turn.
- Wrap the pastry in cling film and place in the refrigerator to chill for 10 minutes
- Take out of fridge and with a rolling pin roll out again into a narrow rectangle and repeat the turn as before.
- Chill again and repeat the rolling and turning once more, so a total of three times. Wrap the pastry in cling film and return to the fridge to rest.
- While the pastry is resting, make the crème pâtissière. Pour the milk into a pan and add the split vanilla pod and its seeds. Bring the milk mixture to the boil, then remove from the heat.
- Whisk the sugar, egg yolks and cornflour together in a large bowl.
- Pour out a little of the hot milk onto the egg mixture, whisking continuously. Whisk in the rest of the hot milk until well-combined, then return to the pan.
- Cook the mixture over a gentle heat, stirring continuously, until the mixture becomes thick. It will just come to the boil.
- Remove from the heat and pass the mixture through a sieve into a clean bowl. Add the butter and stir until melted and thoroughly combined.
- Leave to cool, cover with clingfilm and then chill before using.
- Pre-heat the oven to 220C/425F/Gas 7. Line two baking trays with baking parchment.
- Divide the pastry into two equal pieces and roll out both pieces to 20cm/8in square and 5mm/¼in thick. Then place each pastry sheet onto the lined baking trays, and chill for 10-15 minutes.
- Bake the pastry sheets for 10-15 minutes or until golden-brown and crisp. Set aside to cool.
- While the pastry bakes, line a deep 23cm/9in square baking tray with foil with plenty of extra foil at the sides. The extra foil allows you to lift out the assembled slices.
- Place one pastry sheet in bottom of the lined baking tray. (Reserve the prettiest piece for the top.)
- Spread the crème pâtissière evenly onto the pastry in the baking tray before placing other piece of pastry, on top. Refrigerate while making the icing.
- For the icing, sift the icing sugar into a bowl. Stir in cold water until thoroughly combined and set aside.
- Transfer the melted chocolate into a piping bag fitted with a small plain nozzle, and set aside to firm up slightly.
- Take the custard slice from the fridge and spread the icing over the top layer of pastry.
- Using the piping bag, draw ten parallel lines along the top of the icing in one direction. Using a tooth pick, pull parallel lines about 2.5cm/1in across the melted chocolate and icing in alternating directions to create a feathered effect.
- Place the slice back into the fridge to set.
- Cut the finished vanilla slice into eight pieces.
- Using the foil carefully lift the portioned vanilla slices out of the tray and place onto a serving platter.
VANILLA CUSTARD SLICES

Sandwich creamy vanilla custard between two layers of crisp puff pastry in these golden slices. A luxurious patisserie addition to an afternoon tea.
Provided by Sarah Cook
Categories Afternoon tea, Dessert
Time 2h5m
Yield Makes 8
Number Of Ingredients 11
Steps:
- Heat the oven to 200C/180C fan/gas 6. Roll out 250g of the pastry on a sheet of baking parchment to about 25cm square. Scatter over half the almonds, then press them in very gently, dust with half the icing sugar and lay over a second sheet of baking parchment. Lift onto a baking sheet, and sit another baking sheet on top like a sandwich. Fill a few small tins with baking beans (or something similarly heavy and ovenproof, like uncooked rice). Bake for 30 mins, then have a quick peek - it will probably need another 5 mins to be well browned and crisp all over.
- Remove from the oven, take off the weights and top baking tray, then carefully lift off the top sheet of parchment and leave to cool. Repeat with the remaining pastry - you can do both sheets at once if you have enough baking sheets and tins, but they might not cook as evenly with two in the oven, so it is safer to do one at a time. Cool both completely.
- Put the gelatine in a bowl of cold water to soften, then put the remaining custard ingredients in a big saucepan. Set over a low heat to start, whisking continuously to mix well, then increase the heat a little until the custard is gently boiling. Keep whisking the whole time - the custard will thicken and lump unevenly, but keep cooking and whisking until it is smooth and very thick.
- Remove the custard from the heat and take out the vanilla pod. Squeeze out the water from the gelatine sheet, then stir it into the custard until it has dissolved.
- Line the base and sides of a 20cm square tin with baking parchment - criss-crossing two big strips will give you the neatest corners. Using a big, sharp knife and a ruler - or the base of your tin if it is removable - trim one pastry sheet to a shade under a 20cm square, so it will sit inside the tin, almond-side down. Spread over the custard as evenly as you can. Trim the second pastry sheet in the same way, but then divide the square into eight 10 x 5cm rectangles (so it will be easier when you cut the slices later). Sit them on top of the custard, almond-side up, putting them back together a bit like a jigsaw puzzle. Gently press down on the pastry so it doesn't break but sticks to the custard, then cover and chill for 4 hrs or so, but better still overnight.
- To serve, lift the slice from the tin and cut all the way through where the pastry top is already cut. Dust the slices with a little more icing sugar and serve. Best eaten within 24 hours, when the pastry is still good and crisp.
Nutrition Facts : Calories 658 calories, Fat 41 grams fat, SaturatedFat 21 grams saturated fat, Carbohydrate 62 grams carbohydrates, Sugar 29 grams sugar, Protein 10 grams protein, Sodium 0.7 milligram of sodium
Tips:
- Use room temperature ingredients: This will help the custard slice come together smoothly and evenly.
- Don't overmix the batter: Overmixing can make the custard slice tough.
- Bake the custard slice in a water bath: This will help prevent the custard from curdling.
- Chill the custard slice before serving: This will help it set and firm up.
- Serve the custard slice with your favorite toppings: Such as fresh fruit, whipped cream, or ice cream.
Conclusion:
Custard slice is a delicious and classic dessert that is perfect for any occasion. With its creamy custard filling and flaky pastry crust, it is sure to be a hit with everyone. So next time you are looking for a special dessert to make, give custard slice a try. You won't be disappointed!
Are you curently on diet or you just want to control your food's nutritions, ingredients? We will help you find recipes by cooking method, nutrition, ingredients...
Check it out »
You'll also love


