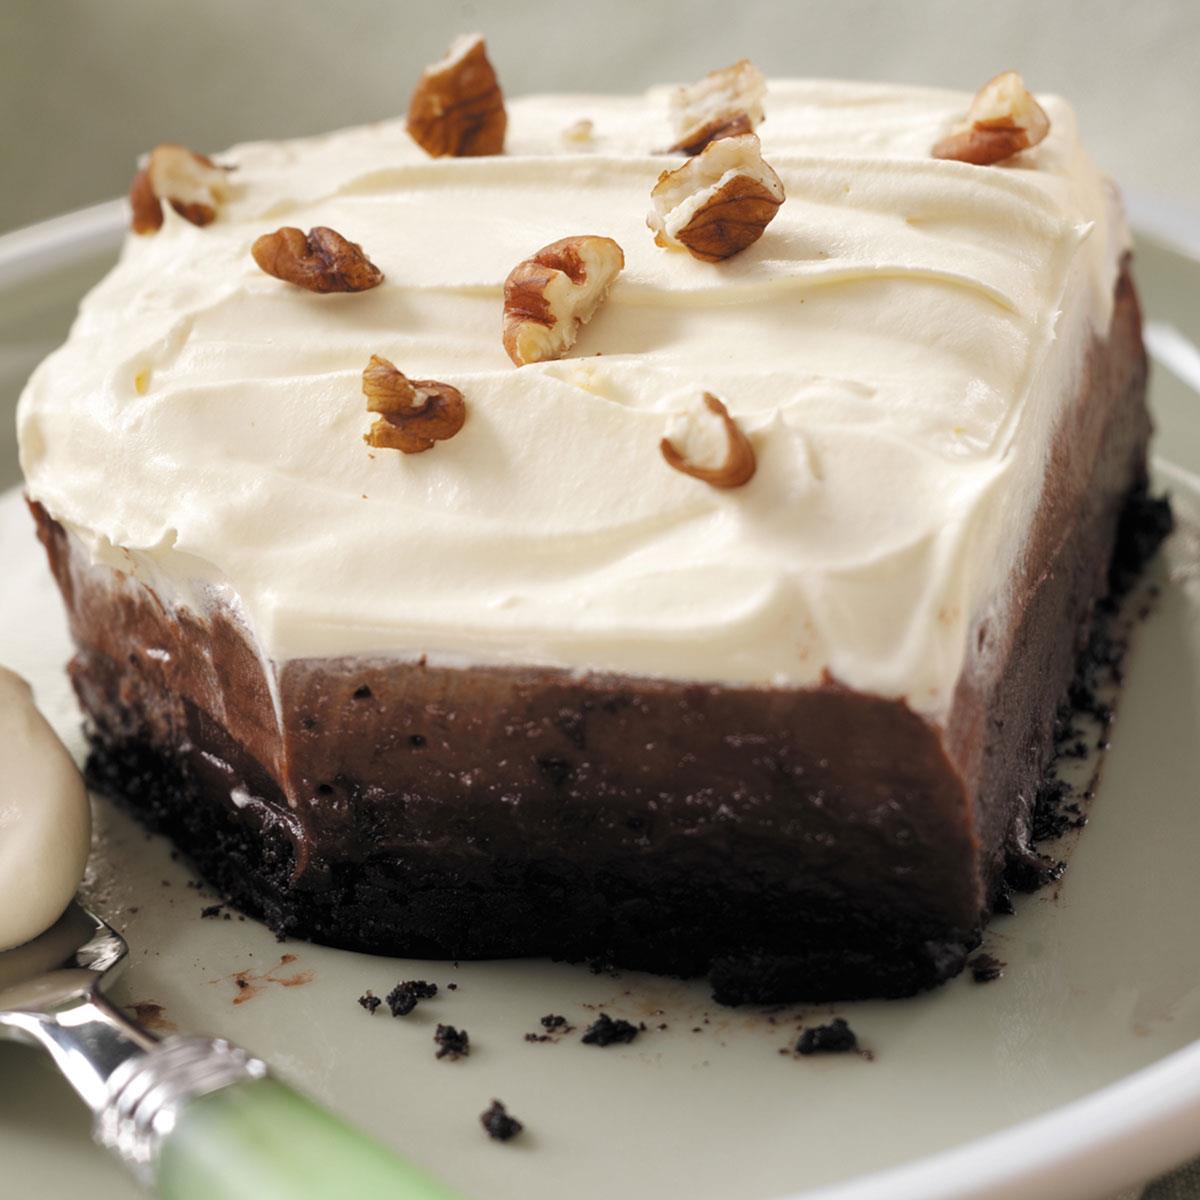
Indulge in the delightful world of blueberry pandowdy, a classic American dessert that combines the sweet and tangy flavors of juicy blueberries with a flaky, buttery crust. This iconic dish has been enjoyed for centuries and has variations across the United States. In this comprehensive guide, we present a collection of mouthwatering blueberry pandowdy recipes that cater to diverse tastes and preferences. From traditional New England-style pandowdy to unique takes with added spices and fillings, these recipes offer a perfect balance of flavors and textures. Whether you prefer a rustic, homey dessert or an elegant centerpiece for special occasions, our recipes will guide you in creating a memorable blueberry pandowdy experience.
Here are our top 2 tried and tested recipes!
BLUEBERRY PANDOWDY
Steps:
- Preheat oven to 375 degrees.
- In a mixing bowl, whip the cream until stiff peaks form. In a separate bowl, blend together the flour, baking powder and salt. Fold in the heavy cream until just combined. On a lightly floured surface, roll out the dough to 1/2-inch thickness. Set aside. In a separate bowl, toss the blueberries with the cinnamon, nutmeg and sugar. Transfer to a 9-inch baking dish and drizzle with molasses and butter pieces. Top with dough and tuck into the mixture. Cut vents in the top of the dough. Bake for 30 minutes or until golden. Serve with whipped cream sweetened with molasses.
APPLE & BLUEBERRY PANDOWDY
I love making a good pandowdy; however, I love eating them more. This pandowdy is a combination of apples and blueberries, but you could use a combination of just about any good fruits. The top crust is totally rustic, and just makes for an excellent presentation. In addition, a pandowdy does not have a bottom crust, so it's...
Provided by Andy Anderson !
Categories Pies
Time 1h15m
Number Of Ingredients 17
Steps:
- 1. THE CRUST
- 2. Gather your ingredients.
- 3. Place the almonds and sugar into a food processor, fitted with an S-blade.
- 4. Using 1-second pulses, pulse until finely ground.
- 5. Chef's Note: There is a fine line between finely ground, and making peanut butter. If you use 1-second pulses, you're controlling the process. I you just turn the food processor on and let it grind away, you are probably going to wind up with almond butter.
- 6. Add the flour, and salt.
- 7. Pulse the mixture to combine.
- 8. Take the cubed and chilled butter, and drop into the bowl of the food processor.
- 9. Give the mixture several 1-second pulses until the butter is reduced to pea-sized bits.
- 10. Add the ice water, one tablespoon at a time, and pulse each time, until the mixture comes together.
- 11. Chef's Note: Depending on the flour, the humidity, and other factors, the dough might come together after 3 tablespoons of water... 5 tablespoons of water, or even more. You don't want it sticky, you just want it to come together.
- 12. Shape the dough into a flattened round.
- 13. Chef's Note: Knead the dough on a lightly floured surface, to incorporate any dry ingredients.
- 14. Cover in cling film, and place in the refrigerator for a minimum of 1 hour.
- 15. THE FILLING
- 16. Gather your ingredients.
- 17. Peel the apples, and then cut into 1/2-inch pieces.
- 18. Add them to a bowl, and toss with the sugar and the lemon juice.
- 19. Add the butter to a large skillet, over medium to medium-high heat.
- 20. When the foaming subsides add the apples.
- 21. Stir until they become slightly softened, about 8 to 10 minutes.
- 22. Add the flour, cinnamon, and salt.
- 23. Stir the mixture until the liquid begins to thicken, about 2 minutes.
- 24. Remove the skillet from the heat, and fold in the berries.
- 25. Allow the mixture to completely cool before proceeding.
- 26. While the filling is cooling, remove the dough from the refrigerator.
- 27. Roll out on a lightly floured surface until 1/4 inch in thickness.
- 28. Cut into squares of varying sizes, about 2 to 3 inches.
- 29. Add the cooled filling to a pie pan of your choice.
- 30. Place a rack in the middle position, and preheat the oven to 425f (168c).
- 31. Arrange the dough squares in a random arrangement over the top.
- 32. Chef's Note: Leave some space between the squares to allow steam to escape.
- 33. Beat the egg.
- 34. Brush the egg mixture over the crust.
- 35. Sprinkle a bit of sugar over the top (optional).
- 36. Place the pandowdy in the preheated oven and bake for 25 minutes.
- 37. Reduce the temperature to 325f (128c)
- 38. Bake for an additional 35 minutes, until the filling is bubbly.
- 39. Chef's Note: If it looks like the crust is getting too brown, shield the top with a piece of foil.
- 40. Remove from oven and serve warm... maybe with some nice vanilla ice cream. Enjoy.
- 41. Keep the faith, and keep cooking.
Tips:
- Use fresh or frozen blueberries: Fresh blueberries are ideal, but frozen blueberries can also be used. If using frozen blueberries, thaw them before using.
- Don't overmix the batter: Overmixing the batter will result in a tough pandowdy.
- Bake the pandowdy until the crust is golden brown and the filling is bubbly: This will ensure that the pandowdy is cooked through.
- Serve the pandowdy warm with vanilla ice cream or whipped cream: This will make the pandowdy even more delicious.
Conclusion:
Blueberry pandowdy is a delicious and easy-to-make dessert that is perfect for any occasion. It is a versatile dish that can be served warm or cold, with or without ice cream or whipped cream. If you are looking for a classic American dessert that is sure to please everyone, blueberry pandowdy is the perfect choice.
Are you curently on diet or you just want to control your food's nutritions, ingredients? We will help you find recipes by cooking method, nutrition, ingredients...
Check it out »
You'll also love


