Best 2 Wild Yeast Sourdough Starter Recipes


Embark on a culinary journey into the world of sourdough starters with our comprehensive guide. Discover the art of creating and maintaining a wild yeast sourdough starter, a natural leavening agent that adds depth of flavor and texture to your baked goods.
This detailed article provides step-by-step instructions for crafting your own sourdough starter using simple ingredients like flour and water. Learn about the science behind the fermentation process and how to nurture your starter to achieve optimal activity.
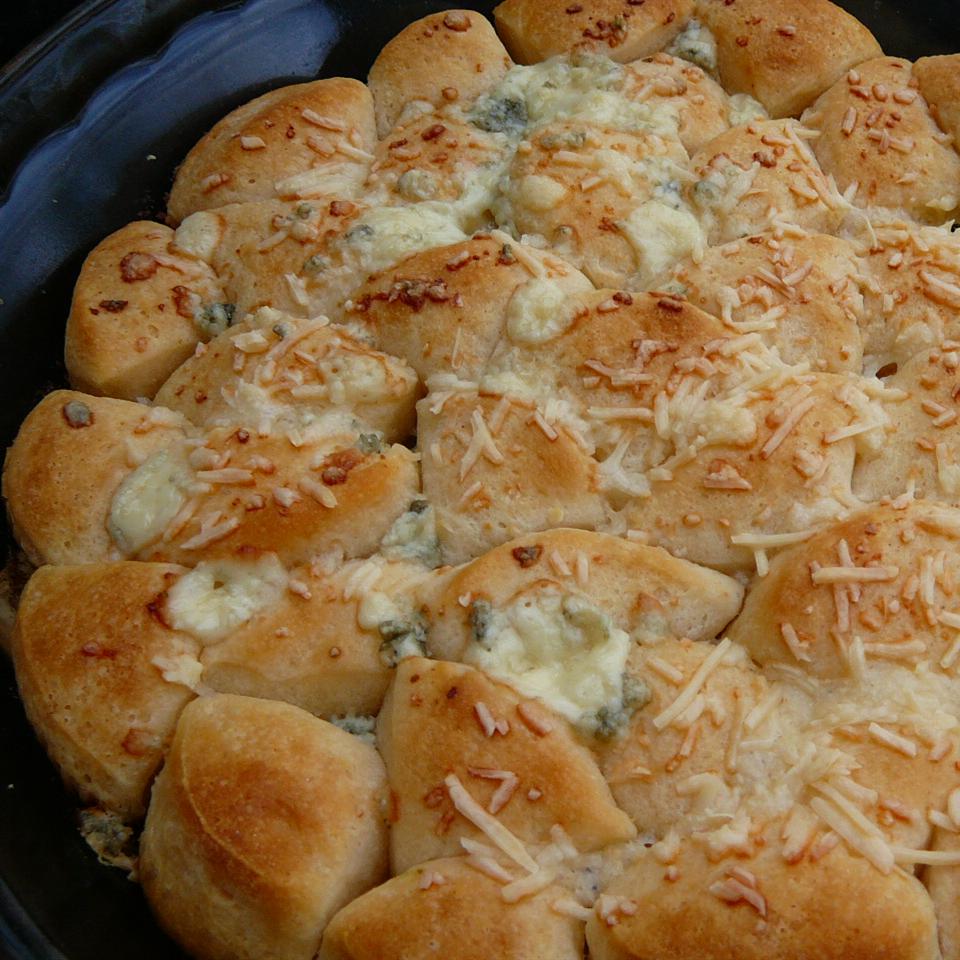
Dive into a collection of delectable recipes that showcase the versatility of sourdough starter. From classic sourdough bread to mouthwatering pizza crust, these recipes will inspire you to explore the endless possibilities of this natural leavening agent.
Indulge in the rustic charm of sourdough pancakes, the tangy delight of sourdough waffles, or the fluffy goodness of sourdough muffins. Discover the secrets to creating a perfect sourdough sandwich bread, ideal for crafting flavorful sandwiches and toasts.
Unleash your creativity with sourdough crackers, a crispy and addictive snack that pairs perfectly with cheese, dips, and spreads. Elevate your baking skills with sourdough cookies, featuring a unique chewy texture and a hint of sour tang that complements the sweetness of the dough.
Prepare to impress your friends and family with a stunning sourdough cinnamon bun recipe, showcasing the perfect balance of sweet and tangy flavors. Learn how to make sourdough doughnuts, a delightful treat that combines the classic flavors of doughnuts with the unique tang of sourdough.
Join the sourdough revolution and experience the joy of baking with a natural leavening agent that adds flavor, texture, and a touch of history to your culinary creations.
WILD YEAST SOURDOUGH STARTER
You can make your own wild yeast starter from scratch. The yeast is already on the grains you use in the starter. You just need to create the right conditions to wake them up! The pineapple juice may sound like a strange ingredient, but it is what makes this recipe work so well. The juice creates an acidic environment that prevents bad bacteria from taking over and causing spoilage during the fermentation period.
Provided by Donna M.
Categories Sourdough Breads
Time P5DT10m
Yield 1 Starter
Number Of Ingredients 5
Steps:
- I bought whole wheat berries at the health food store and ground my own flour in a coffee grinder from them because I wanted the yeast on the flour to be really fresh, but this probably isn't really necessary. The pre-ground flour at the health food store is probably quite fresh, also, and you can buy very small quantities in bulk.
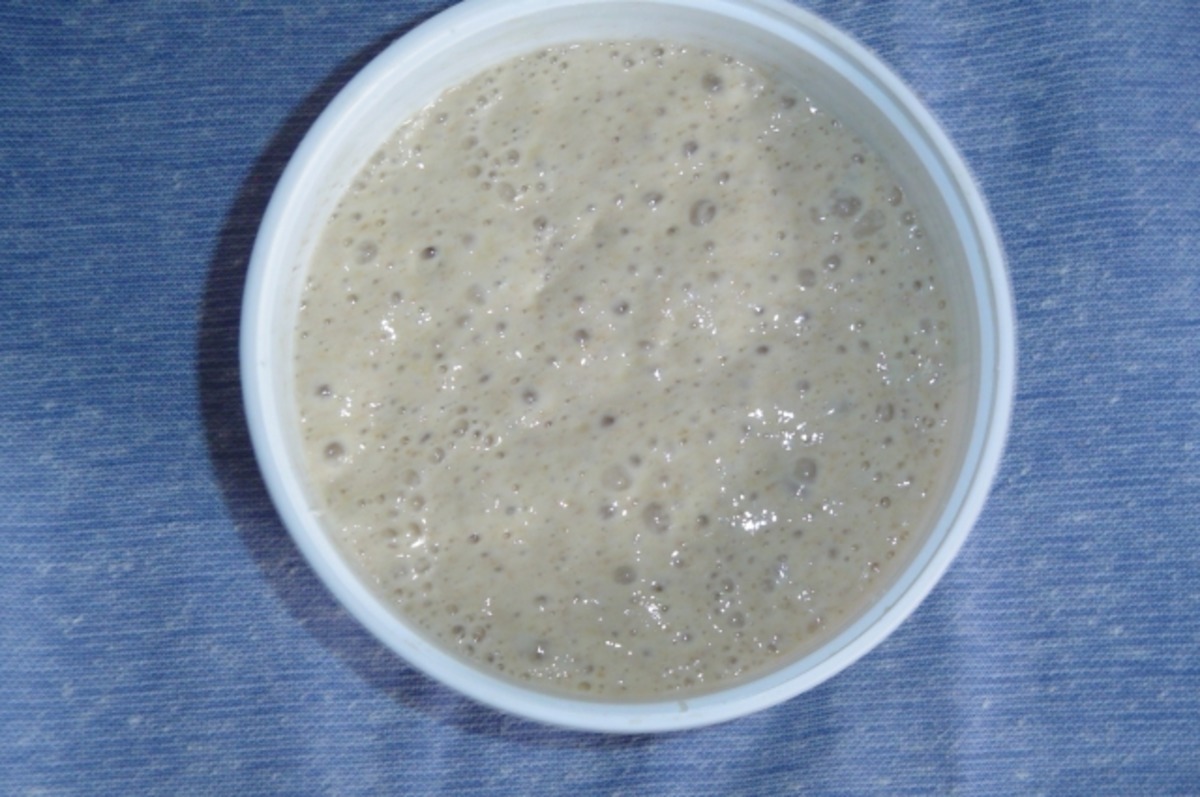
- DAY ONE: Mix 2 Tablespoons whole grain flour and 2 Tablespoons pineapple juice. Stir well, cover and let sit for 24 hours at room temperature.
- DAY TWO: Add 2 Tablespoons whole grain flour and 2 Tablespoons pineapple juice. Stir well, cover and let sit another 24 hours at room temperature. You may, or may not start to see small bubbles at this point.
- DAY THREE: Add 2 Tablespoons whole grain flour and 2 Tablespoons pineapple juice. Stir well and let sit 24 hours at room temperature.
- DAY FOUR: Stir mixture and measure out 1/4 cup--discard the rest. To the 1/4 cup, stir in 1/4 cup unbleached AP flour and 1/4 cup water. Let sit 24 hours at room temperature.
- REPEAT Day Four until mixture expands to double its size and smells yeasty. Mixture may start to bubble after a couple of days and then go flat and look totally dead for a couple more days. If this happens, at about Day 6 add the 1/4 teaspoons vinegar with your daily feeding. This will lower the PH and wake up the yeast, which will then start to grow.
- Once the yeast starts growing, starter should be fed equal parts of flour and water in a quantity sufficient to make enough starter for your recipe. Store the starter in the refrigerator when you are not using it. It needs to be fed equal parts flour and water once a week to keep it alive. Either use or discard at least half of it when feeding--THIS IS VERY IMPORTANT to maintian a healthy starter! If you forget to feed it for a few weeks, it probably will be fine but may take several feedings to get it back up to par.
SIMPLER SOURDOUGH STARTER--WILD YEAST

Steps:
- Using scrupulously clean equipment, mix the warm water with the rye flour. It will be wet and sticky. Let sit a few minutes, then transfer to a clean jar, such as a canning jar, and secure a piece of plastic lightly over it with a ring, as Magic Dave suggests. Put in a warm place, about 25 C or in the 70s F, for a few days, stirring once daily and observing if it is getting bubbly and pleasantly, tartly sour-smelling. You can use a clean spoon to take a small test sample. It should be an edible-sour, like sauerkraut or yogurt, and a dull grey-brown. If it's grown anything colourful, don't eat it but throw it out and start over. The day before you want to bake, feed the starter by mixing in another batch of one-cup-water and one-cup-rye-flour mixed together just as you did the first time. The starter will sour and incorporate the new "food" you just gave it. On baking day, you will take one cup or so of the now doubled starter, as per your bread recipe, feed the starter again with another mixture of one cup each of flour and water, just as before, and you can then store the starter in a cooler place like the fridge if you won't need it for, say, a week. Just stir it and let it warm up and get active again the day before you plan to bake, and feed it every time you remove a portion to bake with.
Tips for Making a Wild Yeast Sourdough Starter:
- Use organic, unbleached, and unbromated whole wheat flour and filtered or spring water.
- Keep your starter in a warm place, around 70-80°F (21-27°C).
- Feed your starter daily or as often as possible, keeping a 1:1:1 ratio of flour, water, and starter.
- Discard half of the starter before each feeding to keep it healthy and active.
- Stir the starter gently to incorporate all the ingredients and avoid overworking it.
- Be patient! It can take up to 10 days or more for your starter to become fully active and ready to use.
Conclusion:
Making your own wild yeast sourdough starter is a rewarding and satisfying experience. With a little patience and care, you can create a healthy and active starter that will allow you to bake delicious sourdough bread at home. Remember to keep your starter in a warm place, feed it regularly, and discard half of it before each feeding. Once your starter is active, you can use it to make a variety of sourdough recipes, including bread, waffles, pancakes, and muffins.
Are you curently on diet or you just want to control your food's nutritions, ingredients? We will help you find recipes by cooking method, nutrition, ingredients...
Check it out »
#time-to-make #course #preparation #low-protein #healthy #sourdough #breads #1-day-or-more #low-fat #dietary #low-sodium #low-cholesterol #low-saturated-fat #low-calorie #yeast #low-in-something
You'll also love