Best 6 Red White And Blue Ice Cream Cake Recipes


Indulge in a patriotic treat with our Red, White, and Blue Ice Cream Cake, a delightful dessert perfect for summer celebrations. This eye-catching cake combines the vibrant colors of the American flag with layers of creamy ice cream and a moist cake base. The blueberry ice cream layer bursts with sweet and tangy flavors, while the vanilla and strawberry ice cream layers add a classic touch. Enrobed in a fluffy whipped cream frosting and garnished with fresh berries and sparklers, this cake is sure to be the star of your next gathering.
In addition to the main recipe, we also offer variations to cater to different tastes and preferences. For those who prefer a gluten-free option, we have a recipe for a delicious gluten-free cake base. If you're looking for a healthier alternative, our reduced-sugar ice cream recipe is a great choice. And for those who love chocolate, our chocolate ice cream cake variation is a decadent treat that will satisfy your cravings.
No matter which recipe you choose, our Red, White, and Blue Ice Cream Cake is sure to be a hit. It's a fun and festive dessert that is perfect for Memorial Day, Independence Day, or any other patriotic occasion. So gather your ingredients, put on your apron, and let's get baking!
RED, WHITE AND BLUE ICE CREAM CAKE

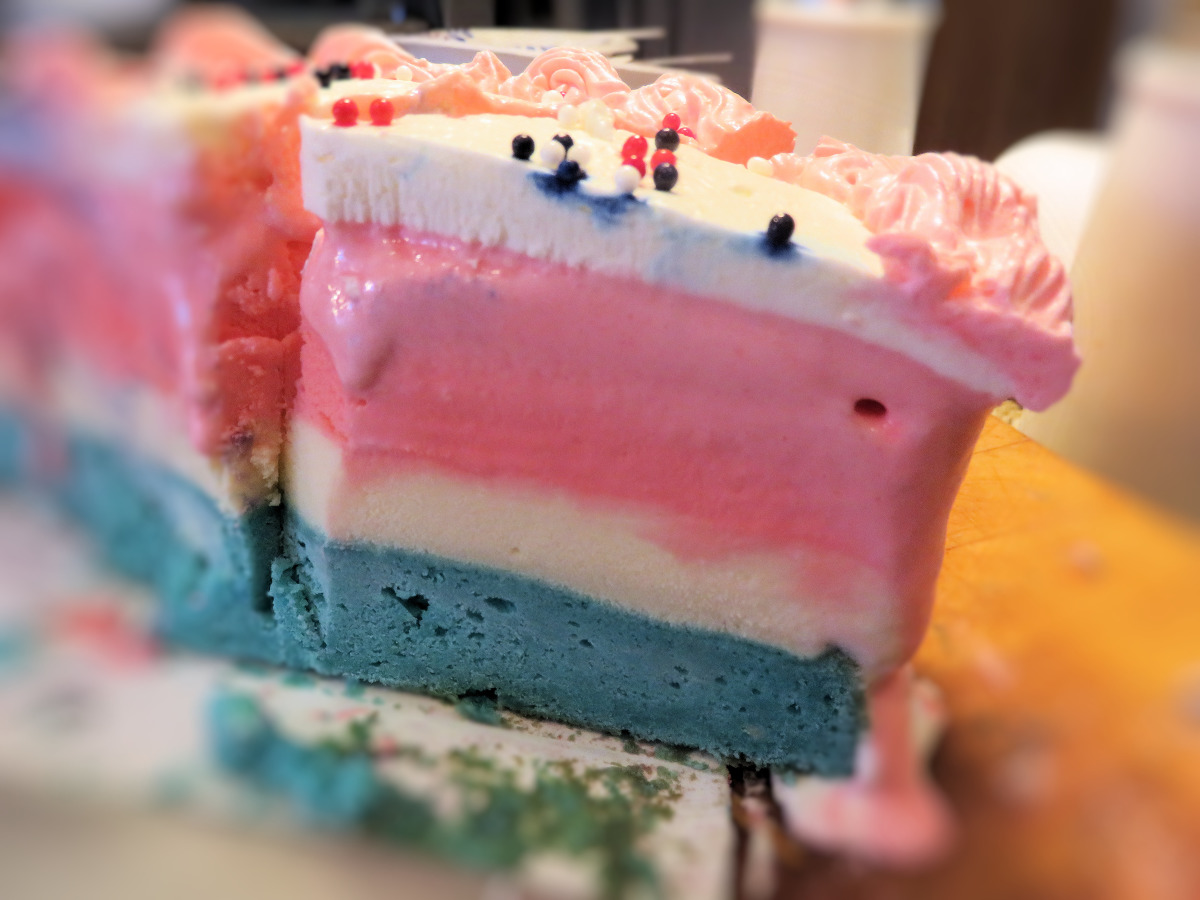
This Red White & Blue Ice Cream Cake is perfect for the Fourth of July! With blue vanilla cake on the bottom and white and red ice cream layers on top, it's a delicious and patriotic cake for the holidays!
Provided by Lindsay
Categories Dessert
Time 2h25m
Number Of Ingredients 17
Steps:
- Preheat oven to 350°F (176°C). Prepare an 8 inch cake pan with a circle of parchment paper in the bottom and grease the sides. 2
- . To make the cake batter, beat the sugar and butter together until light in color and fluffy, 3-4 minutes. Don't skimp on the creaming. 3.
- Add the sour cream and vanilla extract and mix until well incorporated. 4.
- Add the egg whites and mix until well combined. 5.
- Combine the flour and baking powder in a separate bowl, then add half of the dry ingredients to batter and mix until well combined. 6.
- Add the milk and water and mix until well combined. 7.
- Add the remaining dry ingredients and mix until well combined. 8.
- Spread the cake batter evenly into the bottom of the prepared pan. 9.
- Bake for 18-20 minutes, or until a toothpick inserted comes out with a few crumbs. Set the cake aside to cool. 10
- When the cake has cooled, lined two 8 inch cake pans with clear wrap that covers the bottom and sides of the pans. 11
- Remove the dome from the top of the blue cake layer, then place it in the bottom of one of the cake pans. 12
- Soften the cartons of ice cream. I let mine sit out for about 15-20 minutes, then added all but about a quarter of the ice cream to a large bowl. Use a rubber spatula to stir it well until it all comes together to a consistency similar to soft serve ice cream. Add half of the ice cream to another bowl and set it in the freezer for a few minutes while you work with the other half. 13
- Add the white vanilla ice cream to the top of the blue cake layer and spread into an even layer. Set the cake/ice cream in the freezer to freeze completely. 14
- Remove the remaining half of the vanilla ice cream from the freezer and color it with red gel icing color. 15
- Add the ice cream to the other prepared cake pan and spread into an even layer. Freeze until firm. 16
- Once both ice cream layers are firm, remove the blue cake layer/white ice cream from its pan and place on a cardboard cake circle or serving platter. Keep in mind that it will need to fit in your freezer. 17
- Remove the red layer from it's pan and set on top of the white ice cream layer. Place cake back in the freezer. 18
- To make the whipped cream, add the heavy whipping cream, powdered sugar and vanilla extract to a large mixer bowl. Whip on high speed until stiff peaks form. 19
- Frost the outside of the cake with the whipped cream, leaving about 1/3 of a cup or so leftover. 20
- Place the cake in the freezer for about 10-15 minutes so it stays firm. Color the remaining whipped cream with the red gel icing color. 21
- Press your sprinkles onto the sides of the cake, then pipe swirls of the red whipped cream around the top edge. Freeze cake until ready to serve.
Nutrition Facts : ServingSize 1 slice, Calories 468 calories, Sugar 34.4 g, Sodium 104.6 mg, Fat 31.2 g, SaturatedFat 19.8 g, TransFat 0.6 g, Carbohydrate 41.6 g, Fiber 0.2 g, Protein 5.8 g, Cholesterol 133.4 mg
RED WHITE AND BLUE ICE CREAM CAKE
Red and blue layers of moist vanilla cake and vanilla ice cream make the most festive 4th of July cake ever! You won't believe how easy it is to make your own ice cream cake!
Provided by Elizabeth Marek
Categories Dessert
Time P1DT50m
Number Of Ingredients 20
Steps:
- NOTE: It is SUPER IMPORTANT that all the room temperature ingredients listed above are room temperature and measured by weight so that the ingredients mix and incorporate correctly. Learn more about how and why to use a scale for baking in my tutorial.Heat the oven to 335º F/170º C
- Prepare two 8"x2" cake pans with cake goop or preferred pan spray.
- Divide your buttermilk in half. Combine 1/2 of the buttermilk with the oil and set aside.
- Combine the other 1/2 of the buttermilk, egg whites and vanilla together, whisk to break up the eggs and set aside.
- Combine the flour, sugar, baking powder, baking soda and salt in the bowl of a stand mixer with the paddle attachment attached. Mix for 10 seconds to combine.
- Add your softened butter to the dry ingredients and mix on low until mixture resembles a coarse sand (about 30 seconds). Add in your buttermilk/oil mixture and let mix until dry ingredients are moistened and then bump up to med (setting 4 on my kitchenaid) and let mix for 2 minutes to develop the cakes structure. If you don't let your cake mix on this step your cake could collapse.
- Scrape your bowl and then reduce speed to low. Add in your egg white mixture in three parts, letting the batter mix for 15 seconds between additions and mix until smooth.
- Divide your batter in half (I weigh mine to make sure both pans are even)
- Add your red food coloring to one bowl and the blue food coloring to the other bowl and mix until combined.
- Bake 35-40 minutes at 335º F/170º C until a toothpick inserted into the center comes out cleanly but the cake has not begun to shrink yet from the sides of the pan. IMMEDIATELY TAP PAN FIRMLY on countertop once to release the steam from the cake. This stops the cake from shrinking.
- Let cakes cool for 10 minutes inside the pan before flipping them out. The cake will shrink a bit and that is normal. Flip onto a cooling rack and let cool for a few more minutes.
- Wrap your warm layers in plastic wrap and place them into the freezer for a minimum of 6 hours but ideally, 24 hours. (You can also freeze the cakes multiple days in advance.)
Nutrition Facts : ServingSize 1 serving, Calories 208 kcal, Carbohydrate 21 g, Protein 1 g, Fat 13 g, SaturatedFat 8 g, Cholesterol 28 mg, Sodium 111 mg, Sugar 15 g
RED, WHITE AND BLUE ICE CREAM SANDWICH CAKE
Provided by Jeff Mauro, host of Sandwich King
Categories dessert
Time 1h45m
Yield 10 to 12 servings
Number Of Ingredients 8
Steps:
- Grease two 9-inch square metal cake pans with nonstick cooking spray. Prepare and bake the red velvet cake in the greased cake pans according to the package instructions. Cool the cakes in the pans on wire racks for 15 minutes, then unmold the cakes onto the racks and let cool completely. Trim off the tops of the cakes to yield two 1/2-inch-high cakes.
- Arrange 9 of the ice cream sandwiches into a 9-inch square on a platter, trimming the sandwiches as needed to form the square. Top with one of the cake layers. Arrange another layer of 9 ice cream sandwiches on top of the cake layer. Repeat with the remaining layer of cake and 9 ice cream sandwiches. Chill in the freezer while you prepare the topping.
- Combine the cream, sugar, food coloring and vanilla if using and beat until stiff peaks form. Using an offset spatula, generously frost the cake on all sides with the whipped topping. Decorate the cake with sprinkles as desired. Place in the freezer until ready to serve.
RED, WHITE & BLUE ICE CREAM CAKE

Show off your patriotic spirit with a Red, White & Blue Ice Cream Cake! See how to turn ice cream sandwiches into a tasty Red, White & Blue Ice Cream Cake.
Provided by My Food and Family
Categories Home
Time 4h15m
Yield 12 servings
Number Of Ingredients 7
Steps:
- Microwave cream cheese in medium microwaveable bowl on HIGH 40 sec. Gradually whisk in milk. Add dry pudding mix; stir 2 min. (Mixture will be thick.) Gently stir in 1 cup COOL WHIP. Spoon half the cream cheese mixture into separate bowl; stir in red food color. Stir blue food color into remaining cream cheese mixture.
- Place 4 ice cream sandwiches, side by side, on 24-inch-long sheet of foil; cover with blue pudding mixture. Repeat layers once, using red pudding mixture. Top with remaining sandwiches. Frost top and sides with remaining COOL WHIP. Loosely fold foil to make packet.
- Freeze 4 hours or until firm. Remove foil from dessert before serving; sprinkle with colored sugars.
Nutrition Facts : Calories 300, Fat 16 g, SaturatedFat 11 g, TransFat 0 g, Cholesterol 35 mg, Sodium 230 mg, Carbohydrate 0 g, Fiber 0 g, Sugar 0 g, Protein 4 g
RED, WHITE AND BLUE ICE CREAM "CAKE"

Layers of ice cream and sorbet give this crazy-easy "cake" undeniable coolness. The perfect make-ahead dessert for your Fourth of July celebration!
Provided by Cindy Rahe
Categories Dessert
Time 6h
Yield 12
Number Of Ingredients 4
Steps:
- Spray 8-inch round cake pan (or springform pan) with cooking spray; line with a parchment paper circle on bottom and parchment paper strips around side.
- Soften raspberry sorbet at room temperature about 10 minutes or until just spreadable. Spread evenly in bottom of pan; place in freezer for about 1 hour or until firm.
- Repeat this step with vanilla ice cream - the idea is that the white is in the center of the red and blue - freeze again until firm, and finish with the final layer of blueberry ice cream; freeze the whole cake for several hours - at least 4 - until very firm.
- Once the entire cake is firm, gently lower the bottom of the pan into a bowl of warm water to loosen the parchment paper and lightly melt the edges of the ice cream cake. Place a cake plate over the top of the pan. Gently turn the cake pan and plate upside down, and shake gently to loosen. It should plop onto the cake plate. OR, if you use a springform pan, gently release the form (after dipping in warm water to loosen), and place the cake onto a cake plate, while leaving the springform base in place for easier transfer. Either serve immediately, or refreeze the whole cake until ready to serve. Decorate with whipped cream, berries and sparkler candles.
Nutrition Facts : ServingSize 1 Serving
RED, WHITE AND BLUE ICE CREAM CAKE WITH WHIPPED CREAM FROSTING
Such a pretty cake and so easy to make. Everyone raved about it, but as a warning when making, be sure to take the cake out of the freezer at least a half hour before trying to cut and freeze as the cake layer freezes HARD!! Prep time does not include time to soften ice cream. When it came to frosting, I was worried about having enough for decorating so doubled the frosting amount and while I had a lot left over, don't think it would have been enough for frosting and decorating without it
Provided by Bonnie G 2
Categories Dessert
Time 43m
Yield 1 8" Cake, 14 serving(s)
Number Of Ingredients 17
Steps:
- CAKE:.
- reheat oven to 350°F (176°C). Prepare an 8 inch cake pan with a circle of parchment paper in the bottom and grease the sides.
- To make the cake batter, beat the sugar and butter together until light in color and fluffy, 3-4 minutes. Don't skimp on the creaming.
- Add the sour cream and vanilla extract and mix until well incorporated.
- Add the egg whites and mix until well combined.
- Combine the flour and baking powder in a separate bowl, then add half of the dry ingredients to batter and mix until well combined.
- Add the milk and water and mix until well combined.
- Add the remaining dry ingredients and mix until well combined.
- Spread the cake batter evenly into the bottom of the prepared pan.
- Bake for 18-20 minutes, or until a toothpick inserted comes out with a few crumbs. Set the cake aside to cool.
- When the cake has cooled, lined two 8 inch cake pans with clear wrap that covers the bottom and sides of the pans.
- Remove the dome from the top of the blue cake layer, then place it in the bottom of one of the cake pans.
- Soften the cartons of ice cream. I let mine sit out for about 15-20 minutes, then added all but about a quarter of the ice cream to a large bowl. Use a rubber spatula to stir it well until it all comes together to a consistency similar to soft serve ice cream. Add half of the ice cream to another bowl and set it in the freezer for a few minutes while you work with the other half.
- Add the white vanilla ice cream to the top of the blue cake layer and spread into an even layer. Set the cake/ice cream in the freezer to freeze completely.
- Remove the remaining half of the vanilla ice cream from the freezer and color it with red gel icing color.
- Add the ice cream to the other prepared cake pan and spread into an even layer. Freeze until firm.
- Once both ice cream layers are firm, remove the blue cake layer/white ice cream from its pan and place on a cardboard cake circle or serving platter. Keep in mind that it will need to fit in your freezer.
- Remove the red layer from it's pan and set on top of the white ice cream layer. Place cake back in the freezer.
- STABILIZED WHIPPED CREAM FROSTING:.
- Add gelatin to cold water in a bowl.
- Set this over a saucepan with boiling water until the gelatin is clear.
- Cool to room temperature.
- Meanwhile whip the cream until it is medium thick.
- With the mixer still on, pour gelatin into the center of the cream.
- Continue to whip. Add the powdered sugar and vanilla extract.
- Continue whipping until cream is in soft peaks.
- At this point you can add food coloring, keeping half white and half red.
Nutrition Facts : Calories 274.7, Fat 16.8, SaturatedFat 10.4, Cholesterol 59.6, Sodium 127, Carbohydrate 27.2, Fiber 0.6, Sugar 20, Protein 3.9
Tips:
- Use high-quality ingredients. The better the ingredients, the better the ice cream cake will be. Choose fresh berries, creamy ice cream, and a sturdy cake base.
- Make sure the ice cream is softened before using. This will make it easier to spread and will help to prevent the cake from becoming icy.
- Freeze the cake for at least 4 hours before serving. This will help it to set and will make it easier to cut.
- Decorate the cake with your favorite toppings. Some popular options include whipped cream, berries, sprinkles, and chocolate chips.
- Serve the cake immediately after decorating. This will help to prevent the ice cream from melting.
Conclusion:
Red, white, and blue ice cream cake is a delicious and festive dessert that is perfect for any summer celebration. With its layers of creamy ice cream, fresh berries, and a sturdy cake base, this cake is sure to be a hit with everyone. So next time you're looking for a special treat, give this recipe a try. You won't be disappointed!
Are you curently on diet or you just want to control your food's nutritions, ingredients? We will help you find recipes by cooking method, nutrition, ingredients...
Check it out »
You'll also love