**Khubz Aadi (Pita Bread): A Culinary Journey to the Middle East**
Khubz Aadi, also known as pita bread, is a staple food in Middle Eastern cuisine. This traditional flatbread has a long history, dating back to ancient civilizations. Its unique texture and versatility make it a popular choice for sandwiches, dips, and various culinary creations. Embark on a culinary journey with us as we explore the art of making pita bread from scratch. Our collection of recipes offers a range of variations, from the classic pita to exciting fusion flavors. Whether you're a seasoned baker or a novice cook, these step-by-step guides will help you master the techniques and create delicious, authentic pita bread in your own kitchen. Along the way, you'll discover the secrets of achieving that perfect pocket, ensuring your pita bread is ready to absorb all the delicious fillings and flavors you desire. Let's dive into the world of Khubz Aadi and experience the culinary heritage of the Middle East.
KHUBZ ARABI (PITA OR FLAT BREAD)
These are Excellent! This recipe takes some time to accomplish, but the end result is a little magic in the kitchen and so satisfying as a cook! The cooking time is per batch - this makes 24 and you'll probably have to do at least 4 batches in your oven depending on the size (of your oven). At least, much of the prep time is inactive time while waiting for the dough to rise. All in all, they are pretty easy to make (if not on a time schedule).
Provided by Gaia22
Categories Breads
Time 2h10m
Yield 24 pitas, 24 serving(s)
Number Of Ingredients 5
Steps:
- In a large bowl, scatter the yeast over the warm water and stir until dissolved.
- Add the salt.
- While kneading constantly, gradually add 6 cups of flour and 2 tablespoons of oil until the dough is smooth and elastic. Continue to add more flour if the dough still sticks to your hands.
- Put the dough into a large, greased bowl and turn dough to grease all sides of it.
- Cover with a dry tea towel and let rise in a warm place until doubled in size, about 1 1/2 hours.
- Preheat oven to 375-degrees F.
- Punch dough down gently.
- Divide the dough into 24 equal portions and shape them each into smooth balls.
- Place on a floured surface and dust tops lightly with flour. Cover with a dry tea towel.
- Let rest undisturbed 15 minutes more.
- Roll out each ball into a 6-inch diameter circle.
- Place on greased baking sheets.
- Bake in 375-degree F oven for 10-12 minutes or until the bread puffs. Do not leave baking unattended.
- YUM!
Nutrition Facts : Calories 125.7, Fat 1.5, SaturatedFat 0.2, Sodium 292.4, Carbohydrate 24.1, Fiber 1, Sugar 0.1, Protein 3.5
KHUBZ 'AADI (PITA BREAD)
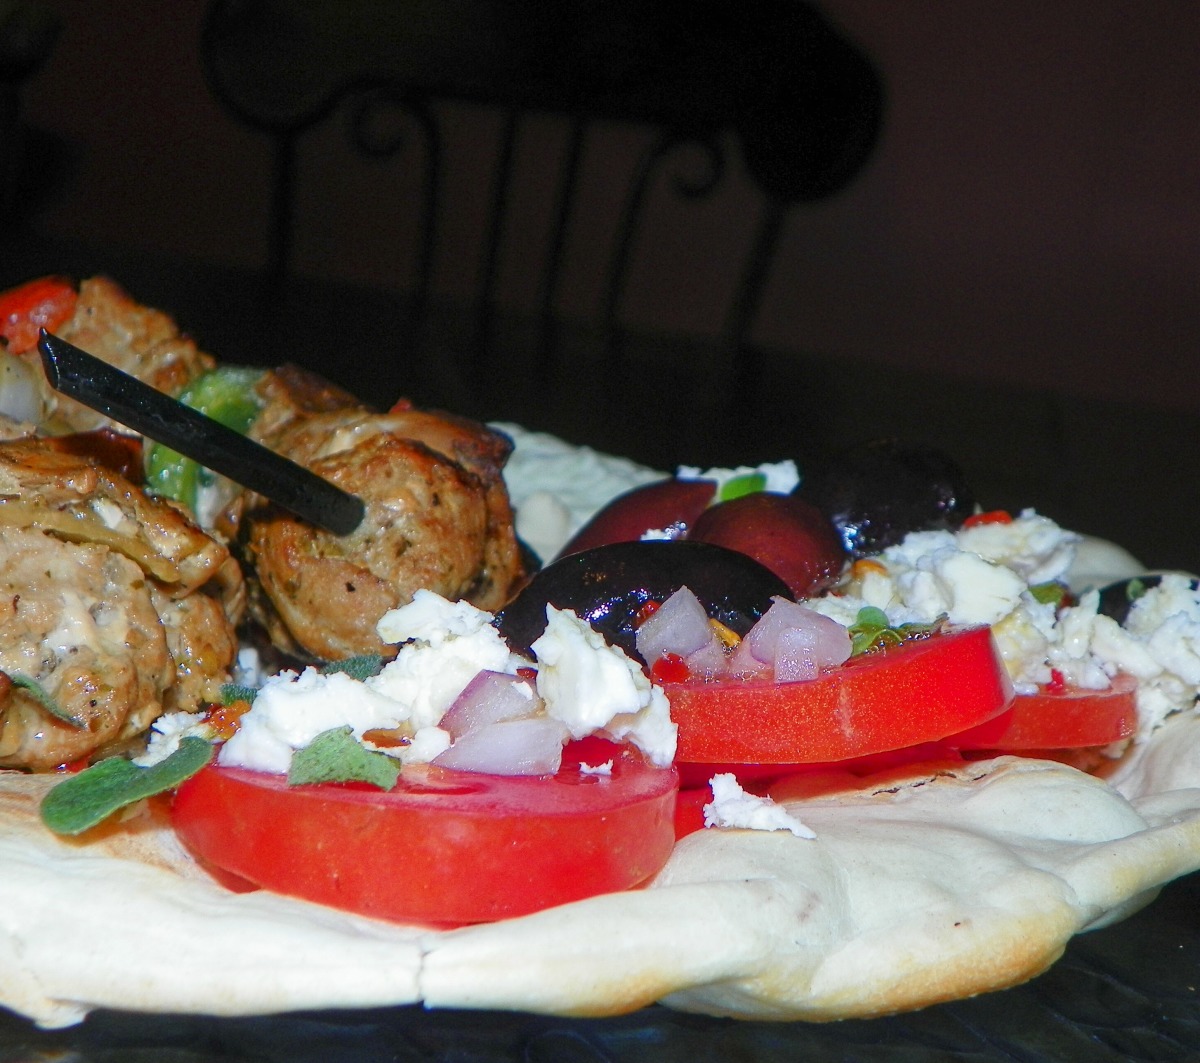
Make and share this Khubz 'aadi (Pita Bread) recipe from Food.com.
Provided by Random Rachel
Categories Breads
Time 1h5m
Yield 16 pitas, 32 serving(s)
Number Of Ingredients 5
Steps:
- Proof yeast with sugar, and 1/2 cup warm water in a bowl for 10 minutes, until frothy.
- Add 2 cups warm water, and 1 cup of the flour. Stir until well combined.
- Add salt and 2 tbsp oil, then gradually add remaining flour until dough forms a ball.
- Knead until smooth and elastic, then cover and allow to rise in a warm place until doubled - about 2 hours.
- Punchdown dough and divide into 16 portions, keeping dough covered.
- Roll each portion into a 7" disc, and spread out in a single layer. Keep covered and allow to rest for 20 minutes. Meanwhile, preheat a pizza stone (or baking pan) in a 500*F oven.
- Bake breads 2-3 at a time for 3 minutes, until golden and puffed. Place bread in a clean towel to keep warm and soft.
KHUBZ (BAHRAIN)
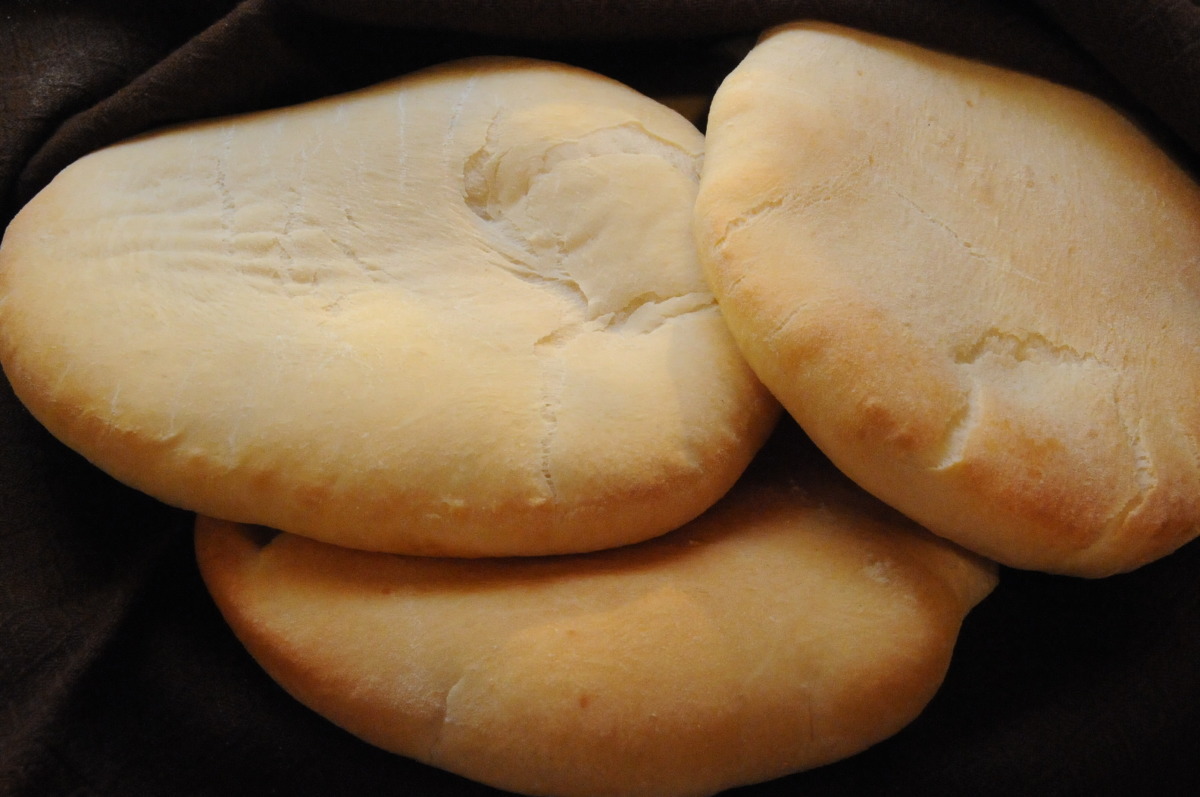
This recipe Is from week 20 of my food blog, "Travel by Stove." I am attempting to cook one meal from every nation on Earth, and Bahrain is my 20th stop. Khubz is a kind of pita bread that is traditionally cooked in a clay oven, but this version can also be made in your home oven.
Provided by GiddyUpGo
Categories Breads
Time 3h10m
Yield 6-8 pitas
Number Of Ingredients 6
Steps:
- Dissolve the yeast and the sugar in about a half cup of the lukewarm water. Let stand until frothy.
- Sift the flour together with the salt and add the yeast mixture. Knead by hand until the dough is soft, adding water as necessary. Add the oil and keep kneading until the dough becomes elastic and is no longer sticky, which should take about 15 minutes.
- Now form the dough into a ball and rub all over with a little bit of olive oil, to prevent it from drying out. Cover with a damp cloth and let rise in a warm place until the dough has doubled in size, about 1 to 1 1/2 hours.
- Punch down and knead for another five minutes or so. Now break the dough into tennis-ball sized portions. Turn out onto a lightly floured surface and roll flat, until each ball is about a quarter inch thick. Dust with flour and transfer to a lightly floured surface, leaving a few inches between each one to allow for rising. Let rise for another 30 to 60 minutes.
- Oil two large baking sheets. Preheat your oven to 500 degrees. About 10 minutes into the preheating, put the sheets in the oven. Leave them there for another 10 minutes.
- Now open your oven and quickly transfer the dough balls onto the baking sheets.
- Bake for 6 to 10 minutes. When the breads are lightly browned, take them out. Let cool.
- Each piece should have formed a pocket while baking.
Tips:
- Using high-quality flour can significantly impact the bread's taste and texture. Look for finely milled and unbleached flour.
- Activating the yeast properly is crucial for a successful bake. Ensure the water is warm (around 105-115°F) and not too hot, as this can kill the yeast.
- Kneading the dough for an adequate duration helps develop gluten, resulting in a more elastic and chewy bread.
- Allowing the dough to rise in a warm place promotes yeast activity and helps the bread achieve its full potential.
- Baking the bread at a high temperature (450°F) creates a crispy crust and a soft, fluffy interior.
- Storing the bread properly is important to maintain its freshness. Keep it in an airtight container at room temperature for a few days or freeze it for longer storage.
Conclusion:
In conclusion, the recipes provided in this article offer diverse options for creating delicious khubz aadi or pita bread at home. Each recipe has its unique nuances, catering to various preferences and dietary restrictions. By following the detailed instructions and incorporating these helpful tips, you can successfully bake soft, fluffy, and flavorful bread that is sure to be enjoyed by all. Experiment with different flours, toppings, and fillings to create your own signature khubz aadi or pita bread. Whether you're a seasoned baker or just starting out, these recipes provide an excellent foundation for exploring the art of bread making.
Are you curently on diet or you just want to control your food's nutritions, ingredients? We will help you find recipes by cooking method, nutrition, ingredients...
Check it out »
You'll also love


