Best 7 Homemade Cherry Blossom Recipes


**Homemade Cherry Blossoms: A Delectable Treat Inspired by Japanese Culture**
Indulge in the delicate flavors and vibrant aesthetics of homemade cherry blossoms, inspired by the enchanting beauty of Japanese culture. Discover a delightful collection of recipes that capture the essence of cherry blossoms, transforming simple ingredients into exquisite culinary creations. From fluffy steamed buns adorned with cherry blossom petals to refreshing cocktails infused with cherry blossom syrup, each recipe offers a unique interpretation of this iconic flower. Embark on a culinary journey that celebrates the beauty of nature and the artistry of Japanese cuisine.
CHERRY BLOSSOM
Categories Alcoholic Cocktail Party Cherry Spirit Brandy Kirsch Spring House & Garden Drink
Yield Serves 1.
Number Of Ingredients 6
Steps:
- Combine all ingredients in a cocktail shaker and shake thoroughly. Strain into a cocktail glass.
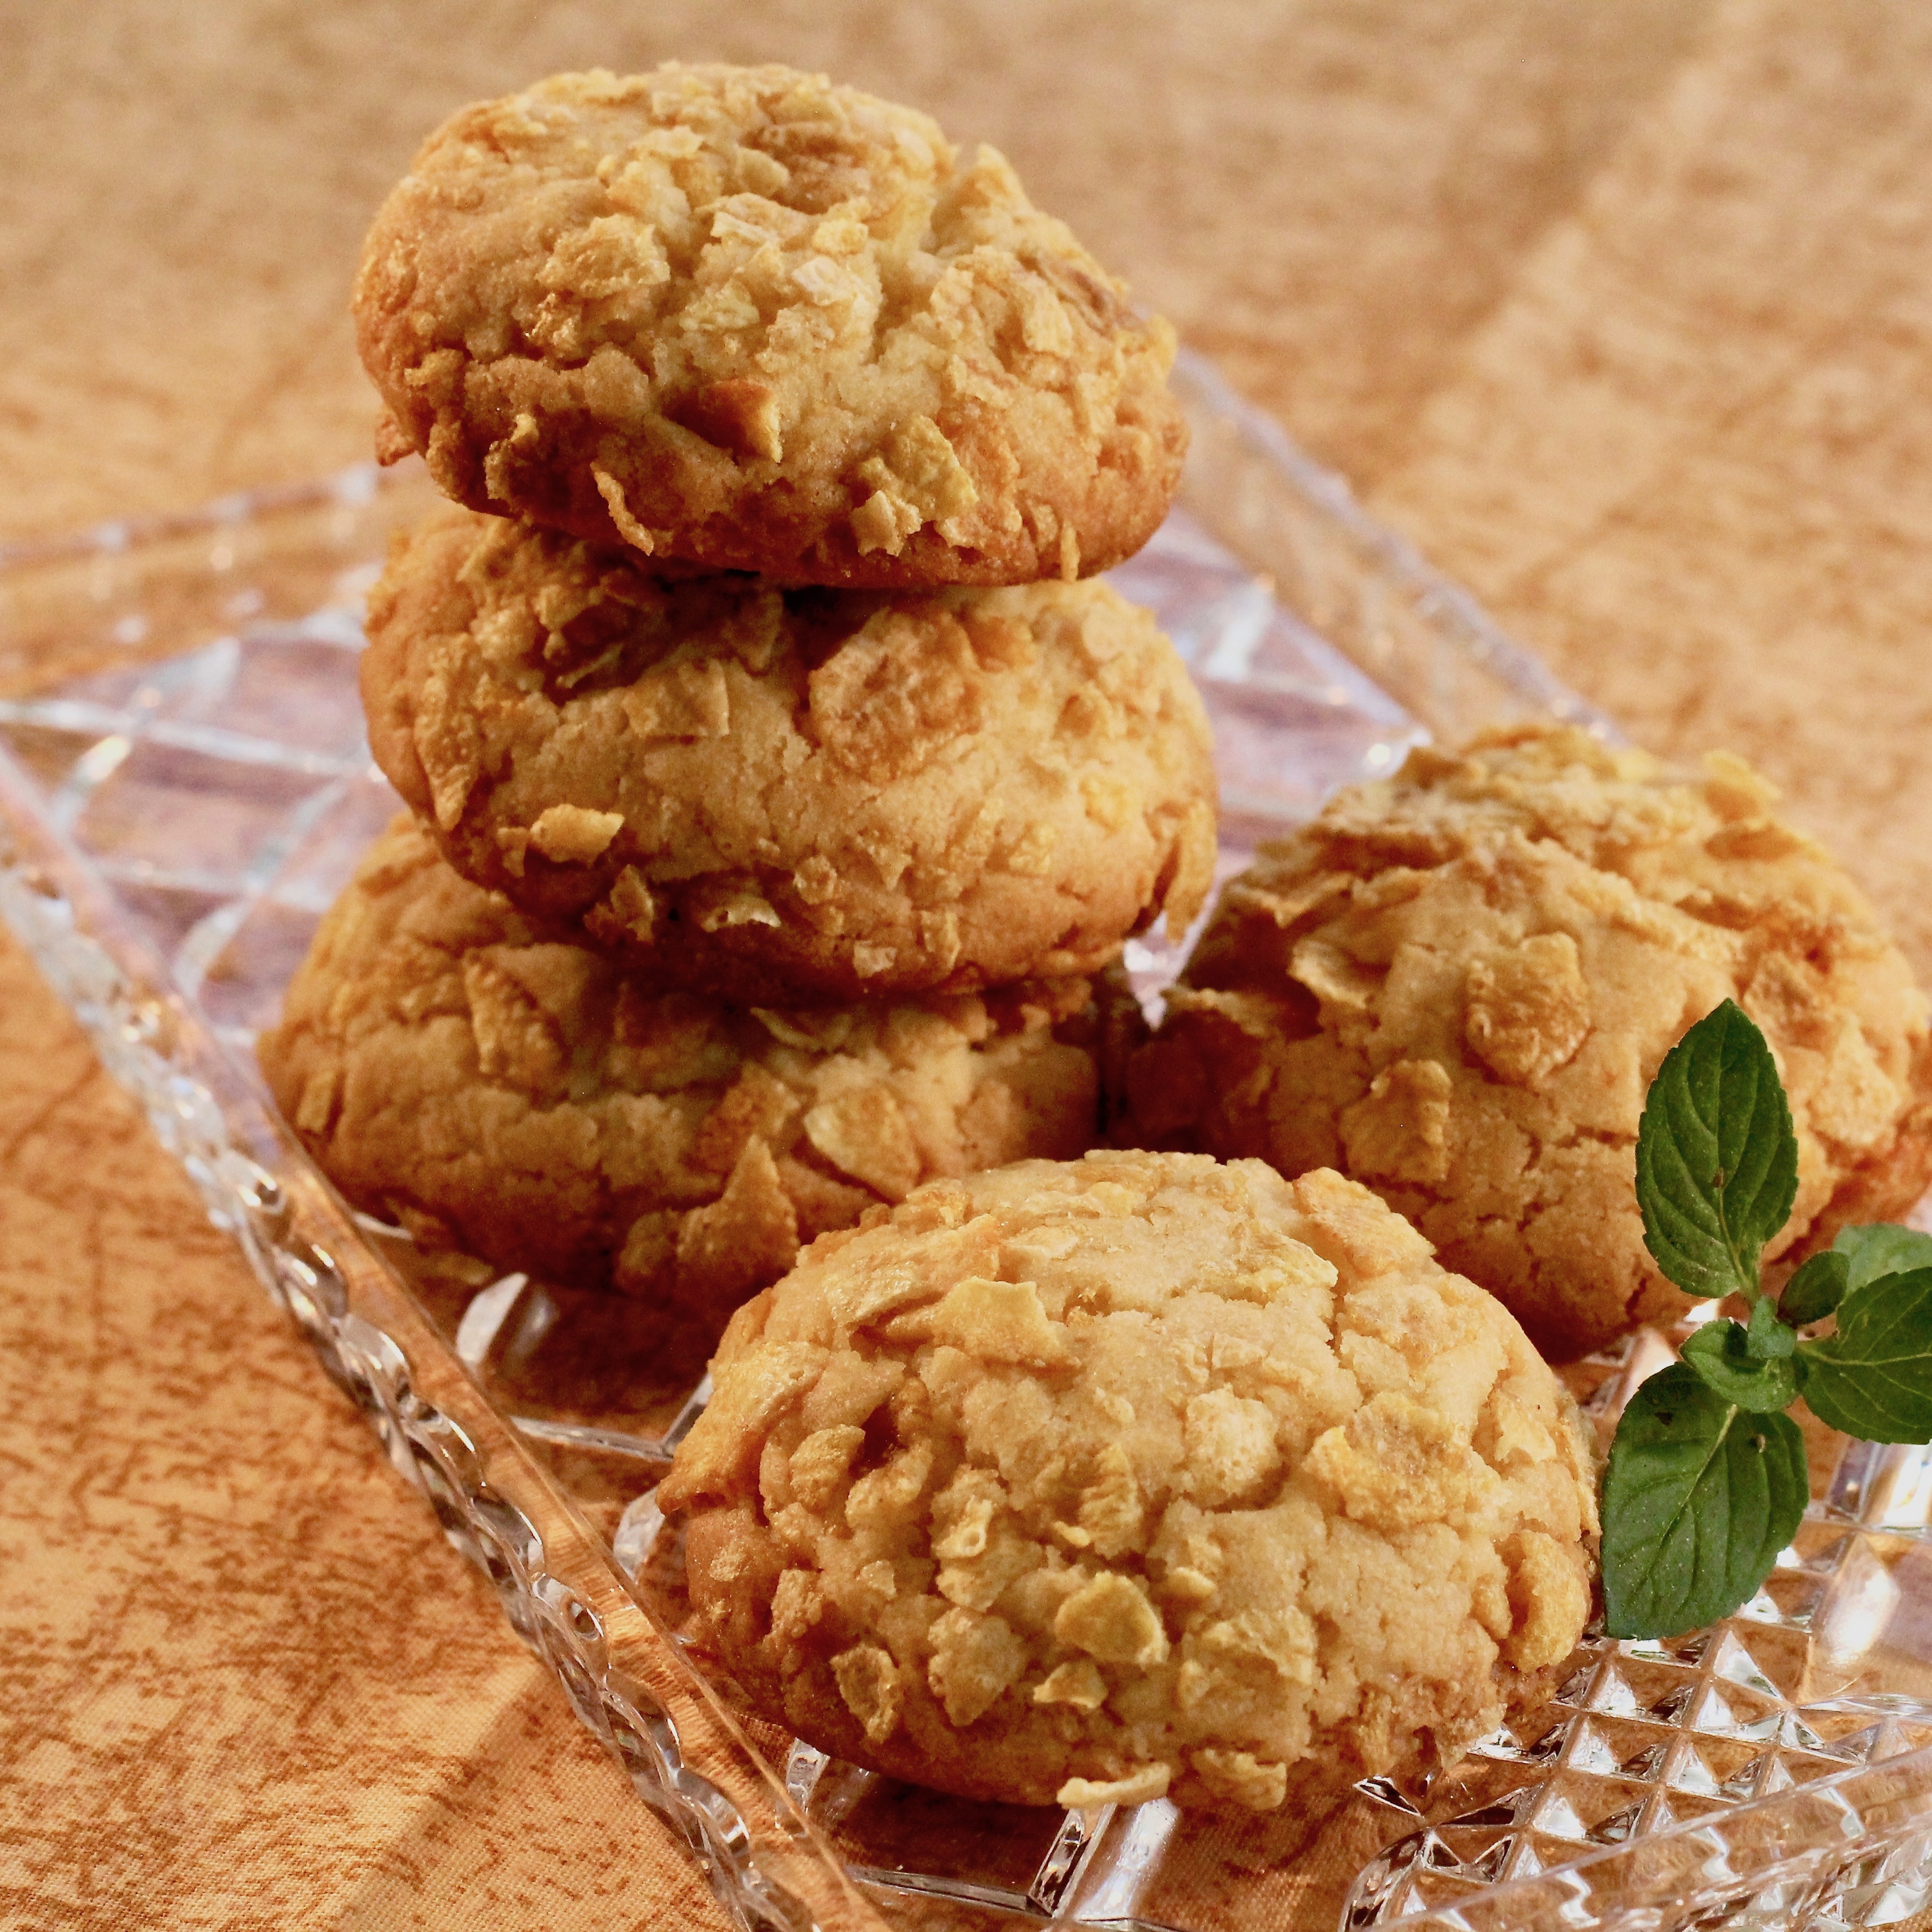
CHERRY BLOSSOM COOKIES

Simple sugar cookies serve as the canvas for these elegant "cherry blossoms." Use pink royal icing to create the "petals" and brown luster dust to form the "branches."
Provided by Martha Stewart
Categories Food & Cooking Dessert & Treats Recipes Cookie Recipes
Yield Makes about 16
Number Of Ingredients 14
Steps:
- Sugar Cookies: In a medium bowl, whisk together flour, salt, and baking powder. In the bowl of an electric mixer fitted with the paddle attachment, beat together butter and granulated sugar on medium-high speed until light and fluffy. Add vanilla, egg, and brandy and continue beating until well combined. Reduce speed to low and add flour mixture, beating until just combined. Shape dough into a disk, wrap in plastic, and refrigerate until firm, at least 45 minutes and up to overnight.
- Preheat oven to 350 degrees. Line two baking sheets with parchment. On a lightly floured surface, roll out dough to 1/4 inch thick. Use a 2 5/8-inch square cutter to cut out squares. Reroll scraps once (you should have about 16 cookies). Transfer to prepared sheets, spaced about 1 inch apart. Refrigerate at least 1 hour. Bake until set and golden around edges, 15 to 20 minutes. Transfer sheets to wire racks and let cool completely.
- Royal Icing: In the bowl of an electric mixer fitted with the paddle attachment, beat egg whites on medium speed until frothy. Reduce speed to low and add confectioners' sugar, 1/4 cup at a time, increasing speed to medium-high between each addition, until mixture has consistency of shampoo. Add lemon juice. Tint with pink food color until desired shade is reached. Transfer mixture to a shallow bowl. If not using immediately, icing can be stored at room temperature, with plastic wrap pressed directly on surface, up to 2 days, or in refrigerator, well wrapped in plastic, up to 3 days. Bring to room temperature before using.
- Working with one cookie at a time, dip cookie top-side down in icing to completely coat surface, allowing excess glaze to drip back into bowl. Invert cookie and clean edges with your finger, if desired. Transfer to a wire rack or baking sheet and let stand at room temperature until completely dry, at least 12 hours and up to overnight. Reserve remaining icing for decorations, at room temperature, with plastic wrap pressed directly on surface, or in refrigerator, well wrapped in plastic. Bring to room temperature before using.
- Stir additional confectioners' sugar into icing until it has consistency of toothpaste. Divide mixture into 3 portions and tint with pink food color until 3 desired shades are reached. Transfer each color to a piping bag fitted with a small plain round or star tip (such as Ateco #2, #3, or #13).
- Place luster dust in a small bowl. Stir in vodka, a little at a time, until mixture has consistency of thick watercolor paint. Using a small food-safe paintbrush, paint a tree branch design on surface of each cookie. Using the 3 shades of pink icing, pipe small blossoms on branches. Let stand at room temperature until completely dry, about 4 hours. Cookies can be stored in an airtight container at room temperature up to 3 days.
CHOCOLATE COVERED CHERRIES
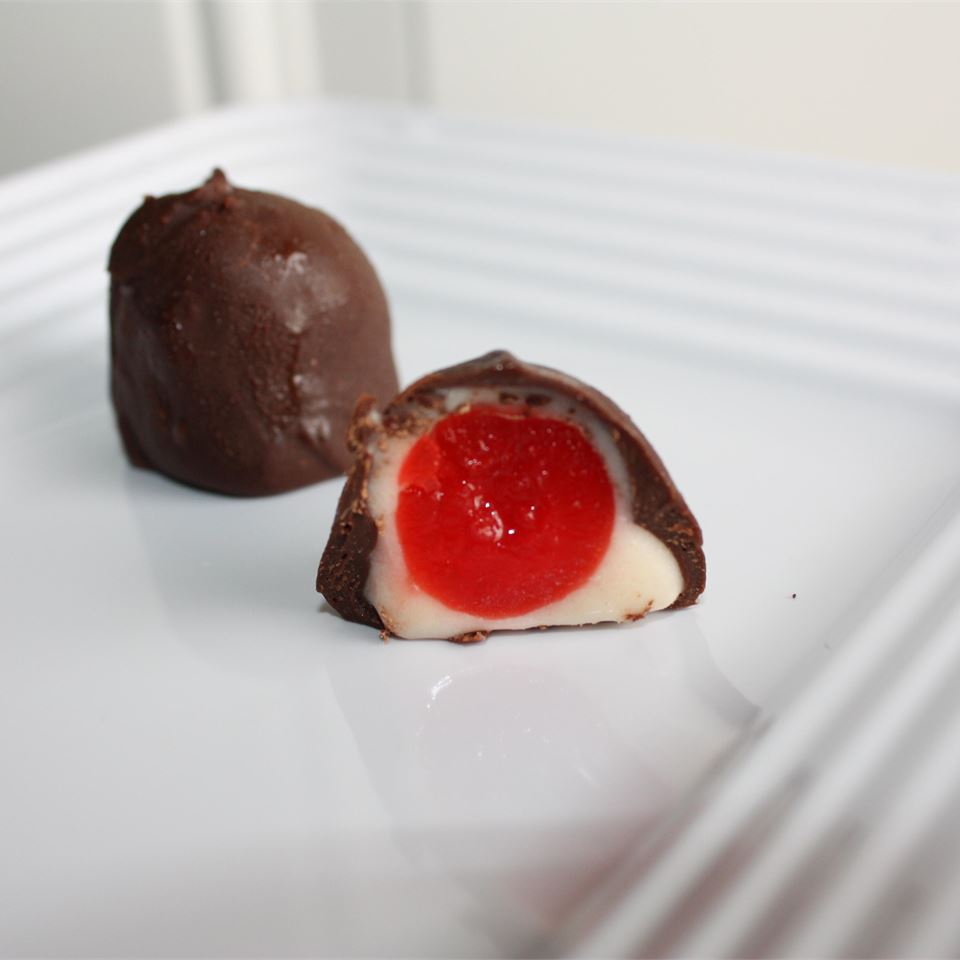
Easy, delicious cherries. Just like you buy in the box! It's best to let the candies ripen for 1 to 2 weeks.
Provided by Meredith
Categories Desserts Fruit Dessert Recipes Cherry Dessert Recipes
Time 1h
Yield 60
Number Of Ingredients 5
Steps:
- Drain cherries and set on paper towels to dry.
- In a medium bowl, combine butter and corn syrup until smooth. Stir in confectioners' sugar and knead to form a dough. Chill to stiffen if necessary. Wrap each cherry in about 1 teaspoon of dough. Chill until firm.
- Melt confectioners' coating in a heavy saucepan over low heat. Dip each cherry in by its stem, and place on waxed paper lined sheets. Chill until completely set. Store in an airtight container in a cool place. Best after 1 or 2 weeks.
Nutrition Facts : Calories 68.2 calories, Carbohydrate 10.5 g, Cholesterol 1.5 mg, Fat 3.6 g, Fiber 0.3 g, Protein 0.6 g, SaturatedFat 2.1 g, Sodium 5.1 mg, Sugar 4.5 g
CHOCOLATE CHERRY BLOSSOMS

Make and share this Chocolate Cherry Blossoms recipe from Food.com.
Provided by Courtly
Categories Dessert
Time 45m
Yield 60 cookies
Number Of Ingredients 9
Steps:
- Place unsweetened chocolate in medium microwave-safe bowl. Microwave on HIGH, stirring every 30 seconds, until melted. Add butter; stir until butter is melted. Cool 10 minutes.
- Combine melted chocolate mixture, 1 1/2 cups of sugar, 3/4 cups of flour, eggs and baking powder in large bowl. Beat at medium speed, scraping bowl often, until well mixed. Reduce speed to low; add remaining 3/4 cup of flour and dried cherries. Continue beating just until well mixed. Cover; refrigerate until firm. [1 hour].
- Heat oven to 300. Place 1/3 cup of sugar in small bowl. Shape dough into 1 inch balls. Roll in sugar. Place 2 inches apart onto lightly greased cookie sheets. Bake for 10 to 12 minutes or until top is cracked and set.
- Immediately press 1 cherry chocolate kiss into each cookie. Remove to cool racks. Cool completely or until chocolate is set. [about 1 hour]. Store between sheets of waxed paper in container with tight-fitting lid for up to 5 days.
CHERRY BLOSSOM CAKE

This beautiful cake is an ode to spring, with piped buttercream icing showing the loveliness of a cherry tree coming into bloom.
Provided by Martha Stewart
Categories Food & Cooking Dessert & Treats Recipes Cake Recipes
Yield Makes 1 two-layer nine-inch round cake
Number Of Ingredients 4
Steps:
- Trim the top of the cake with a long serrated knife to make the surface level. Using a ruler as a guide, insert toothpicks or wooden skewers into the sides of the cake at 2-inch intervals to mark two equal layers. Rest the serrated knife on the toothpicks, and halve the cake horizontally using a sawing motion. Carefully slide the top cake layer onto a cardboard round, and set it aside.
- With a small offset spatula, spread top of bottom cake layer with 1 1/4 cups frosting; carefully slide the second cake layer back on top of the first cake layer.
- Gently brush away loose crumbs from top and sides of cake with a pastry brush. With the offset spatula, spread about 1 1/2 cups frosting over top and sides of cake to form a crumb coat. Refrigerate cake until frosting is firm, about 15 minutes.
- With a large offset spatula, spread about 2 more cups frosting over top and sides to form a second coat. Smooth top and remove excess frosting with the large offset spatula. Smooth sides with a bench scraper. Return cake to refrigerator, and chill until second coat is firm, about 15 minutes.
- Tint 1 1/2 cups frosting pale pink (for flowers and buds). Tint 1/2 cup frosting a darker pink (for more flowers and buds). Tint 1/2 cup chocolate brown (for branches), and 1/2 cup green (for leaves). Tint 1/4 cup yellow (for dots). Set aside.
- Using a toothpick or wooden skewer, mark a pattern on the frosting to serve as a guideline for piping branches.
- Decorate cake: Pipe thin branches using brown frosting and a #2 tip. With pink frosting and the #102 petal tip, make basic petals: Hold the bag at a 45 degree angle to the cake, with the tip's wide end down and narrow end pointed away and slightly to the left. Move the tip forward 1/8 inch and back again while you pivot the narrow end to the right. Make five or six petals, turning the cake as you go. Switch to yellow frosting and the #2 tip to pipe dots in the bloom's center. With pink frosting and the #102 petal tip, pipe two small overlapping petals on the branch for a closed blossom. With green frosting and the #3 round tip, pipe a dot, pulling upward, to make a bud; connect to branch with brown frosting. With the #349 tip, pipe tiny green leaves.
- Refrigerate cake until ready to serve. Let stand at room temperature 20 minutes before serving. Slice into wedges: To avoid crumbs on surface, make each cut with one downward motion, pulling knife back toward you (not upward) and wiping knife clean after each cut.
CHERRY-CHOCOLATE BLOSSOMS
Make and share this Cherry-Chocolate Blossoms recipe from Food.com.
Provided by Donna M.
Categories Dessert
Time 42m
Yield 4 dozen, 48 serving(s)
Number Of Ingredients 9
Steps:
- In large bowl, combine powdered sugar, butter, cherry liquid, almond extract and food color; blend well.
- Lightly spoon flour into measuring cup; level off.
- Add flour and salt; mix well.
- Stir in cherries.
- If dough is too dry, add a little more cherry liquid until dough holds together when shaped.
- Shape dough into 1-inch balls.
- Place 2 inches apart on ungreased cookie sheets.
- Bake at 350 degrees F for 10 to 12 minutes or until edges are just slightly brown.
- Immediately top each cookie with a chocolate candy, pressing down firmly.
- Remove from cookie sheets and cool.
Nutrition Facts : Calories 300.5, Fat 16.9, SaturatedFat 8.7, Cholesterol 20.3, Sodium 86.4, Carbohydrate 33.1, Fiber 1.6, Sugar 25.1, Protein 4
CHERRY KISS COOKIES
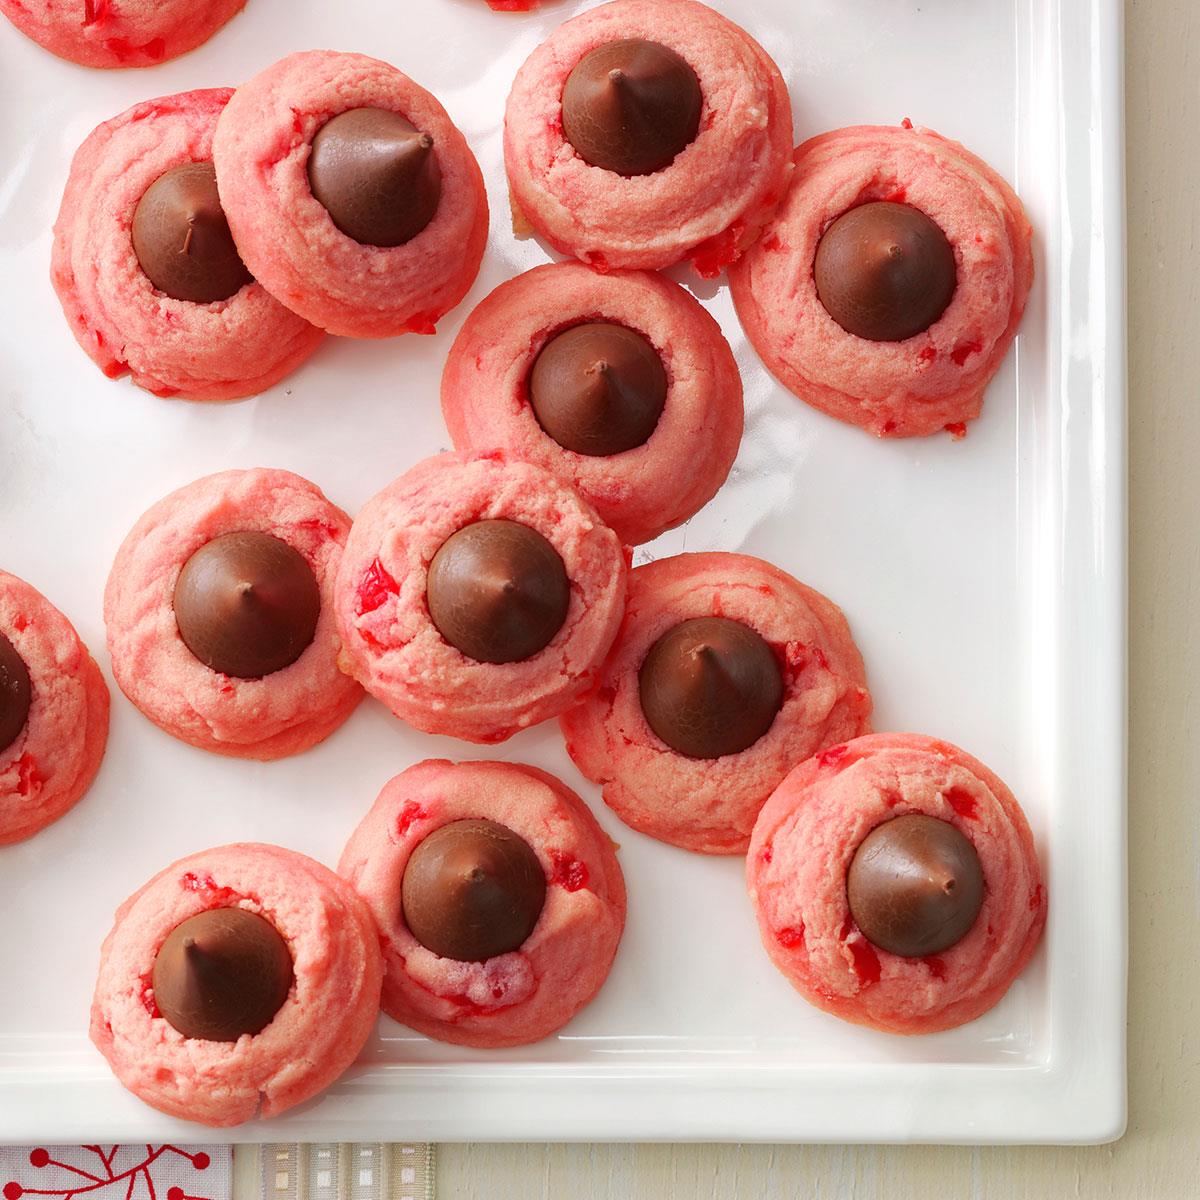
Topped with a chocolate kiss, these cherry-flavored cookies look super cute on a dessert tray. Share them with family and friends. -Joy Yurk, Grafton, Wisconsin
Provided by Taste of Home
Categories Desserts
Time 30m
Yield 4-1/2 dozen.
Number Of Ingredients 9
Steps:
- Preheat oven to 350°. In a large bowl, beat butter, confectioners' sugar and salt until blended. Beat in cherry juice, extract and, if desired, food coloring. Gradually beat in flour. Stir in cherries., Shape dough into 1-in. balls. Place 1 in. apart on greased baking sheets. , Bake 8-10 minutes or until bottoms are light brown. Immediately press a chocolate kiss into center of each cookie (cookie will crack around edges). Cool on pans 2 minutes. Remove to wire racks to cool.
Nutrition Facts : Calories 85 calories, Fat 5g fat (3g saturated fat), Cholesterol 10mg cholesterol, Sodium 51mg sodium, Carbohydrate 10g carbohydrate (5g sugars, Fiber 0 fiber), Protein 1g protein.
Tips:
- To make sure the cherry blossoms are fresh and vibrant, soak them in cold water for at least 30 minutes before using them.
- When making the syrup, use a candy thermometer to ensure that it reaches the correct temperature. This will help to prevent the syrup from crystallizing.
- If you don't have a candy thermometer, you can test the syrup by dropping a small amount into a glass of cold water. If the syrup forms a soft ball, it is ready.
- When making the blossoms, work quickly so that the syrup doesn't have time to set. If the syrup does start to set, you can reheat it gently over low heat.
- To make the blossoms even more realistic, you can use a small paintbrush to apply a little bit of pink food coloring to the edges of the petals.
- The cherry blossoms can be stored in an airtight container at room temperature for up to 2 weeks.
Conclusion:
These homemade cherry blossoms are a beautiful and delicious way to enjoy the springtime. They are perfect for adding a touch of elegance to your desserts or for simply enjoying as a snack. With a little bit of planning and effort, you can easily make these blossoms at home.
Are you curently on diet or you just want to control your food's nutritions, ingredients? We will help you find recipes by cooking method, nutrition, ingredients...
Check it out »
You'll also love