**Gluten-Free, Lactose-Free Bread: A Culinary Symphony for Sensitive Tastes**
For those with dietary restrictions, finding delicious and satisfying bread options can be a daunting task. Gluten and lactose intolerance, common food sensitivities, often limit the enjoyment of this staple food. However, this article presents a delightful solution: gluten-free, lactose-free bread recipes that offer a symphony of flavors and textures to tantalize your taste buds. From classic sandwich loaves to crusty baguettes and flavorful sourdough, this collection caters to various preferences and dietary needs. Embark on a culinary journey where indulgence meets well-being, as we delve into the world of gluten-free, lactose-free bread.
GLUTEN & LACTOSE FREE BREAD
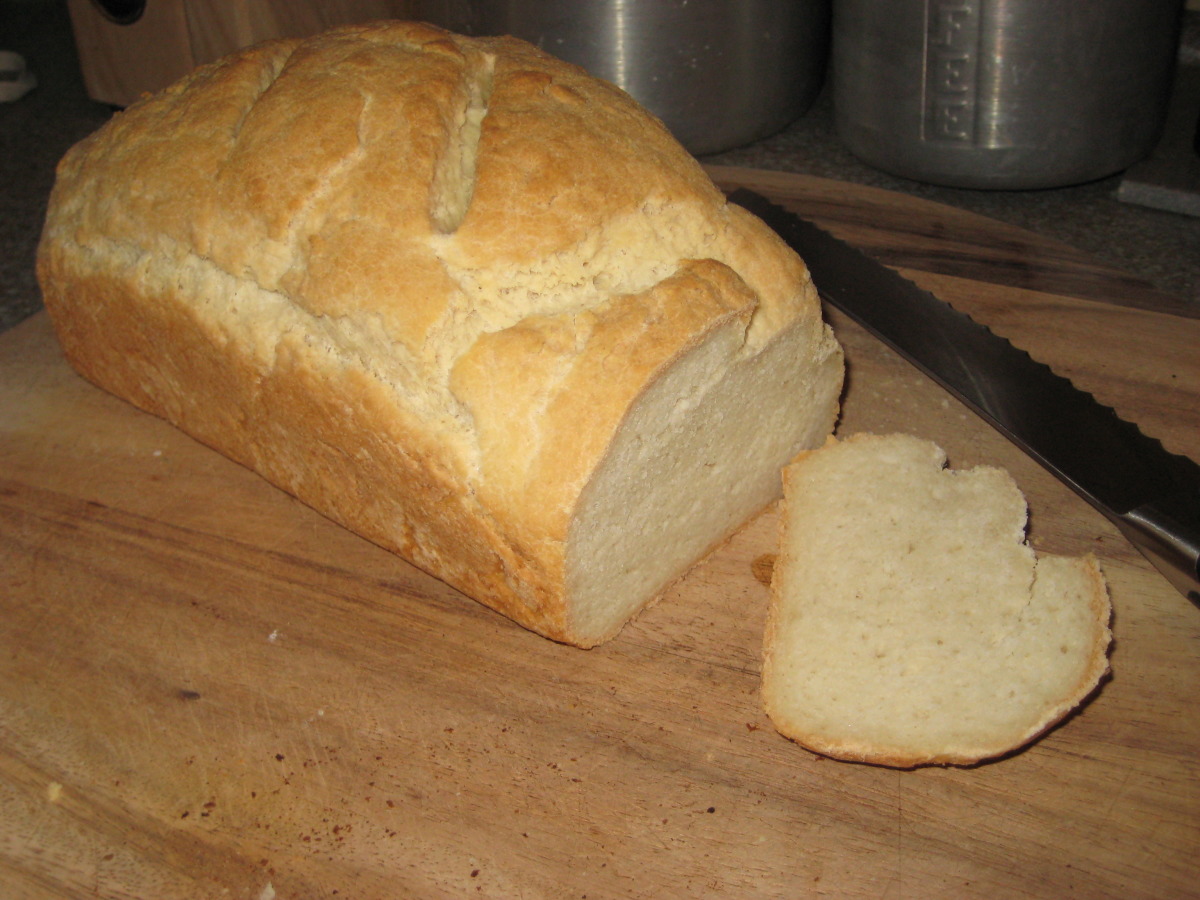
This recipe was posted for a request for gluten&lactose free bread. Quoting the website that this recipe was taken from, "This recipe comes from Glenna Vance at Red Star who was looking for a moist and tasty gluten-free bread that reduces the cholesterol (no egg yolks) and is also lactose-free. This is a real gift for gluten-free bread bakers!" I'm not really sure of the prep time
Provided by love4culinary
Categories Yeast Breads
Time 55m
Yield 1 loaf
Number Of Ingredients 13
Steps:
- In a med sized bowl, measure all of the dry ingredients.
- Stir or whisk well.
- Combine liquids and mix well.
- Large Bread Machine method: Transfer wet and dry ingredients and yeast to baking pan of bread machine in the order suggested by the manufacturer.
- Press start.
- Help mix dough during kneading cycle; Mixture will be very thick.
- Use 1 rise and 1 knead cycle if machine is programmable.
- Remove upon completion of baking cycle.
- Oven method: Preheat oven to 375°F.
- Lightly oil a 9-x-5-inch loaf pan.
- Add yeast to mix and beat in liquids.
- Beat 2 minutes.
- Scrape into loaf pan, cover with plastic wrap, and let rise to the top of the pan.
- Bake 40-45 minutes or until lightly browned.
- Cool on a wire rack before slicing.
GLUTEN-FREE DAIRY-FREE BANANA BREAD

Try this delicious variation of a fabulous banana bread that is both gluten free and non-dairy! Your guests won't even taste the difference.
Provided by Betty Crocker Kitchens
Categories Side Dish
Time 2h15m
Yield 12
Number Of Ingredients 9
Steps:
- Heat oven to 350°F. Grease bottom only of 9x5- or 8x4-inch loaf pan.
- In large bowl, beat sugar and melted oil with electric mixer on medium speed until light. Add eggs; beat well. Stir in bananas and almond milk; blend well. In separate bowl, mix flour blend, baking soda, baking powder and salt. Stir into banana mixture just until moistened. Pour into pan.
- Bake 50 to 60 minutes or until toothpick inserted in center comes out clean. Cool 5 minutes in pan on cooling rack.
- Loosen sides of loaf from pan; remove from pan, and place top side up on cooling rack. Cool completely, 1 to 2 hours, before slicing. Wrap tightly, and store at room temperature up to 4 days, or refrigerate.
Nutrition Facts : Calories 190, Carbohydrate 34 g, Cholesterol 30 mg, Fat 1, Fiber 1 g, Protein 2 g, SaturatedFat 3 1/2 g, ServingSize 1 Slice, Sodium 300 mg, Sugar 15 g, TransFat 0 g
Tips:
- Use a good quality gluten-free flour blend. Not all gluten-free flour blends are created equal. Some are gritty and dense, while others are light and fluffy. Do some research to find a blend that you like and that works well for your recipes.
- Be patient when baking gluten-free bread. It takes a little longer for gluten-free bread to rise and bake than traditional bread. Don't be discouraged if your bread doesn't look perfect the first time. With a little practice, you'll be able to make delicious gluten-free bread that everyone will enjoy.
- Don't overmix the dough. Overmixing the dough will make the bread tough. Mix the dough just until it comes together and then stop.
- Use a bread machine. A bread machine can make the process of baking gluten-free bread a lot easier. Just add the ingredients to the bread machine and it will do the rest of the work for you.
- Experiment with different flavors. You can add a variety of different flavors to your gluten-free bread, such as herbs, spices, seeds, and nuts. Get creative and have fun!
Conclusion:
Baking gluten-free bread can be a challenge, but it's definitely worth it. With a little practice, you'll be able to make delicious gluten-free bread that everyone will enjoy. So don't give up! Experiment with different recipes and find one that you love. Your taste buds will thank you!
Are you curently on diet or you just want to control your food's nutritions, ingredients? We will help you find recipes by cooking method, nutrition, ingredients...
Check it out »
You'll also love


