Best 3 Gluten Free Twinkie Cake Recipes


Discover a delightful gluten-free twist on the classic Twinkie snack cake with this delectable recipe. This homemade version offers a soft and spongy golden cake filled with a creamy, luscious vanilla filling, all coated in a rich chocolate ganache. Indulge in the nostalgic flavors of childhood, reimagined for a gluten-free diet.
Dive into the detailed recipe to learn how to craft this sweet treat from scratch. Follow the step-by-step instructions, complete with helpful tips and a printable recipe card, to create a batch of these delightful cakes. Whether you're a seasoned baker or just starting out, this guide will lead you through each stage of the process, from preparing the cake batter to assembling and decorating the final product.
Along with the main Twinkie cake recipe, we've included a collection of variations to suit your preferences. Try the gluten-free chocolate Twinkie cake for a richer, decadent experience. For a fruity twist, explore the gluten-free strawberry Twinkie cake recipe. And if you're craving something extra special, venture into the gluten-free Twinkie cheesecake recipe, which combines the classic Twinkie flavors with a creamy, velvety cheesecake filling.
Whether you're looking for a gluten-free alternative to a childhood favorite or simply seeking a delicious and indulgent treat, this collection of gluten-free Twinkie cake recipes has something for everyone. So gather your ingredients, preheat your oven, and embark on a culinary journey that promises to satisfy your sweet cravings.
NO-BAKE TWINKIE CAKE (+VIDEO)

Twinkie Cake is a no-bake dessert that is a cross between a banana split and a shortcake. Layers of Twinkies, bananas, pudding and Cool Whip!
Provided by Brandie @ The Country Cook
Categories Dessert
Time 10m
Number Of Ingredients 7
Steps:
- Remove Twinkies from the wrappers. You'll use about 7 Twinkies. Slice them in half.
- Place sliced Twinkies in a 9x13-inch pan, cream side up.
- Next, layer sliced bananas on top of Twinkies.
- Spread the crushed pineapples on top of the bananas.
- In a separate bowl, combine instant pudding mix with 2 cups of cold milk.
- Whisk it together until combined and allow it to thicken slightly. It should take 3-5 minutes. It should be thickened but pourable.
- Pour pudding over crushed pineapple. Spread out until evenly coated.
- Next, spread the whipped topping over the pudding layer.
- Sprinkle chopped nuts on top of cake.
- Drain a few maraschino cherries on a paper towel. Then, place a few cherries on top.
- Cover and store cake in the fridge. Let it set for about an hour before serving.
Nutrition Facts : Calories 230 kcal, Carbohydrate 44 g, Protein 3 g, Fat 4 g, SaturatedFat 3 g, Cholesterol 29 mg, Sodium 210 mg, Fiber 1 g, Sugar 33 g, ServingSize 1 serving
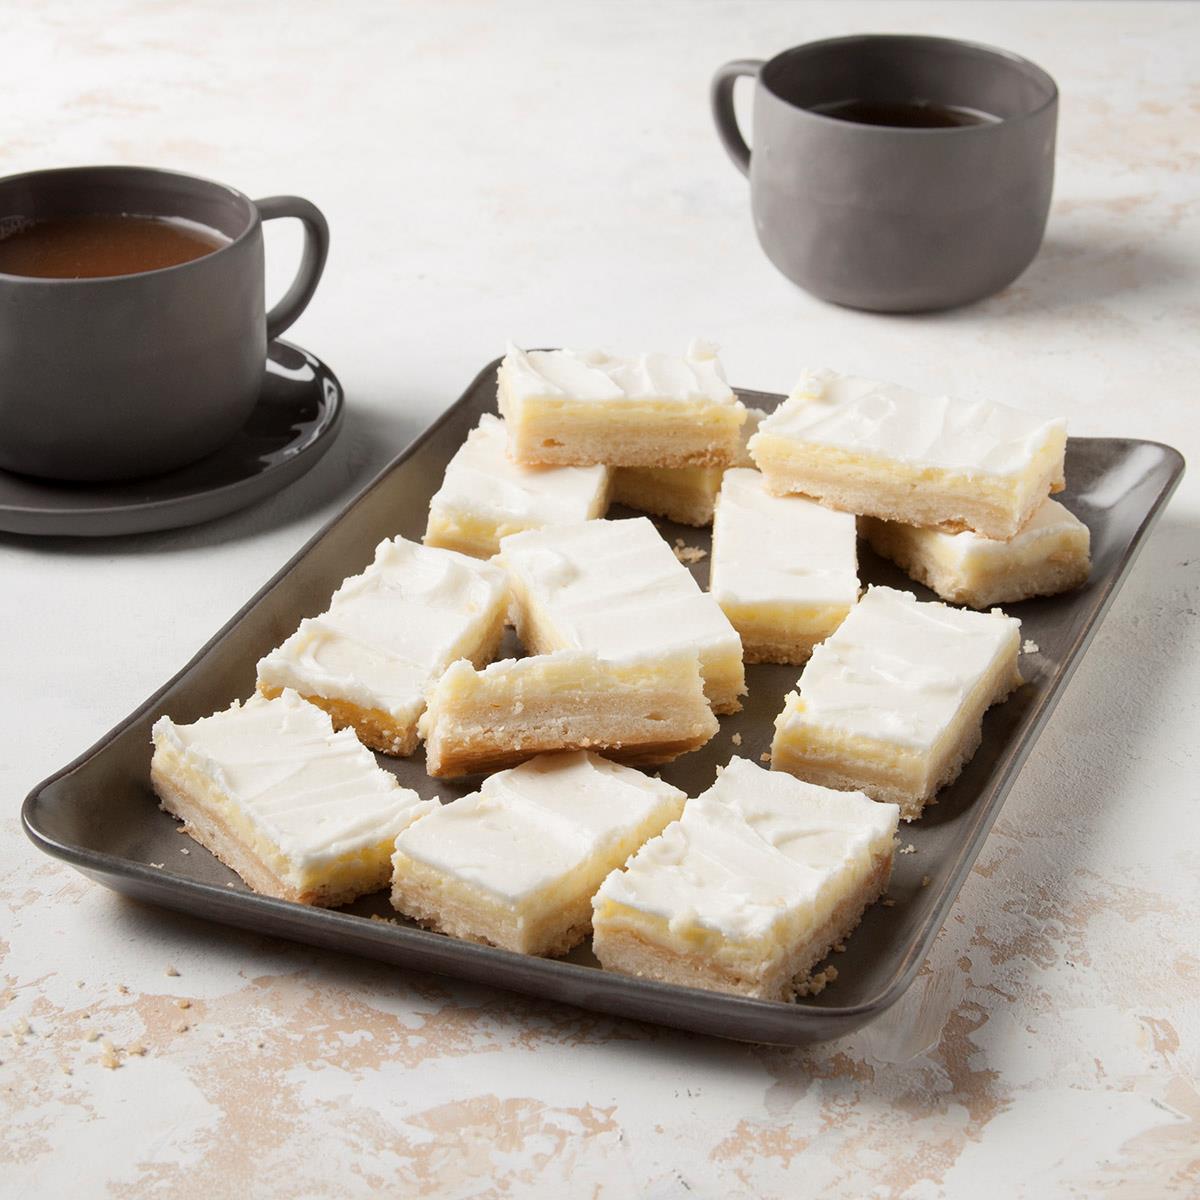
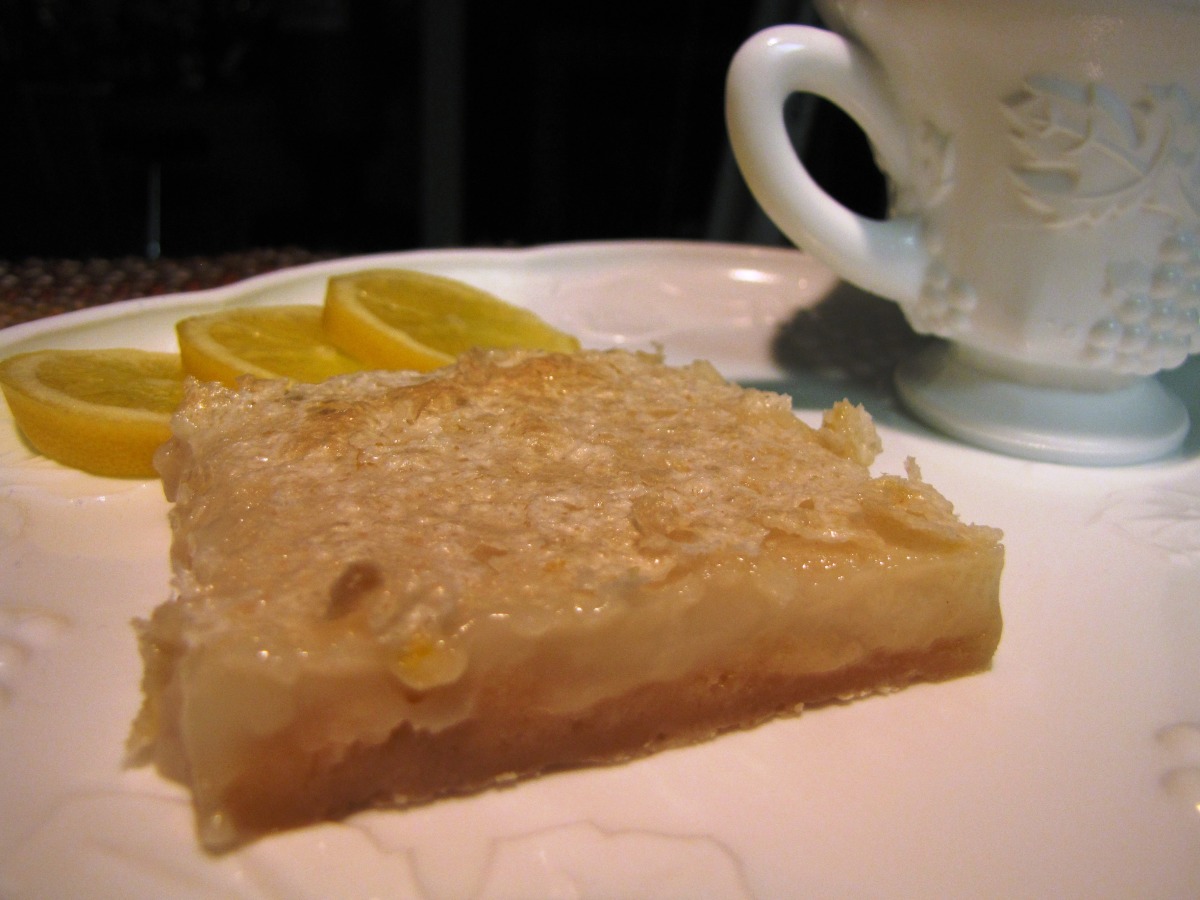
GLUTEN FREE TWINKIE CAKE
Make and share this Gluten Free Twinkie Cake recipe from Food.com.
Provided by kwlabear
Categories Free Of...
Time 1h5m
Yield 12 serving(s)
Number Of Ingredients 16
Steps:
- Not the one? See other Twinkie Cake Recipes.
- < 60 mins Cakes.
- Low Cholesterol Cakes.
- Preheat oven to 350 degrees F.
- Grease the edges of two 9-inch OR three 8-inch round cake pans and line the bottoms with wax paper.
- Combine flour, baking soda and salt in medium bowl.
- Beat shortening and 1 1/3 cups granulated sugar in a large bowl until light and fluffy.
- Add flour mixture alternately with buttermilk, heating well after each addition.
- Blend in vanilla and almond extract.
- Beat egg whites in separate bowl at medium speed with electric mixer until foamy.
- Add cream of tartar and beat at high speed until soft peaks form.
- Gradually add remaining 2/3 cup granulated sugar, beating until stiff peaks form, and fold into batter.
- Pour batter evenly into prepared pan and smooth with cake spatula.
- Bake 30 to 35 minutes or until toothpick inserted in center comes out clean.
- Cool layers in pans on wire racks for 10 minutes.
- Loosen edges and remove to racks to cool completely.
- Fill layers with Twinkie Creme Filling.
- For Twinkie Creme Filling: Combine the salt with the hot water in a small bowl and stir until salt is dissolved.
- Let this mixture cool.
- Combine the marshmallow creme, shortening, powdered sugar, and vanilla in a medium bowl and mix well with an electric mixer on high speed until fluffy.
- Add the salt solution to the filling mixture and combine.
- Makes 1-1/2 cups of creme filling.
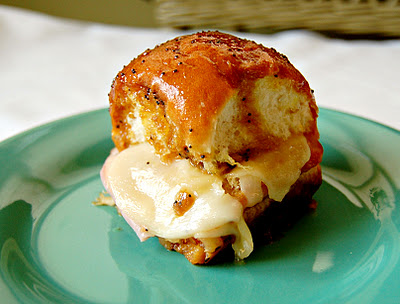
THE ULTIMATE TWINKIE CAKE!

This is an Excellent cake! I get requests from my co-workers all the time! One of the great things about this cake is that it can be inter-changeable. You can be creative and use whatever flavor cake mix you like, and you can change the flavor of the filling. You can also make this in a 9x13 pan, mini loaf pans, or mini muffin pans (my new personal favorite!) Try this cake and your kids will love it! It is also a great cake for parties or get togethers. Enjoy!
Provided by Smile1968
Categories Dessert
Time 40m
Yield 20 serving(s)
Number Of Ingredients 10
Steps:
- I listed the ingredients from a Duncan Hines cake mix, so you will need to follow the directions on which ever cake mix you use.
- Mix well,then pour batter into wax paper lined 9x13 pan. Then bake, let cool and remove from pan.
- Slice lengthwise with thread or knife. Spread filling between layers and sprinkle top with powdered sugar.
- Filling directions: Combine flour and water, cook until thick, cool in refrigerator, combine sugar,margarine,shortening and vanilla. Beat until thick and fluffy. Add cooled mixture; Beat again until fluffy and spread filling between layers. If it looks curdled, you need to beat it a little longer.
- Like I told you, you can make them into little loaf pans or mini muffin pans. Use a pastry bag to pipe the filling into the cakes.
- You could be creative and add cocoa or strawberry jelly to the filling.
- I try and sprinkle the powdered sugar on them just before I serve them as the sugar absorbs into the cake over a short period of time. You can refrigerate them (thats the way I like them, or frozen) but they are fine left out on the counter for a day or so.
- I am just guessing on the servings, it all depends on the pans you use. I think I get between 25-35 mini muffins out of 1 cake mix,1 dozen mini loafs and I am just approximating on the 20 slices in a 9x13. Also, to be honest, I am not sure the amount of time it takes to make them. The baking time is also a guess depending on which size pans you use. I make the filling while the cakes are cooking.
Nutrition Facts : Calories 267.4, Fat 14.8, SaturatedFat 2.9, Cholesterol 28.4, Sodium 208.6, Carbohydrate 31.9, Fiber 0.3, Sugar 21.3, Protein 2.3
Tips:
- Make sure all your ingredients are at room temperature before you start baking. This will help the batter to mix more evenly and prevent curdling.
- Be careful not to overmix the batter. Overmixing can make the cake tough and dense.
- If you don't have a 9x13 inch baking pan, you can use two 8-inch round pans instead. Just be sure to adjust the baking time accordingly.
- Let the cake cool completely before frosting it. This will help to prevent the frosting from melting.
- If you're short on time, you can use store-bought frosting instead of making your own.
Conclusion:
This gluten-free Twinkie cake is a delicious and easy-to-make treat that's perfect for any occasion. With its moist crumb and creamy filling, it's sure to be a hit with everyone who tries it. So next time you're craving a classic Twinkie, give this gluten-free version a try. You won't be disappointed!
Are you curently on diet or you just want to control your food's nutritions, ingredients? We will help you find recipes by cooking method, nutrition, ingredients...
Check it out »
You'll also love