**Garlic Dill Pickles: A Culinary Symphony of Tangy, Savory, and Refreshing Flavors**
Indulge in the irresistible symphony of flavors that Garlic Dill Pickles bring to your taste buds. These crisp and tangy pickles are a delightful treat, perfect for snacking, adding a burst of flavor to your favorite dishes, or enjoying as a refreshing side. With a blend of garlic, dill, and a hint of sweetness, these pickles offer a perfect balance of tanginess, savoriness, and a refreshing crunch. Explore our collection of Garlic Dill Pickle recipes, ranging from quick and easy refrigerator pickles to traditional fermented pickles, each offering a unique twist on this classic culinary creation.
OLD-FASHIONED GARLIC DILL PICKLES

When I was raising my big family, I'd make dill pickles toward the end of the growing season for winter's keeping. Crushed red pepper flakes gives them a bit of bite.- Lily Julow, Lawrenceville, Georgia
Provided by Taste of Home
Time 55m
Yield 3 quarts.
Number Of Ingredients 7
Steps:
- Place five garlic clove halves and five dill heads in each of three hot 1-quart jars. Pack cucumbers into jars to within 1/2 in. of the top., In a large saucepan, bring water, vinegar, salt and pepper flakes to a boil. Carefully ladle hot liquid over cucumbers, leaving 1/2-in. headspace. Add remaining five garlic clove halves to each jar. Remove air bubbles and adjust headspace, if necessary, by adding hot mixture. Wipe rims. Center lids on jars; screw on bands until fingertip tight. , Place jars into canner with simmering water, ensuring that they are completely covered with water. Bring to a boil; process for 15 minutes. Remove jars and cool.
Nutrition Facts : Calories 10 calories, Fat 0 fat (0 saturated fat), Cholesterol 0 cholesterol, Sodium 138mg sodium, Carbohydrate 2g carbohydrate (0 sugars, Fiber 1g fiber), Protein 0 protein.
REFRIGERATOR GARLIC DILL PICKLES
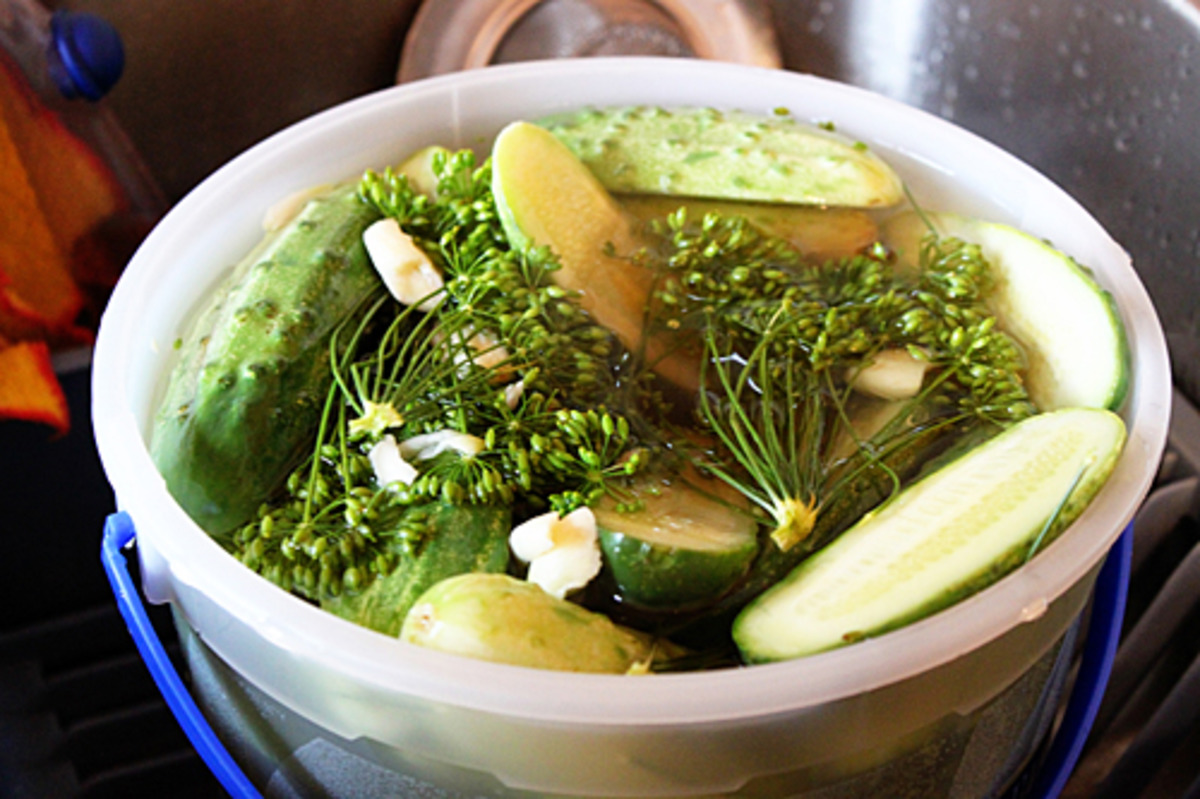
Also called "Deli Dills Refrigerator Pickles." These are the BEST dill pickles ever! You don't need to can/process these pickles, as they keep in your frig for up 9 - 12 months. This is my most-requested recipe. Everybody LOVES them.
Provided by Shel Seifert
Categories Vegetable
Time 20m
Yield 4 Quarts
Number Of Ingredients 7
Steps:
- Bring brine solution of water, vinegar & salt to a boil, then turn off burner.
- In an ice cream bucket, layer dill head(s), garlic chunks, onion slices and cucumbers. Small cucumbers can be thrown in whole. Larger cucumbers should be quartered.
- Pour warm (not hot) brine over the cucumbers and place a plate on top to keep the cucumbers submerged. Cover bucker & put in frig. Pickles can be eaten after 5 day. Pickles will last in frig for 9 - 12 months.
- NOTE: Other ingredients (such as hot peppers, whole black pepper corns, mustard seeds, red pepper flakes, etc. ) can be added to the ice cream bucket for a different flavor sensation.
Nutrition Facts : Calories 93.1, Fat 0.5, SaturatedFat 0.2, Sodium 14171.7, Carbohydrate 17.3, Fiber 2.4, Sugar 7.8, Protein 3
UKRAINIAN DILL AND GARLIC PICKLES
This recipe was handed down to me by my mother Sofia, whose pickles were always in great demand.
Provided by Tania D.
Categories Side Dish Sauces and Condiments Recipes Canning and Preserving Recipes Pickled
Time 30m
Yield 40
Number Of Ingredients 7
Steps:
- Soak cucumbers in cold water overnight.
- Sterilize a 1 gallon glass or ceramic container. Combine the water and salt in a large pot and bring to a boil. Prepare the cucumbers by trimming the ends and making a slit in the sides with a small sharp knife.
- In the bottom of the sterile container, place several stalks of dill, half of the garlic cloves, about 10 peppercorns and a slice or two of red chile pepper. Arrange half of the cucumbers over the seasonings and then repeat the layers. When the brine comes to a boil, pour over the cucumbers to cover. Place a small plate on top of the pickles to keep them submerged. Store in a cool place.
- Pickles will be ready in 4 to 10 days, depending on how warm it is. Once they have fermented to your liking, refrigerate until using.
Nutrition Facts : Calories 13.5 calories, Carbohydrate 3.2 g, Fat 0.1 g, Fiber 0.4 g, Protein 0.6 g, Sodium 1713 mg, Sugar 1 g
GARLIC DILL PICKLES
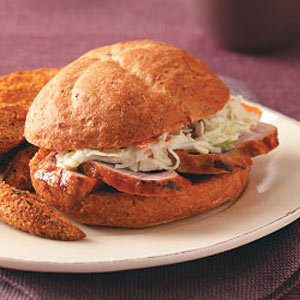
These easy-to-make pickles from Bruce and Eric Bromberg's "Blue Ribbon Cookbook" are tasty as a topping for their Barbecued Pork Sandwich or a simple snack for any time of day.
Provided by Martha Stewart
Categories Food & Cooking Appetizers
Yield Makes about 18 pickles
Number Of Ingredients 8
Steps:
- Fill a large bowl with ice and add cucumbers. Let chill for at least 30 minutes or up to overnight, in the refrigerator.
- Fill a medium nonreactive saucepan with 4 cups water. Add vinegar and salt; bring to a boil over medium-high heat. Cook, stirring occasionally, until salt is dissolved, 3 to 5 minutes. Remove from heat and let mixture cool to room temperature.
- Drain cucumbers and place in a large bowl. Add garlic, dill, mustard seeds, and bay leaf. Pour water mixture over cucumbers and place a plate or other heavy object over cucumbers to weight down. Cucumbers should be completely submerged; add more water if necessary. Cover bowl tightly with plastic wrap and let stand at room temperature for 3 to 4 days before using. Transfer to refrigerator; pickles will keep for up to 1 week.
KITTENCAL'S EASY REFRIGERATOR KOSHER GARLIC-DILL PICKLES
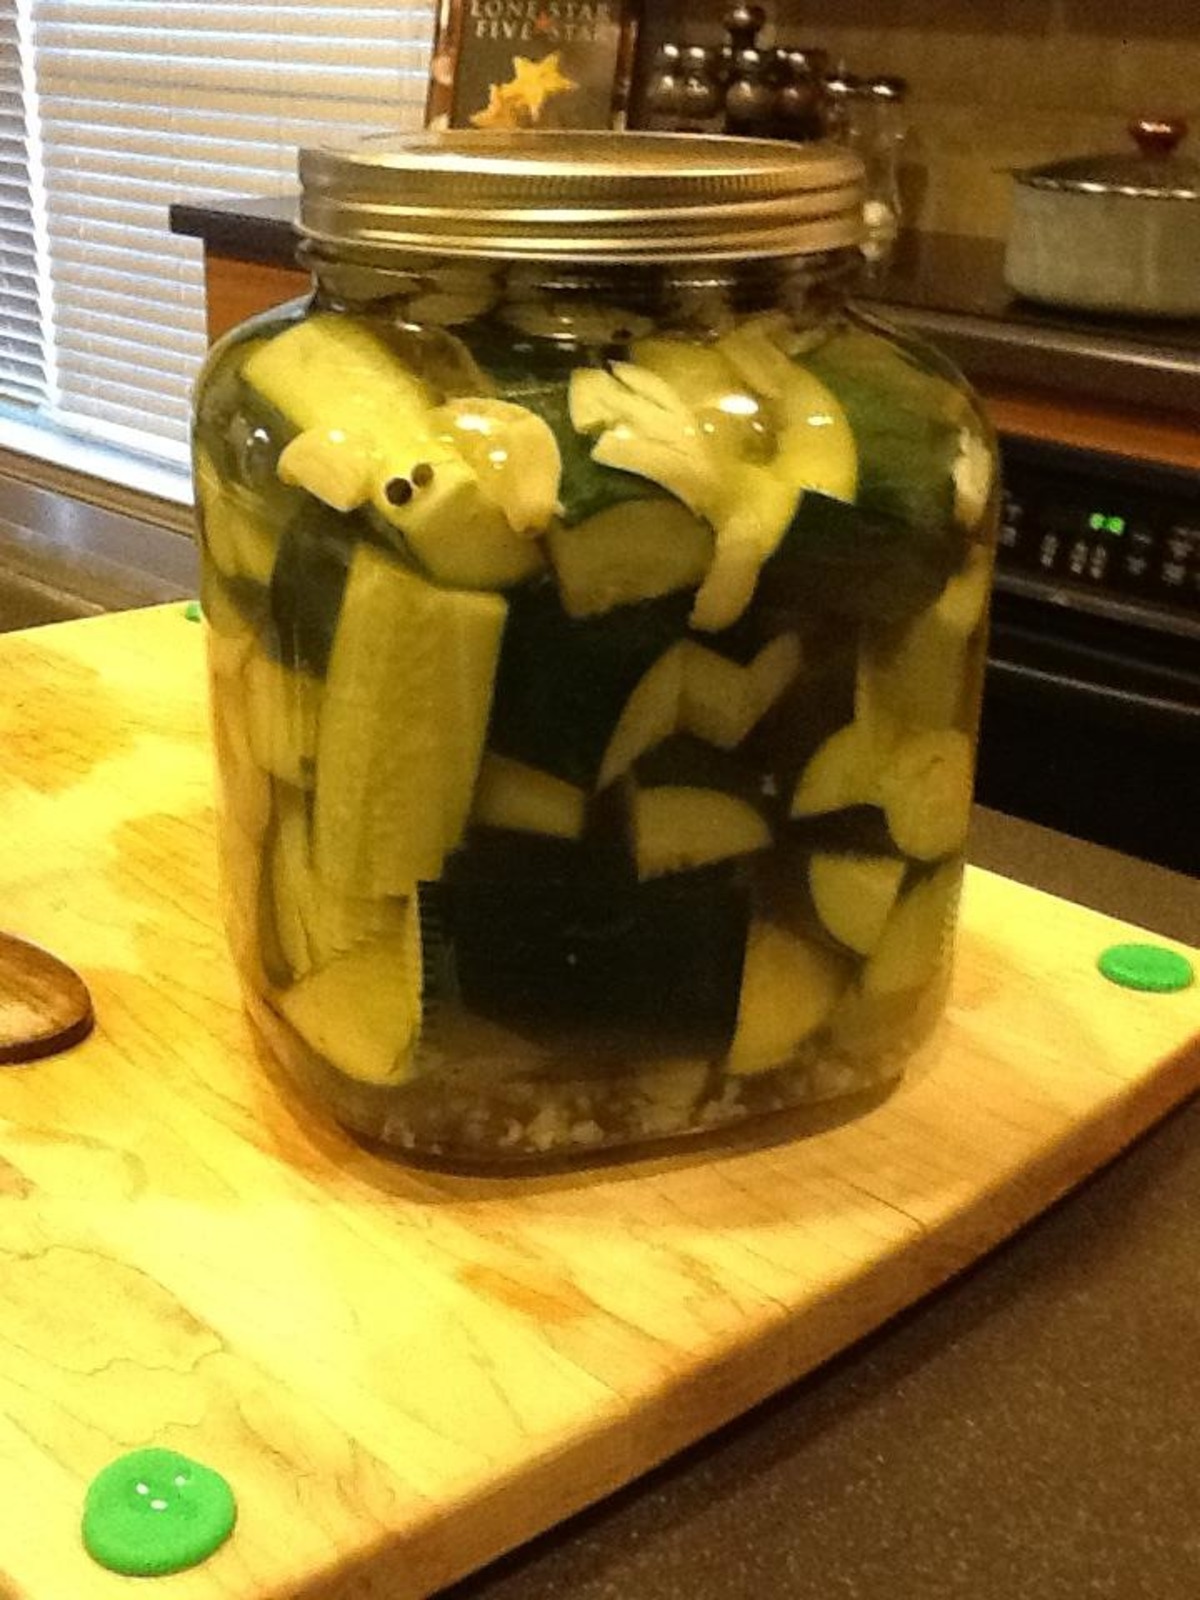
I make these every year when my pickling cucumbers are ready in my garden, they are really great pickles and so easy to make, add in more garlic and adjust the dill if desired --- these pickles develop in flavor with refrigeration time so allow them to chill at least 7 days or even longer before using, the longer the better, the pickles will keep for months in the refrigerator, use only kosher salt for this not table salt, and make certain to wash the outsides of the cucumbers thoroughly, see note on bottom --- for soaking the pickles in firstly to remove bacteria see my recipe#300387
Provided by Kittencalrecipezazz
Categories Lunch/Snacks
Time P7DT15m
Yield 2 pds pickles
Number Of Ingredients 7
Steps:
- Clean the glass jar and lid thoroughly in your dishwasher or with hot soapy water.
- Combine the water, salt and vinegar in a saucepan; bring to a boil over medium heat.
- Remove from heat; cool to room temperature.
- Pack the cucumbers and the remaining ingredients in a 2-quart (2 litre) glass jar, and pour brine (water/vinegar mixture) over them, covering the cucumbers completely.
- Store, covered in the the refrigerator.
- The pickles will be ready in 7 days, but the longer you leave them in the refrigerator the better they will be and will keep refrigerated for months (if they last that long!).
- **NOTE** since the peel is eaten on these pickles, make certain to wash and scrub the outside of the cucumbers well to remove any dirt, I use a small nail brush to scrub the outsides.
GARLIC DILL PICKLES AND PICKLED GREEN TOMATOES
It's pickling season in my house this time of the year. My husband, granddaughter and I hit the local Farmer's Market as soon as the cucumbers and green tomatoes arrive. We spend an entire morning making our pickles and work as a team. They are ready to eat after about three days in the fridge. Sometimes, we don't wait that long!...
Provided by Laurie Lenartowicz
Categories Vegetable Appetizers
Time 1h15m
Number Of Ingredients 12
Steps:
- 1. In a clean sink or basin, wash the vegetables and drain on paper towels.
- 2. In a large 14 quart pot on stove, combine the water, vinegar, salt and sugar. Bring to a boil stirring to dissolve sugar and salt.
- 3. Slice your cleaned cucumbers in half and the green tomatoes in quarters,
- 4. In each clean jar, place 2 sprigs of fresh dill, 3-4 slices of sliced garlic, 6 slices of onion and 1/4 tsp. of coriander and peppercorns. Fill each jar with enough cucumbers (standing upright) or enough green tomatoes to fill the jar up to the neck leaving 1/2 inch space at the top.
- 5. When the brine in the pot is boiling, carefully ladle hot brine over the vegetables in jars to cover them. Leave 1/4 inch space at the top of jars. Place jar lid and screw ring over jar and turn to seal tightly.
- 6. If canning, follow the manufacturers directions for safe canning and sealing of jars in a large canning pot with enough water over jar to process and seal.
- 7. I do not process mine to seal but store them immediately in the refrigerator for cold process. They are not shelf stable using this method but do not last long enough, anyway! After three days, your pickles and tomatoes are ready to eat. I can keep them safely for two months in the fridge.
MCCLURE'S GARLIC AND DILL PICKLES

This is the recipe for the famous McClure's Pickles from Bob McClure's pickling class at the Brooklyn Kitchen. Some of his pickling tips: * Trim all your cucumbers to the same length, just a bit shorter than your jars, so they fit easily without smashing. Use the trimmings to pack into available spaces. * Pour some hot vinegar over your fresh garlic for a minute before putting it into the jars. This helps keep the garlic from turning blue. * Experiment with spices, such as adding more dill or hot peppers, but maintain the proportions of vinegar, salt and water to keep food safe. * Keep cucumbers on ice until packing them in jars. This helps them stay crisp. Makes 12 half pints or 6 pints
Provided by blucoat
Categories Vegetable
Time 45m
Yield 6 pints
Number Of Ingredients 6
Steps:
- Wash cucumbers, and place in a large deep bowl with ice. Cover and put in fridge.
- Wash dill thoroughly and trim off roots.
- Place peeled garlic in a small bowl and pour hot vinegar over it. Let stand for 1 minute, then pour vinegar out.
- Fill a large pot with water. Place a jar in the pot and make sure the water is at least 1 inch above the top of the jar. Remove the test jar and bring the water to a boil.
- In another large pot, combine the vinegar, water and pickling salt. Bring the brine to a rapid boil. Stir the salt to make sure it doesn't stick to bottom of pot.
- While pots are getting up to a boil, take cucumbers out of the refrigerator and quarter them. Then take 1 spear and place it in a Mason jar to test its height. Make sure it stands 1/4 to 1/2 inch below the rim of the jar. Trim all the cucumbers to this size. (Keep the little bits for later.).
- After water is boiling, submerge the Mason jars for about 90 seconds to sterilize them. Remove them carefully with jar tongs.
- In each jar, place 2 halves of a garlic clove, one small handful of dill, then enough cucumbers to fill the jar, making sure cucumbers are below the "neckline." (If using pint jars, double the amount of dry ingredients in each jar.) Place 2-piece lids in boiling water for 90 seconds, then carefully remove them and place in a bowl.
- Fill jars with hot brine. Cap and seal the jars. Turn them over to make sure you have an adequate seal.
- Place jars back in boiling water. Process the sealed jars in boiling water for 10 minutes.
- Wait a week to two weeks before eating. Refrigerate after opening. Pickles will keep for up to one year if stored in a cool dry place.
AUNT AGNES' GARLIC DILL PICKLES
I can think of no better contribution a cucumber can make than becoming a pickle! This recipe is another handwritten family cookbook classic from my step-grandmother and great aunt, Agnes (oh, these convoluted Southern families ;). It is important to make sure your vinegar is of a high quality--don't go generic. We usually use Heinz brand. Also, this recipe is for 7-8 quarts, so adjust accordingly based on how many cucumbers you have (or their size!).
Provided by Foxgirl
Categories Lunch/Snacks
Time P21DT30m
Yield 7-8 quarts
Number Of Ingredients 6
Steps:
- Wash and pack your cucumbers in clean jars.
- Add 1 tsp dill seed or a pinch of fresh dill and one clove of garlic (if cloves are small, use 2) per quart.
- Combine vinegar, water and salt and bring to a boil.
- Pour or ladle liquid mixture into jars; wipe rims, place lids and screw on bands fingertip-tight.
- Process them in a boiling water bath for ten minutes; let cool undisturbed on a protected countertop until completely cool or overnight.
- Store them for 21 days.
- Put in refrigerator and let chill at least 24 hours before opening.
CRUNCHY REFRIGERATOR GARLIC DILL PICKLES
I LOVE garlic dill pickles. I make these every year around the 4th of July to have on hane for picnics. They're crunchy, juicy, dill-y, garlicy........they're the best!
Provided by Susan Bickta
Categories Other Appetizers
Time 40m
Number Of Ingredients 10
Steps:
- 1. Place cucumbers and onions in a plastic gallon container (I used an ice cream container), layering with the dill and garlic.
- 2. Bring water, vinegar, salt, sugar and pickling spice to a boil in a large pot. Add the alum and stir until dissolved.
- 3. Carefully pour boiling mixture over cucumbers and onions. Let cool for at least 1 hour.
- 4. Cover and refrigerate for 1 1/2 to 2 days, but no longer than 2 weeks.
Tips:
- Choose the right cucumbers: Use pickling cucumbers, which are small and have thin skin. They will give you the best results.
- Wash the cucumbers thoroughly: This will remove any dirt or bacteria that may be on the cucumbers.
- Trim the ends of the cucumbers: This will help the brine to penetrate the cucumbers more easily.
- Use a clean jar: Make sure the jar is clean and free of any cracks or chips. This will prevent the pickles from spoiling.
- Pack the cucumbers tightly into the jar: This will help to keep the pickles submerged in the brine.
- Use a good quality brine: The brine is what gives the pickles their flavor, so make sure you use a good quality recipe. The recipe in this article uses a combination of vinegar, water, sugar, salt, and spices.
- Seal the jar tightly: This will prevent air from getting into the jar and spoiling the pickles.
- Store the pickles in a cool, dark place: This will help the pickles to ferment properly.
Conclusion:
Making garlic dill pickles is a fun and easy way to preserve cucumbers and enjoy them all year long. With a little planning and preparation, you can have a jar of delicious pickles ready to eat in just a few weeks. So what are you waiting for? Give this recipe a try today!
Are you curently on diet or you just want to control your food's nutritions, ingredients? We will help you find recipes by cooking method, nutrition, ingredients...
Check it out »
You'll also love


