Best 2 Easter Eggs Decorate And Dye Options Recipes


**Unleash Your Creativity: A Journey Through Easter Egg Decorating and Dyeing Techniques**
As Easter approaches, the tradition of decorating and dyeing Easter eggs fills the air with excitement and anticipation. This vibrant and colorful practice brings families and friends together, creating cherished memories that last a lifetime. With countless decorating and dyeing options, the possibilities are endless. Whether you prefer classic solid colors, intricate patterns, or unique designs, there's a technique to suit every taste and skill level. Explore the fascinating world of Easter egg decoration, discover the secrets of achieving vibrant hues, and let your creativity shine as you transform ordinary eggs into extraordinary works of art. From natural dyes to innovative tools, this article provides a comprehensive guide to Easter egg decorating and dyeing, ensuring you create stunning eggs that will be the centerpiece of your Easter celebration.
EASTER EGGS - EGG DYE
Don't buy the tablets, use whats in your pantry! Glitter and tie-dyed eggs too! Use in recipe #153466 to make Cascarones. Cook time is drying time. Safe and natural for those of you who eat them easter morning!
Provided by MommyMakes
Categories Very Low Carbs
Time 35m
Yield 1 egg bath
Number Of Ingredients 6
Steps:
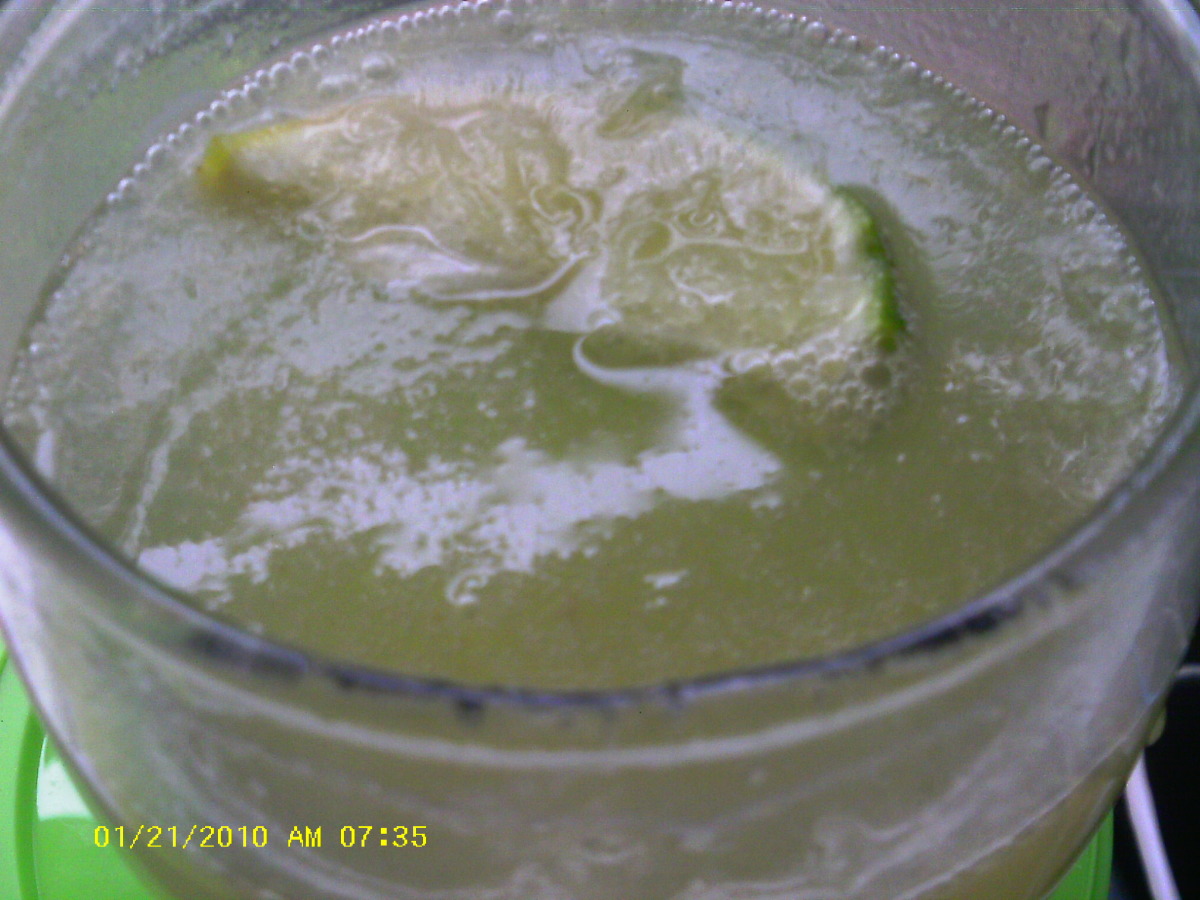
- For each dye bath combine 1/2 cup boiling water with 1 tsp vinegar and 10 drops of food coloring in a bowl. Start with 5 drops red and 5 drops yellow, for orange for example, or 6 drops blue and 4 drops green for turquoise.
- Dip hard-cooked eggs in dye bath for 3-5 minutes, extend time for richer color. Try using tongs to dip only half an egg in one color, then dip other half in a different color.
- Use tongs or a slotted spoon to remove eggs and place on wax paper to dry, blot any excess with a paper towel.
- For tie dyed eggs, add 1 tbsp olive oil to the mixture and stir with a fork. Roll egg gently in bath to pick of streaks of color. Remove egg from bath and blot oil off with a paper towel, then dry on wax paper. Once dry, lightly dip in another color if desired.
- For glitter eggs, brush dried dyed egg with a thin layer of craft glue. Spoon glitter over egg, allow to dry on wax paper. To put glitter on only part of an egg (half blue, half red for example), use masking tape over the un-glittered part (or use stickers for shapes) and once dry remove masking tape and glue/glitter the remaining area.
- For letters, numbers or shapes use small vinyl stickers (office or hardware supplies) and place them on the egg before dying. Once slightly dry peel off stickers gently. You can also use a white crayon to write names or draw pictures.
- If you plan to eat your easter eggs, never leave them unrefrigerated at any point for more than 2 hours.
EASTER EGGS - DECORATE AND DYE OPTIONS
You can have so much fun decorating Easter eggs - it's not just for kids! Here are a few suggestions for both decorating and dying. I had to lump all of the decorating ideas together because I couldn't list the different items in the ingredients. The ideas are easy, just take a look! I hope you find something that can express your artistic flair! Enjoy!
Provided by Nif_H
Categories Breakfast
Time 40m
Yield 1 batch
Number Of Ingredients 4
Steps:
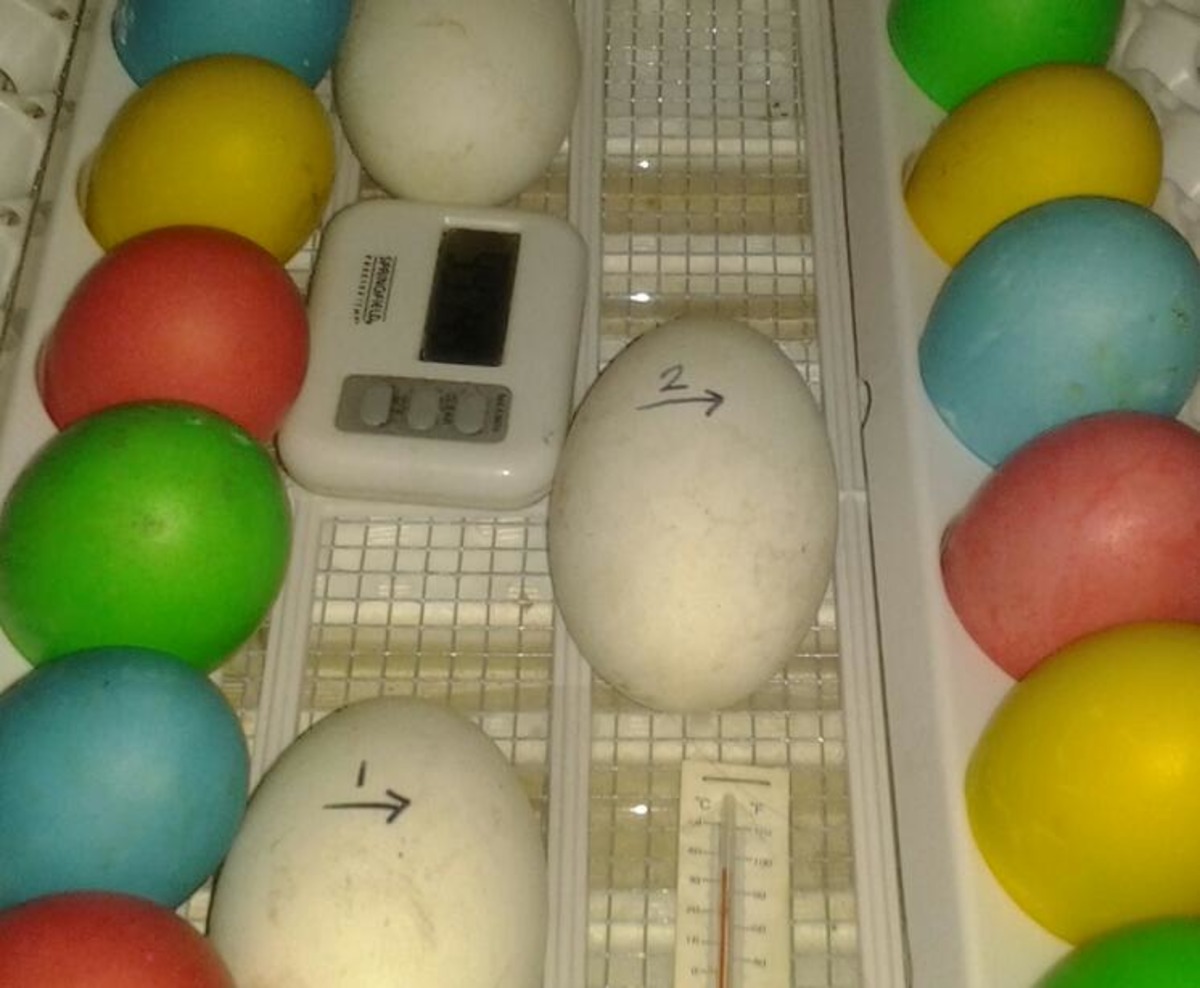
- DECORATING THE EGGS: Wrap different sized elastic bands around eggs. Wrap them snugly but not tight enough to break the eggs -- OR tie string around eggs in a random or set pattern -- OR use a white crayon to write words, make a design or pattern on your eggs -- OR place tape on eggs to create a pattern or stripes around the eggs -- OR place shaped stickers on the eggs. They can be shapes, letters, numbers, etc.
- DYING THE EGGS: For each color, mix hot water, vinegar and food coloring in a heat proof, narrow, deep dish, such as a canning jar. Mix the colors to your preference. Use 20 drops of just one color or combine colors to create many different shades and hues.
- Using tongs, submerge eggs for 3-5 minutes for a lighter shade and up to 10 minutes for a deeper shade. Remove with tongs.
- DRYING THE EGGS: You can set the eggs on wax paper if you can set the eggs on the elastics, tape or stickers. Let eggs dry for 1 to 2 hours and refrigerate -- OR you can poke many flat head pins on a thick piece of cardboard or foam board. Set eggs on top of the pins. Let eggs dry for 1 to 2 hours.
- Remove whatever decorating items you used and refrigerate.
Nutrition Facts : Calories 0.9, Sodium 7.2
Tips:
- Use fresh eggs: Fresh eggs are easier to dye and decorate because the shells are less porous.
- Wash the eggs thoroughly: This will help the dye adhere to the shells better.
- Use a variety of dyes: This will create a more festive and colorful display.
- Get creative with your decorations: You can use glitter, stickers, paint, markers, or anything else you can think of to decorate your eggs.
- Let the eggs dry completely: This will help prevent the decorations from smudging or running.
- Display your eggs proudly: Once the eggs are dry, you can display them in a bowl, basket, or on a string.
Conclusion:
Decorating and dyeing Easter eggs is a fun and creative activity that can be enjoyed by people of all ages. With a little planning and creativity, you can create beautiful eggs that will add a festive touch to your Easter celebration. So gather your supplies and get started!
Are you curently on diet or you just want to control your food's nutritions, ingredients? We will help you find recipes by cooking method, nutrition, ingredients...
Check it out »
You'll also love