Best 3 Dawson City Sourdough Starter And Sourdough Bread Recipes


In the heart of Yukon, Canada, lies Dawson City, a town steeped in gold rush history and culinary charm. From this unique corner of the world comes the Dawson City Sourdough Starter, a living legacy passed down through generations. This robust starter forms the foundation of our two featured sourdough recipes: a classic Sourdough Bread that captures the essence of Dawson City's pioneering spirit and a delectable Sourdough Pancakes recipe that adds a delightful twist to your breakfast routine. Embark on a sourdough odyssey as we unveil the secrets of crafting these culinary treasures, promising an unforgettable sensory experience.
Check out the recipes below so you can choose the best recipe for yourself!
SOURDOUGH STARTER
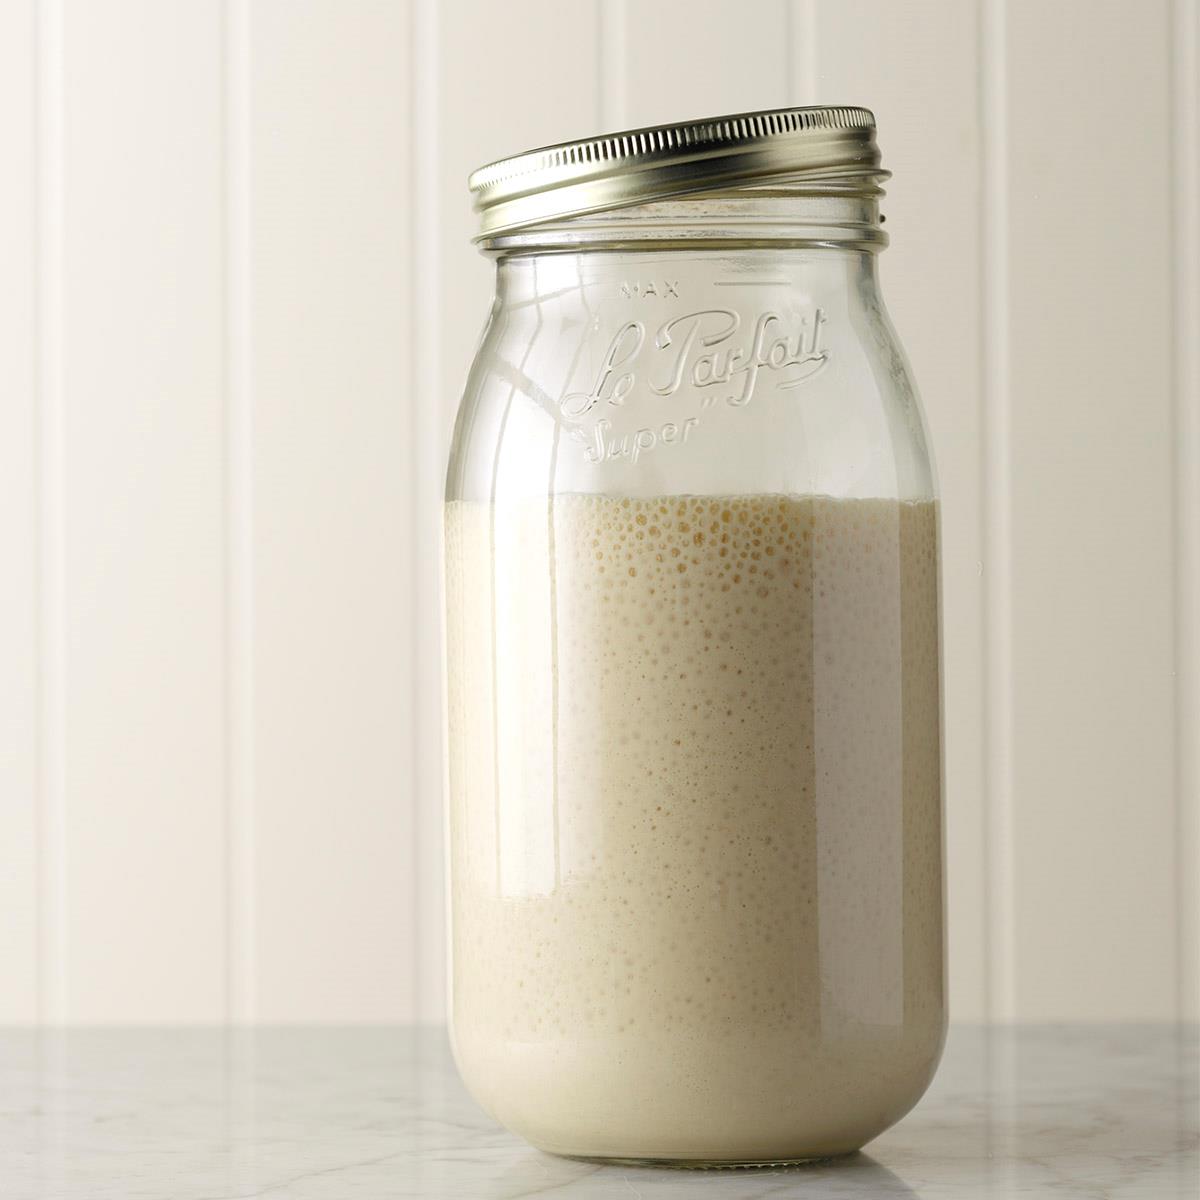
Many years ago, I received this recipe and some starter from a good friend. I use it to make my own sourdough bread. -Delila George, Junction City, Oregon
Provided by Taste of Home
Time 10m
Yield about 3 cups.
Number Of Ingredients 3
Steps:
- In a covered 4-qt. glass or ceramic container, mix flour and yeast. Gradually stir in warm water until smooth. Cover loosely with a kitchen towel; let stand in a warm place 2-4 days or until mixture is bubbly and sour smelling and a clear liquid has formed on top. (Starter may darken, but if starter turns another color or develops an offensive odor or mold, discard it and start over.) , Cover tightly and refrigerate starter until ready to use. Use and replenish starter, or nourish it, once every 1-2 weeks. To use and replenish starter:Stir to blend in any liquid on top. Remove amount of starter needed; bring to room temperature before using. For each 1/2 cup starter removed, add 1/2 cup flour and 1/2 cup warm water to the remaining starter and stir until smooth. Cover loosely and let stand in a warm place 1-2 days or until light and bubbly. Stir; cover tightly and refrigerate.To nourish starter:Remove half of the starter. Stir in equal parts of flour and warm water; cover loosely and let stand in a warm place 1-2 days or until light and bubbly. Stir; cover tightly and refrigerate.
Nutrition Facts : Calories 19 calories, Fat 0 fat (0 saturated fat), Cholesterol 0 cholesterol, Sodium 0 sodium, Carbohydrate 4g carbohydrate (0 sugars, Fiber 0 fiber), Protein 1g protein.
SOURDOUGH STARTER RECIPE BY TASTY

This sourdough starter recipe takes a bit of effort to get going, but once it's ready you're in for endless delicious bread. Don't be discouraged if your starter isn't ready in a few days- it takes a little time for it to level out. Keep in mind your sourdough starter is sensitive to temperature, so if your house is very warm, use cooler water, and if your house is chilly, use warmer water.
Provided by Katie Aubin
Categories Bakery Goods
Time 5m
Yield 1 cup
Number Of Ingredients 7
Steps:
- Day 1: Add 50 grams whole wheat flour, 50 grams bread flour, and 100 grams warm water to a clear lidded container with a capacity of 1 pint or more. Mix until there are no dry spots. Scrape down the sides of the container with a spatula. Cover with a lid.
- Use a rubber band or piece of tape to mark the mixture level. This will allow you to track any movement (eventually it will grow!) Set the starter in a warm spot. Let sit for 24 hours.
- Day 2: After 24 hours, open the container and look for signs of fermentation in the form of bubbles on top, volume growth, and/or a funky, slightly sweet acidic smell. If you see some of these signs, proceed to the next step. If not, cover the starter again and let sit for another 12-24 hours, until these signs appear. If the temperature in your house is cool, it may take a bit longer.
- Once the starter has gotten a bit bubbly and funky, it is time to discard and feed. Discard all but about 25 grams (2 tablespoons) of starter (see Note below on how to minimize waste!). Add another 100 grams warm water and stir to dissolve the remaining starter. Add 50 grams of bread flour and 50 grams of whole wheat flour and stir until there are no dry spots. Cover and let sit in a warm spot for another 24 hours.
- Days 3-15: Repeat the feeding process every day for 7-14 days. Eventually, a few hours after feeding, the starter will begin to grow, almost doubling in size, then deflate again. Once your starter is rising and falling regularly, it is in a good place.
- To test the readiness of the starter, do a float test: Fill a cup with cool water. Use a clean spoon to take a scoop of the starter (be careful not to stir the starter and deflate the air bubbles that make it float) and carefully plop it in the water. If it floats, it is gassy and alive and ready to make some bread! If not, don't despair, it can take a while to get going. Either wait longer if it has only been a few hours since feeding, or if it has been closer to 24 hours since feeding, discard and feed again.
- After passing the float test, the starter is ready to use for baking! You may find you like to use your starter when it is young, only a few hours after feeding when it just passes the float test. At this point it will smell sweet. If you want a more sour taste, use the starter 6-12 hours after feeding, when it will be more mature and smell a bit more vinegary and funky. This is up to you!
- Mold: If you see any fuzzy moldy spots on your starter that are black, red, or blue, unless it is very easy to scrape them off the top, unfortunately you need to start over. Sometimes, a while after feeding or being in the refrigerator, the starter will develop a dark, clear liquid on top. This is called hooch and is harmless. Just pour the liquid off!
- Flour: Use what you have. If you only have all-purpose flour, you can use that. If you only have bread flour, use that. If you only have whole wheat flour, you can use that, just know that you may need to feed more often because it gets funky more quickly.
- Discard: It may be tempting not to discard most of your starter every time you feed it because you don't want to waste, but we discard for a variety of reasons. We are giving the starter a lot of fresh food and water to eat. If we don't discard, the starter will retain a lot of that funkiness and also eventually grow to be huge if you just keep adding water and flour to it. I like to discard into another container and keep that container in the refrigerator until I need it for other baking projects. You can fold the discard into banana bread, pancakes, cookies, etc.
- Storage: Once your starter is up and running, you can either keep it at room temperature and feed it daily, or store it in the refrigerator. To store in the refrigerator, do a regular discard and feed, then place in the refrigerator. A day before you want to begin making bread, pull the starter out and let it come to room temperature. Then, discard and feed as usual.
- Scaling: This starter recipe calls for equal amounts of water and total flour by weight. You can scale this recipe up or down as needed, depending on how much starter the recipe you are going to make calls for.
- Enjoy!
Nutrition Facts : Calories 327 calories, Carbohydrate 67 grams, Fat 1 gram, Fiber 6 grams, Protein 11 grams, Sugar 0 grams
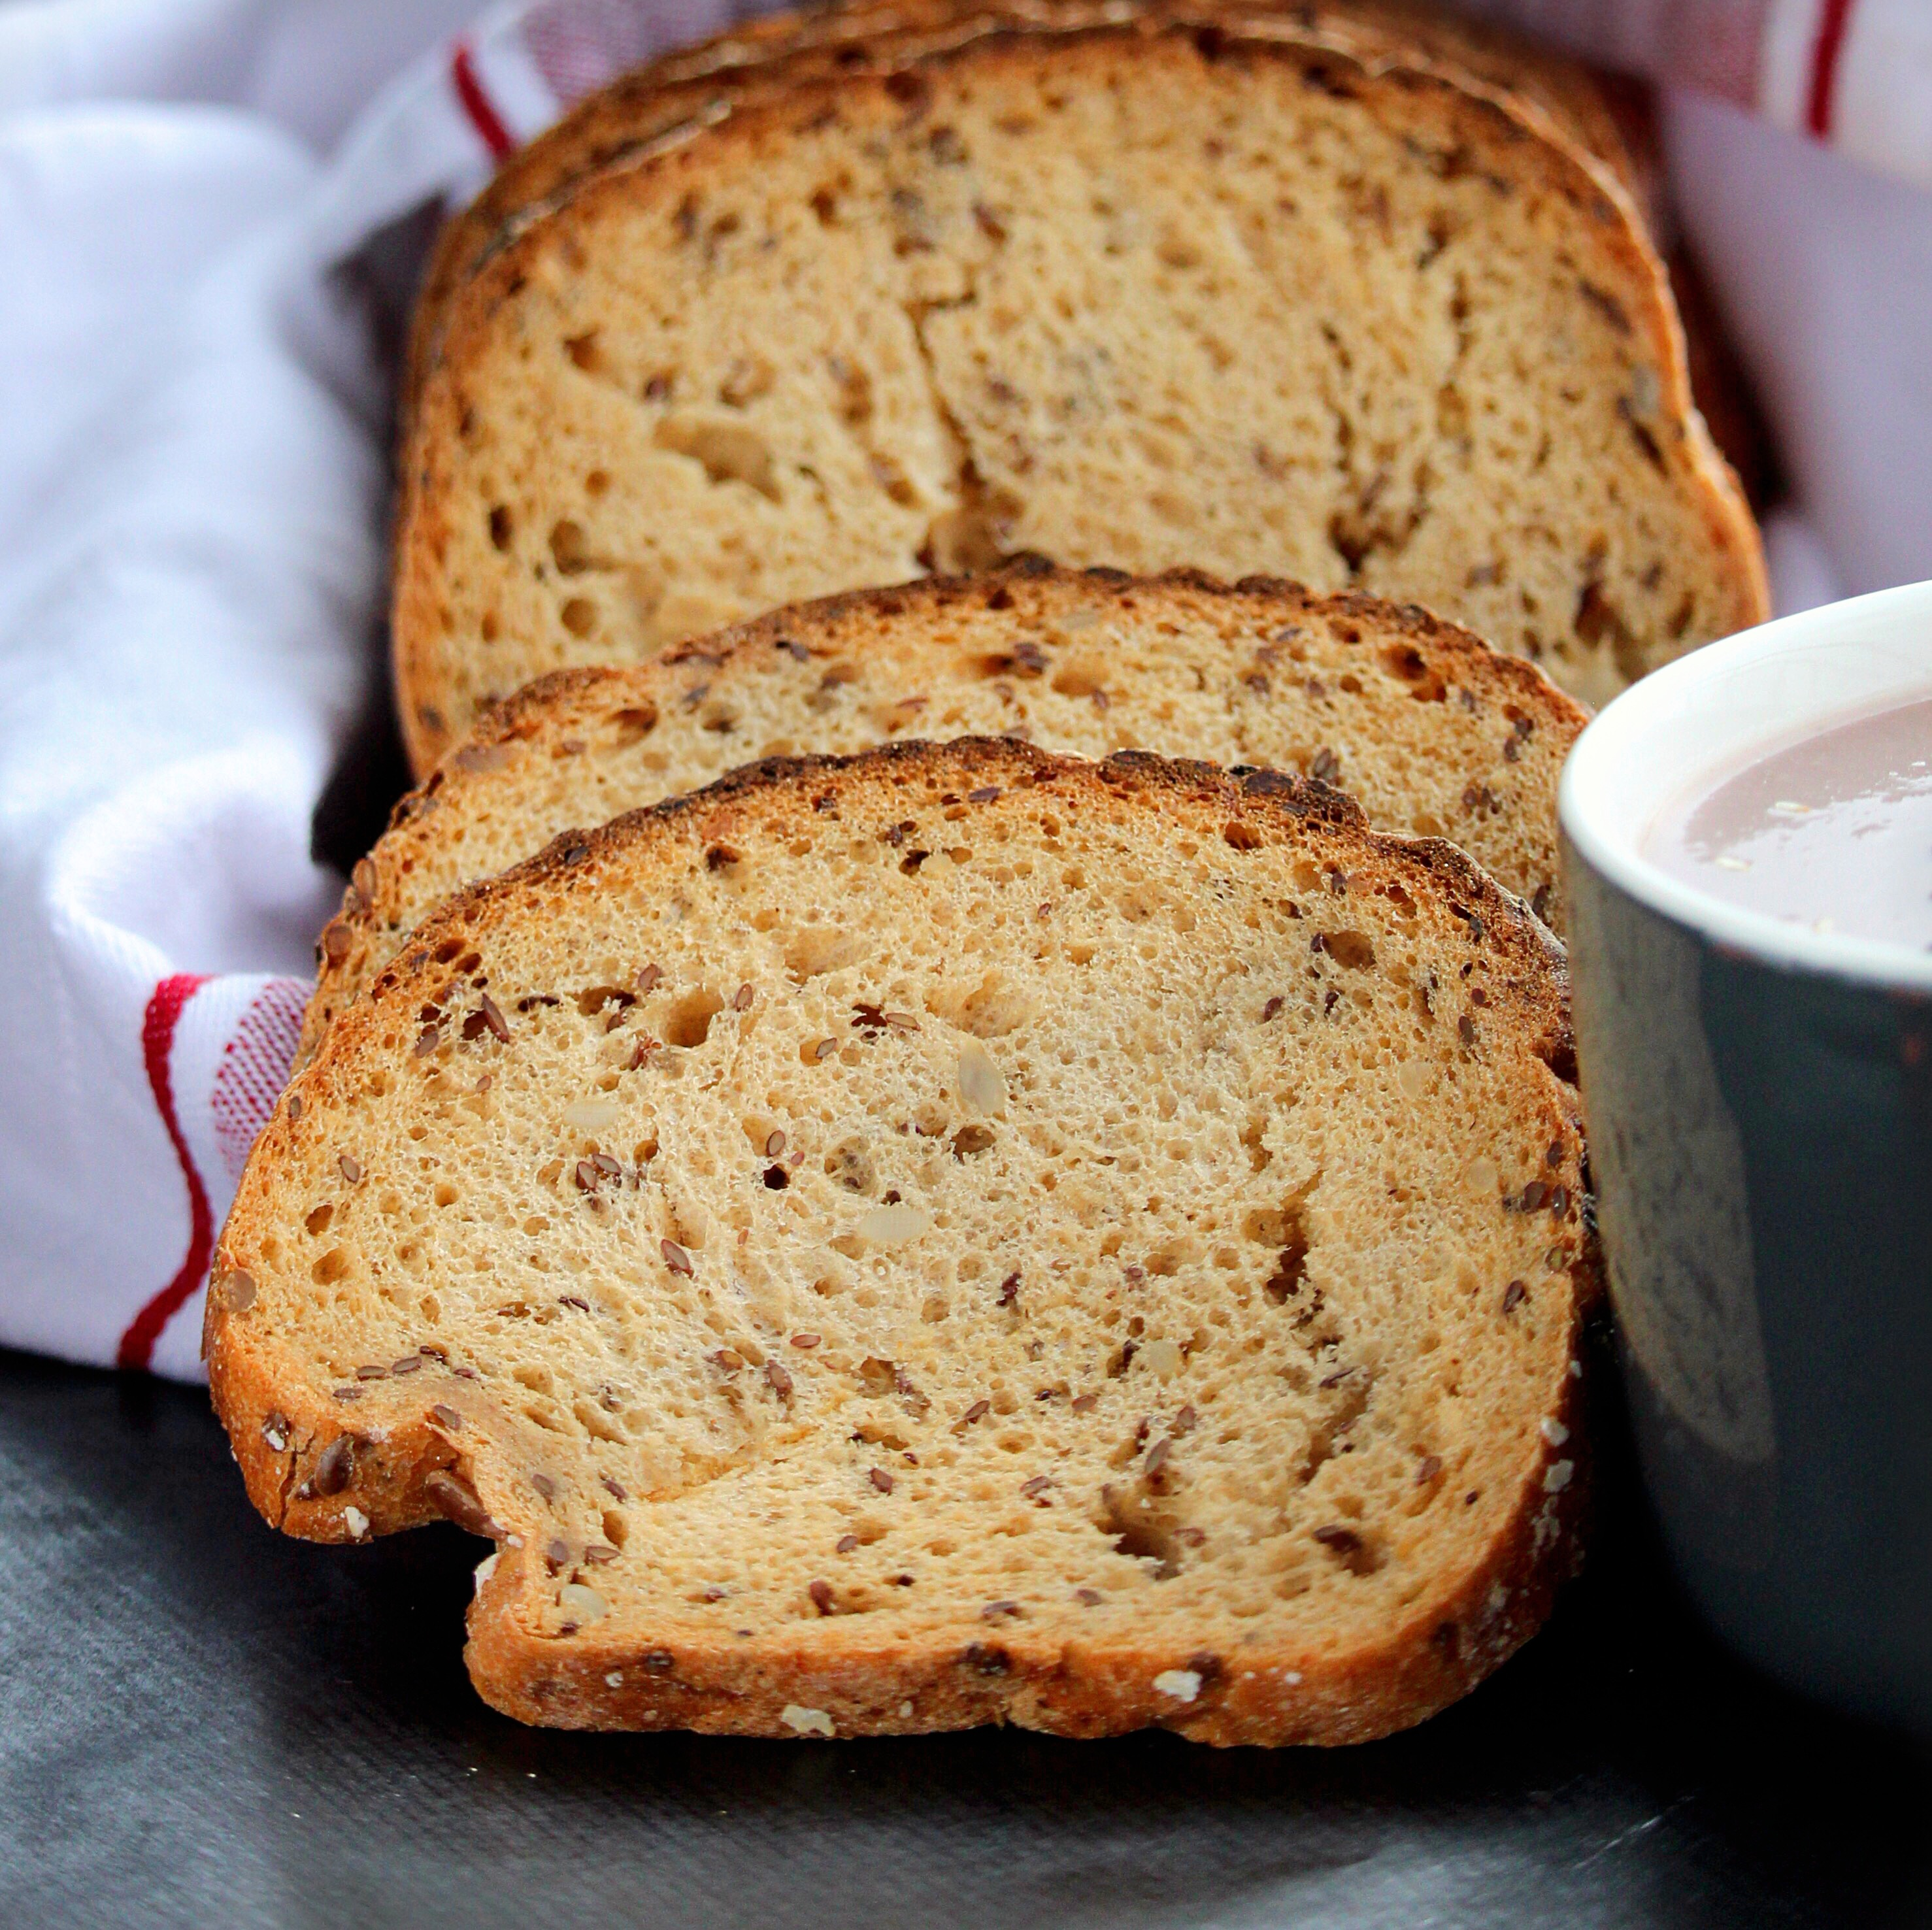
SOURDOUGH STARTER AND SOURDOUGH BREAD

Make and share this Sourdough Starter and Sourdough Bread recipe from Food.com.
Provided by DrGaellon
Categories Sourdough Breads
Time P11DT40m
Yield 1 starter
Number Of Ingredients 6
Steps:
- Day 1: mix 1/2 ounce flour (about 1 tbsp, packed) and 1 oz water (2 tbsp) in a pint jar. Cover with plastic wrap. (Do not cover tightly at any point in the process.) Stir well several times through the day.
- Day 2: no feeding, just stir whenever you think of it.
- Day 3: add 1 oz flour and 1 oz water (2 tbsp of each) and stir whenever you think of it.
- Day 4: Add 1 oz flour and 1/2 oz water. This now brings the flour and water amounts to a 50/50 ratio, or 100% hydration in bakers' parlance. Continue to stir as often as you think of it.
- Day 5: add 1 oz flour and 1 oz water (2 tbsp of each) and stir whenever you think of it.
- Day 6: add 1 oz flour and 1 oz water (2 tbsp of each) and stir whenever you think of it. By now, you should be seeing plenty of bubbles, but don't worry if you don't.
- Day 7: add 1 oz flour and 1 oz water (2 tbsp of each) and stir whenever you think of it. If you like your sourdough a little more sour, stir LESS often; the bacteria will only produce acid when deprived of oxygen.
- Day 8: add 1 oz flour and 1 oz water (2 tbsp of each) and stir whenever you think of it.
- Day 9: Assuming your starter is bubbling vigorously, you're ready for your first harvest! Remove 1/4 lb (4 oz, 1/2 c) of starter to a bowl, add 2 tbsp flour and 1 tbsp water, stir and cover with plastic wrap. Add the usual 1 oz flour and 1 oz water (2 tbsp of each) to the jar.
- Day 10: Feed starter again with 1 oz each flour and water. To make bread: Transfer prepared starter to the bowl of a stand mixer with a dough hook, then add bread flour and water. Mix on medium-low until elastic, about 5 minutes. Add salt and oil and mix until combined. Form into a ball and place into a oiled bowl. You can let it rise 2-3 hours and bake today, refrigerate overnight and bake tomorrow (let it come up to room temperature, 2 hours or so, before proceeding). Form into desired shape and let rise about 1 hour; slash top in desired pattern. Bake in preheated 350F oven. Bake about 40 minutes until golden brown and hollow-sounding when thumped in the bottom. Cool completely before slicing.
- Day 11: if you continue to bake regularly, you can feed your starter every 1-2 days with 1oz each flour and water, then harvest 4 ounces to cook with. If you don't need to bake that often, refrigerate the starter after a last feeding. It will keep at least a month in the fridge, but can last up to 3 months with proper care. Bring up to room temperature, and feed as usual for 3 days before harvesting to bake.
Tips:
- Use a digital kitchen scale: Accurately measuring ingredients is crucial for successful sourdough baking. A digital kitchen scale ensures precise measurements, leading to consistent results.
- Choose the right flour: The type of flour you use can significantly impact the outcome of your sourdough bread. Bread flour or strong flour is recommended for its high protein content, which contributes to a strong structure and chewy texture.
- Maintain a consistent temperature: Sourdough fermentation is temperature-sensitive. Aim for a warm, draft-free environment, around 75-80°F (24-27°C), to encourage optimal yeast activity and a successful rise.
- Be patient: Sourdough baking requires patience and time. Allow sufficient time for the sourdough starter to mature and develop its characteristic tangy flavor, and be patient during the fermentation and proofing stages to achieve the best results.
- Practice and experiment: Sourdough baking is a craft that improves with practice. Don't be discouraged by initial setbacks. Keep experimenting with different flours, hydration levels, and fermentation times to find what works best for you and your environment.
Conclusion:
Embarking on a sourdough baking journey is a rewarding experience that connects you with the rich history and tradition of bread making. By following these tips, you can successfully create a robust sourdough starter, nurture it, and use it to bake delicious, wholesome sourdough bread. Remember, sourdough baking is a labor of love, and the time and effort invested will be reflected in the final product. Enjoy the process, savor the flavors, and share the joy of sourdough with your loved ones. Happy baking!
Are you curently on diet or you just want to control your food's nutritions, ingredients? We will help you find recipes by cooking method, nutrition, ingredients...
Check it out »
#course #cuisine #preparation #occasion #north-american #breads #canadian #heirloom-historical #yeast #from-scratch
You'll also love