Best 6 Coconut Creme Chocolates Recipes


Indulge in a delightful culinary journey with our Coconut Creme Chocolates, a harmonious blend of creamy coconut and rich chocolate. These heavenly treats, ranging from classic bonbons to truffles and clusters, offer a symphony of flavors that will tantalize your taste buds. Embark on a delightful adventure as we guide you through each recipe, ensuring every bite is a moment of pure bliss.
Here are our top 6 tried and tested recipes!
CHOCOLATE COCONUT CREAM BARS RECIPE BY TASTY
Here's what you need: shredded coconut, coconut cream, maple syrup, salt, dark chocolate chips, coconut cream, shredded coconut
Provided by Mercedes Sandoval
Categories Desserts
Yield 16 servings
Number Of Ingredients 7
Steps:
- Combine shredded coconut, coconut cream, maple syrup, and a pinch of salt to a food processor and blend until mixture becomes easily moldable. You may have to press down the mixture and reblend a few times for this to happen.
- Pour mixture into an 8x8-inch (20x20-cm) pan lined with parchment or wax paper. Press down firmly with a rubber spatula and smooth mixture into an even layer.
- Freeze for 30 minutes.
- Prepare chocolate layer by combining dark chocolate chips and coconut cream in a bowl. Microwave in 15-second intervals, stirring mixture thoroughly in between.
- Pour chocolate mixture on top of the coconut cream layer and spread into an even layer with a rubber spatula.
- Sprinkle shredded coconut on top.
- Freeze for 1 hour, or until chocolate layer has set.
- Cut into 16 squares.
- Enjoy!
Nutrition Facts : Calories 296 calories, Carbohydrate 31 grams, Fat 19 grams, Fiber 4 grams, Protein 2 grams, Sugar 28 grams
COCONUT CREAM TRUFFLES
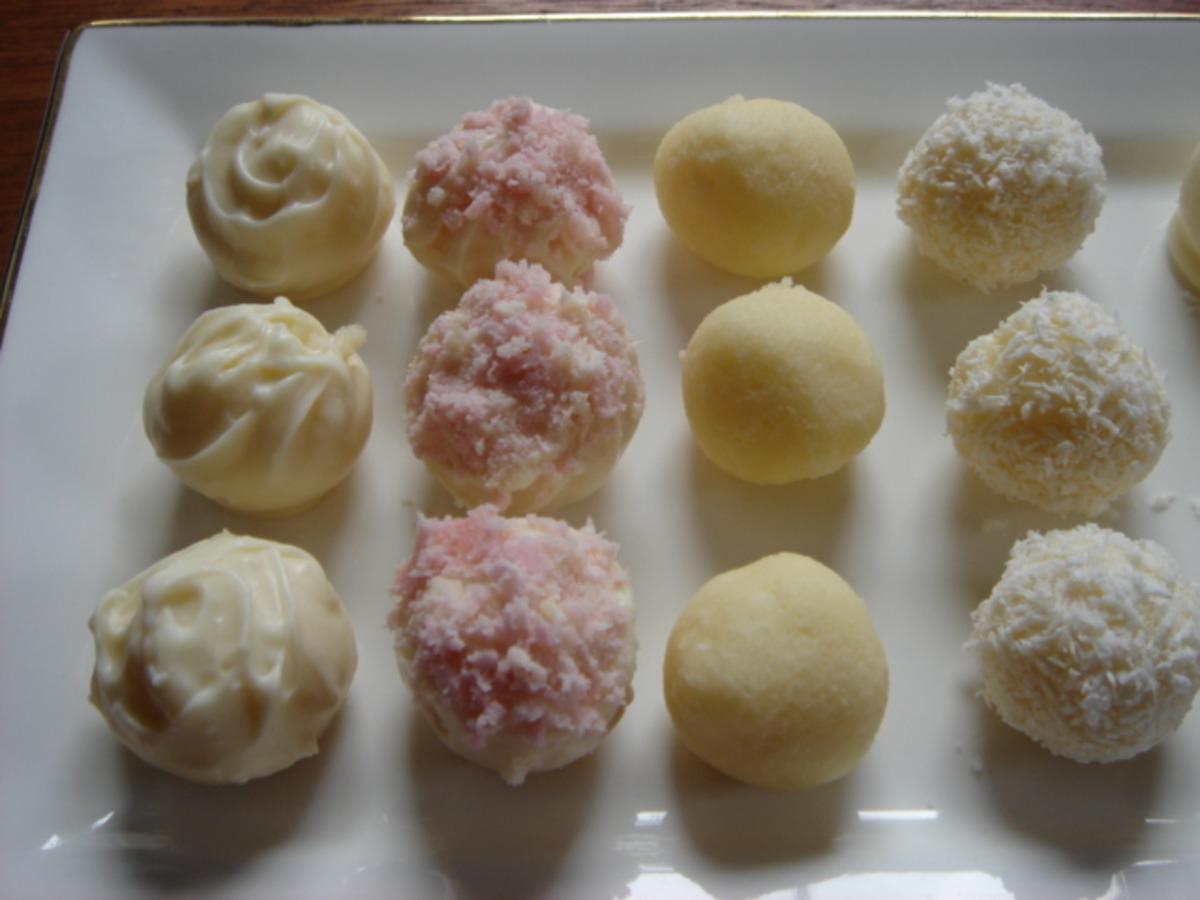
I ripped this out of a magazine I was finished with while traveling abroad... they looked so tempting.I'm not a big fan of white chocolate or coconut flavour but made them for a party and thought hubby would love them... well, shock ! they were the surprise hit of the party & I really like these too :) They made it into my family handwritten recipe book. It's easy to make and can be made in advance, both major points for making it onto my menu's. Recipe calls for Coconut essence and I can't get it here in The Netherlands ... it probably makes the taste a little less intense. You choose .. if you are a true fan of coconut throw it in, if you don't have it or like the taste as much, I wouldn't worry at all about not adding it. Enjoy ! Note: butter measurement 150g = 5 1/4 oz and chocolate measurement 375g = 13 1/4 oz.
Provided by kiwidutch
Categories Candy
Time 2h25m
Yield 50 chocolates
Number Of Ingredients 8
Steps:
- Gently melt butter and white chocolate in large bowl in microwave.
- For best results don't over melt, if just a few chocolate pieces appear solid, stir them in with what has already melted until it's all smooth.
- Add coconut milk, coconut essence (optional), desiccated coconut and icing sugar.
- Stir until well mixed.
- Recipe says chill so you can roll it into balls, freeze etc, but personally I spooned my mixture into two small plastic bags so that it formed slabs about 2cm thick, then threw it into the freezer for at least 2 hours.
- Remove slabs from freezer, peel away plastic bags and"dice" your mixture so that you have a plate full of little cubes.
- Microwave your dark or milk chocolate mixture until half of it is melted, stir until all is smooth (doing it like this meant that the mixture started to set quickly and evenly around the cubes and didn't just make puddles at their bases).
- Dip the cubes one by one into the darker chocolate mixture, turning over with a teaspoon until evenly coated.
- Place coated cubes onto a tray lined with foil.
- Leave at room temperature to set, and store in a cool place (not the fridge).
- Edited to add: making the filling into round balls does look more professional and less "home made" -- mind you, once your family and friends have tasted these they honestly won't care how they look, they'll be too busy diving back in for another one :).
- I loved the suggestion about the other flavours and played around with it -- some of my guests preferred 2T Tia Maria etc for a softer more mellow taste, other preferred theirs with 3T for a stronger taste.
- The mixtures with the Baileys/Tia Maria were softer and a little more sticky than the original, so *slightly* more messy rolling them, but your guests will love you for the 10 minutes extra work.
COCONUT CREAM PIE WITH CHOCOLATE-PAINTED CRUST
Steps:
- In the top half of a double boiler set over barely simmering water, stir the chocolate until melted. Using a pastry brush, brush the baked pie shell up to the rim with the melted chocolate. Set aside to cool and harden at room temperature or, uncovered, in the refrigerator. In a large saucepan, bring the milk, cream of coconut, and vanilla bean to a simmer over medium heat. Immediately turn off the heat and set aside to infuse for 15 minutes.
- Meanwhile, in a mixer fitted with a whisk attachment (or using a hand mixer), whip the egg yolks and sugar together until pale yellow and fluffy. With the mixer running at low speed, mix in the cornstarch, then gradually pour in the hot milk mixture.
- Strain the mixture back into the saucepan to smooth it and remove the vanilla bean. Whisking constantly, cook over medium-high heat until thick and just boiling. When the mixture thickens, the whisk will leave trail marks on the bottom of the pot and the mixture will have a few large bubbles boiling up to the top. Pour the mixture into a medium bowl and stir in the butter. Half-fill a large bowl with ice water. Rest the bowl containing the custard in the ice water and let cool, stirring frequently to cool the mixture. When the custard is cool, whip the cream until stiff. Fold the whipped cream and coconut into the custard. Pour the mixture into the chocolate-coated pie shell and smooth the top. Refrigerate uncovered at least 2 hours. (Or refrigerate until ready to serve, up to 24 hours.) Serve cold.
- In a mixer fitted with a paddle attachment (or using a hand mixer), mix the flour, salt, and sugar for 1 minute. Add the butter and mix just until you have a crumbly, sandy mixture. You should still be able to see the pieces of butter. In a small bowl, stir the water and vinegar together. With the mixer running at medium speed, drizzle in the water-vinegar mixture and mix just until a dough forms. You should still see small bits of butter.
- Turn out onto a work surface, divide the dough in 1/2, and shape into 2 round, flat disks. Wrap separately in plastic wrap and refrigerate at least 30 minutes before using. (Or, refrigerate up to 48 hours or freeze up to 1 month before using. If frozen, let thaw in the refrigerator overnight before rolling out.) When the time comes to roll out the dough, let the dough warm up for a few minutes at room temperature. Dust a work surface with just a few tablespoons of flour and keep some extra flour at hand. If you like, you can roll out the dough between 2 sheets of waxed paper (flouring the bottom sheet and the top of the dough before rolling), which makes it much easier to transfer to the pan later on. However, you won't be able to check the progress of the dough as easily. It's entirely up to you.
- Sprinkle a little flour on top of the dough and start rolling outward from the center with quick, light strokes. Don't worry if the edges split a bit; concentrate on getting a good circle going from the center. Lift up and rotate the dough 1/4 turn every minute or so to help ensure even rolling. The dough should feel smooth and soft; some say it should feel like the inside of your forearm. If it gets sticky, sprinkle on a bit more flour, but don't do this more than 2 or 3 times; the dough will absorb too much flour. Instead, put it back in refrigerator for 15 minutes to firm the butter up. Keep rolling until the circle is at least 2 inches larger than your pan (for example, 11 inches wide for a 9-inch pie pan), or 3 inches larger for deep-dish pies.
- Set your pie or tart pan nearby. We always use heavy aluminum pans, because glass pans seem to bake the crust too fast. However, we know that the advantage of glass is that you can easily check the color of the crust. Again, it's up to you. Either choice will work.
- To transfer the crust to the pan, we find it easiest to roll a finished crust up onto the rolling pin, then gently unroll it in the pan. Or, you can fold it gently in quarters, lift it up, position the center point on the center of the pan, and unfold it into the pan. If using waxed paper, peel off the top layer, turn the crust gently into the pan, and peel off the remaining paper. Make sure that the dough is allowed to settle completely into the pan.
- Don't stretch and press the dough into the corners; stretched dough will likely shrink back when you bake it. Instead, lift the edges of the crust to let it settle down into the corners. If the dough tears a bit, don't be concerned; we'll patch it in a minute. Using scissors or a sharp knife, trim the dough to within 3/4-inch of the rim. Use any extra scraps to patch the crust, pressing with your fingers (wet them if necessary) or set aside.
- Working around the rim, turn the crust under itself (not under the rim of the pan) to make a thick edge, pressing it firmly against the pan to reduce shrinkage. To decorate the rim, just press it all around with the back of a fork. For a slightly more advanced look, press the thumb and forefinger of one hand together. Use them to gently push the thick dough rim outward, while pushing inward with the forefinger of the other hand, so that they intersect in a "V" with the dough in between. Repeat all around the rim to make a wavy edge. Chill 20 minutes before baking.
- Heat the oven to 375 degrees. Line the inside of the chilled crust with aluminum foil (don't turn down over the rim, but leave the extra sticking up so that you have something to hold on to). Fill the foil all the way up to the top of the shell with pie weights, rice, or dried beans. (Pie weights are reusable metal or ceramic pellets that hold the crust in place as it bakes. You can buy them at cooking supply stores.) Bake 25 to 30 minutes, until dry and beginning to turn "blond". Lift the foil and weights out of the shell and bake another 10 to 15 minutes, checking frequently to prevent overbaking, until medium brown.
COCONUT CREAM CANDY

Make and share this Coconut Cream Candy recipe from Food.com.
Provided by Shawn H
Categories Candy
Time 1h
Yield 20 serving(s)
Number Of Ingredients 7
Steps:
- Combine all ingredients in a saucepan and heat to 238 degrees F on low heat until thick (about 45 minutes).
- Remove from heat and add vanilla.
- Place cooled mixture into bowl and knead in powdered sugar.
- Shape into small balls and roll in shredded coconut.
Nutrition Facts : Calories 202, Fat 1.7, SaturatedFat 1, Cholesterol 6.4, Sodium 141.3, Carbohydrate 46.5, Sugar 42.8, Protein 1.5
CHOCOLATE COCONUT CANDIES
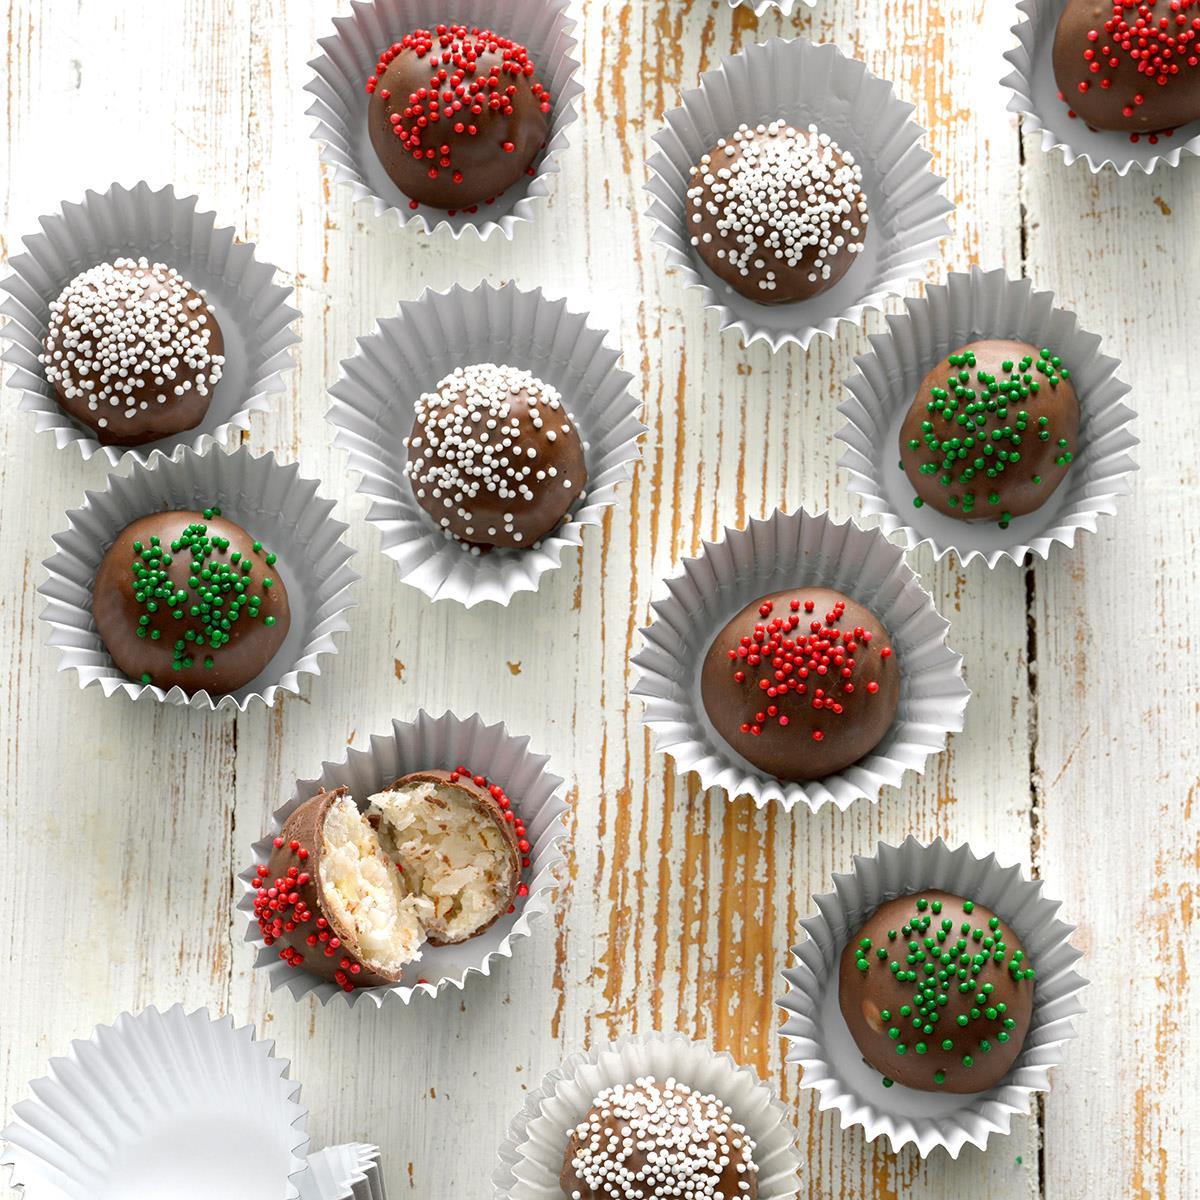
These coconut candy balls disappear just as fast as I put them out. They're a snap to whip up and make a beautiful presentation on any holiday cookie plate. I mound them high and sprinkle with coconut...then watch them vanish! -Mary Ann Marino, West Pittsburgh, Pennsylvania
Provided by Taste of Home
Categories Desserts
Time 30m
Yield 5 dozen.
Number Of Ingredients 7
Steps:
- In a large bowl, combine the confectioners' sugar, coconut, almonds and milk. Shape into 1-in. balls. Refrigerate until firm, about 20 minutes. , In a microwave, melt semisweet chips and shortening on high for about 1 minute; stir. Microwave at additional 10- to 20-second intervals, stirring until smooth., Dip balls in chocolate; allow excess to drip off. Coat or garnish with ingredients of your choice. Place on waxed paper; let stand until set. Store in an airtight container.
Nutrition Facts : Calories 157 calories, Fat 9g fat (4g saturated fat), Cholesterol 2mg cholesterol, Sodium 22mg sodium, Carbohydrate 20g carbohydrate (18g sugars, Fiber 1g fiber), Protein 2g protein.
COCONUT CARAMELS
Making your own candy may seem daunting, but time and attention are all you need. This recipe calls for two sugars: granulated, which provides the base for your caramel, and an inverted sugar, corn syrup, which stabilizes and keeps the caramel from crystalizing. The line between soft-chewy and hard candy is a delicate one, so a candy thermometer is recommended for precision. Ginger and cardamom will add a nice zing, but lean into other warm spices, such as cinnamon, black pepper or chili powder, if that's what you have on hand. A final coat of toasted, finely shredded coconut lends an almost buttery crunch, and prevents the pieces from sticking. Wrap up individually if you have the time: These are made for sharing and can be frozen for up to a month.
Provided by Yewande Komolafe
Categories snack, candies, dessert
Time 1h
Yield About 72 pieces
Number Of Ingredients 8
Steps:
- Heat oven to 350 degrees. Spread the coconut flakes in an even layer on a rimmed baking sheet, and toast until light golden brown, 5 to 8 minutes.
- Brush an 8-inch baking dish generously with coconut oil or coat with cooking spray. Sprinkle about 3 to 4 tablespoons of toasted coconut in an even layer on the bottom of the pan, and set aside.
- In a medium heavy saucepan, combine the coconut cream, sugar, corn syrup and sea salt. Bring to a boil over medium heat, stirring to dissolve the sugar. Boil, stirring frequently especially toward the end, until a candy thermometer reaches 250 degrees and caramel is a light golden brown and thickened, about 20 to 30 minutes. Remove from heat and stir in the ginger and cardamom.
- Pour the caramel into the prepared pan. Once the caramel stops bubbling and the surface forms a thin skin, about 3 minutes, sprinkle another 4 tablespoons toasted coconut across the surface. Allow to cool at room temperature and set completely, about 2 hours.
- Run a spatula around the sides of the baking dish, loosen and lift the caramel, and move onto a board or clean surface.
- Slice the caramel into 8 (1-inch-wide) strips, then across into 1/2-inch pieces, so you have about 72 caramels. Roll the sides of each piece in more toasted coconut. Wrap as individual sweets using 4- to 5-inch squares of parchment, wax paper, or cellophane, or use store-bought candy wrappers, twisting the ends to seal. Store at room temperature in a cool dry place. Caramels will keep stored at room temp for up to 7 days or frozen after wrapping for up to 1 month.
Tips:
- Use high-quality chocolate for the best flavor. Look for chocolate with a cocoa content of at least 50%.
- Temper the chocolate before using it. This will help the chocolate set properly and give it a smooth, glossy finish.
- Use a candy thermometer to measure the temperature of the chocolate. This will help you avoid overheating the chocolate, which can cause it to seize.
- Work quickly when dipping the chocolates. The chocolate will start to set quickly, so you need to work quickly to get all of the chocolates dipped.
- Place the dipped chocolates on a wire rack to cool. This will allow the excess chocolate to drip off.
- Store the chocolates in a cool, dry place. The chocolates will keep for up to 2 weeks.
Conclusion:
Coconut creme chocolates are a delicious and easy-to-make treat. They're perfect for any occasion, and they're sure to be a hit with everyone who tries them. With just a few simple ingredients, you can create a batch of these delicious chocolates that are sure to impress. So what are you waiting for? Give this recipe a try today!
Are you curently on diet or you just want to control your food's nutritions, ingredients? We will help you find recipes by cooking method, nutrition, ingredients...
Check it out »
You'll also love