Best 6 Chocolate Lined Cones Recipes


Indulge in a delightful culinary journey with our tantalizing chocolate-lined cones, a symphony of flavors and textures that will elevate your dessert repertoire. These cones are not just any ordinary treats; they're culinary masterpieces that combine the richness of chocolate with a variety of delectable fillings. From classic vanilla ice cream to refreshing sorbet and luscious mousse, our recipes offer a diverse range of options to suit every palate. Each cone is meticulously crafted with a layer of luscious chocolate, providing a crisp and satisfying bite that perfectly complements the smooth and creamy fillings. Whether you're craving a sweet and simple dessert or a more elaborate creation, our chocolate-lined cones are sure to satisfy your cravings. So, prepare to embark on a flavor adventure as we guide you through the art of making these irresistible treats.
Check out the recipes below so you can choose the best recipe for yourself!
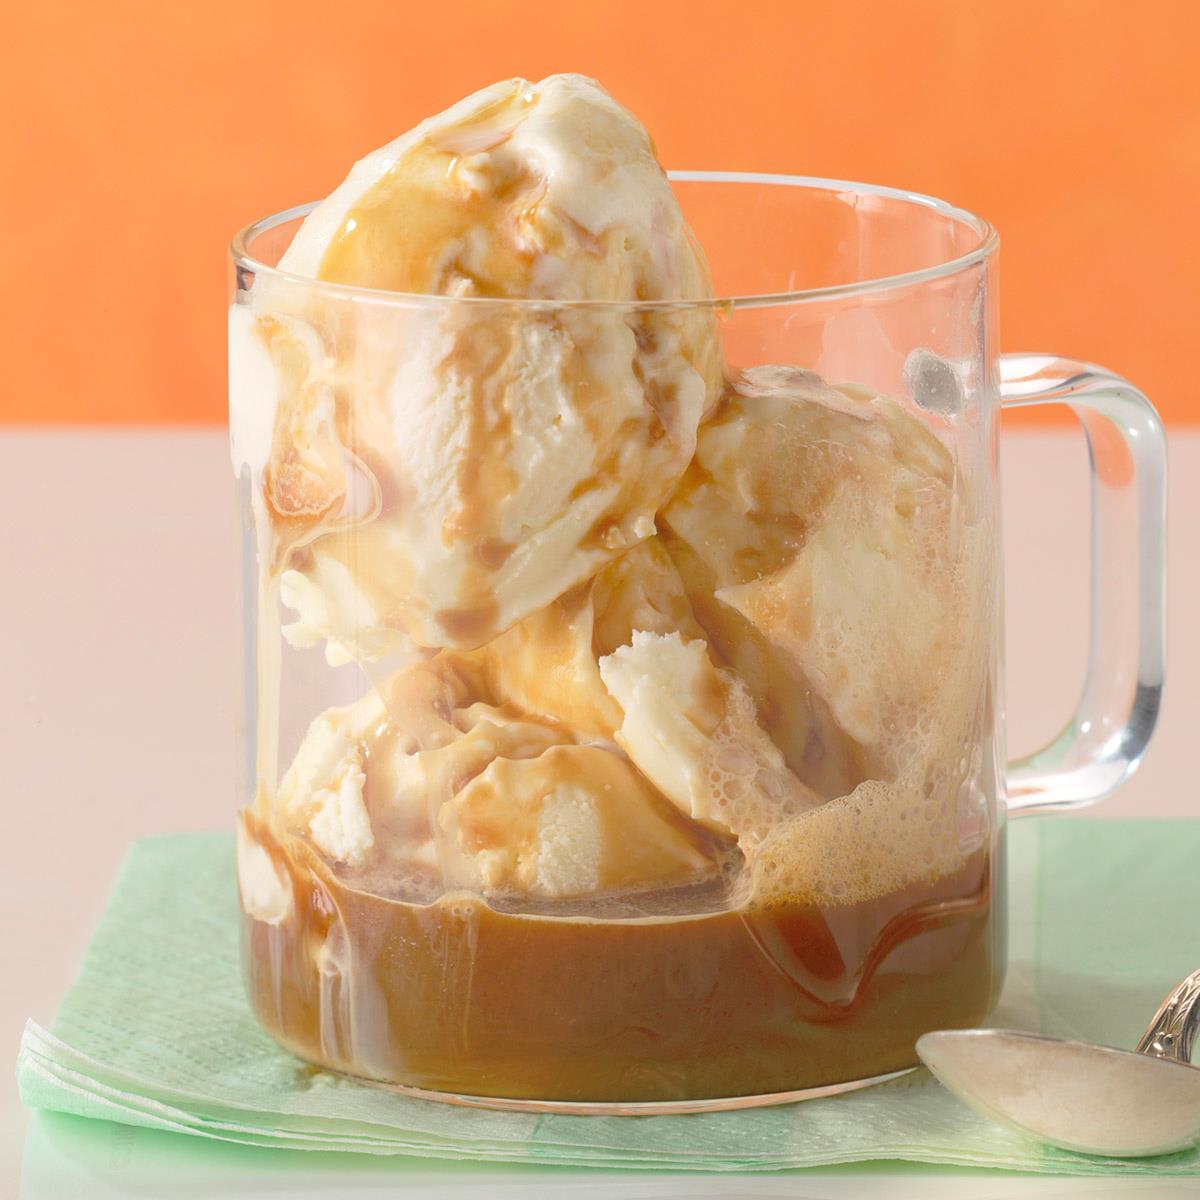
HOMEMADE CHOCOLATE-DIPPED ICE CREAM CONES

Skip the ice cream parlor this time around and try this tasty recipe for Homemade Chocolate-Dipped Ice Cream Cones.
Provided by My Food and Family
Categories Home
Time 20m
Yield 6 servings
Number Of Ingredients 5
Steps:
- In a medium bowl, microwave chocolate and vegetable oil for about 1 minute. Stir every 20 seconds until smooth.
- Place ice cream cones on a small lined baking sheet. (Make sure you have cleared space in your freezer for the sheet.). Drizzle about 1 teaspoon melted chocolate into the bottom of each ice cream cone. Place in the freezer for 10 minutes, to set chocolate.
- Remove vanilla ice cream from freezer to let thaw a few minutes before filling cones. Scoop ice cream into cones. Place filled cones into short glasses and onto baking sheet. Freeze for 10 minutes to set ice cream.
- One at a time, dip tops of cones in melted chocolate mixture (you may need to warm in your microwave for 15-20 more seconds to thin slightly).
- Immediately roll into chopped nuts. If necessary, sprinkle nuts over top to coat evenly.
- Place the cones back into the short glasses, onto the baking sheet, and into your freezer.
- Repeat process until all sugar cones are filled, dipped and sprinkled with nuts.
- Enjoy!
Nutrition Facts : Calories 0 g, Fat 0 g, SaturatedFat 0 g, TransFat 0 g, Cholesterol 0 g, Sodium 0 g, Carbohydrate 0 g, Fiber 0 g, Sugar 0 g, Protein 0 g
MILK-CHOCOLATE PINE CONES
Molded milk-chocolate pinecones make enchanting garnishes for our Yule Logs.
Provided by Martha Stewart
Categories Food & Cooking Dessert & Treats Recipes
Yield Makes 4 pinecones (8 halves)
Number Of Ingredients 1
Steps:
- Pour chocolate into 8 cavities of a chocolate-pinecone mold (available at www.onestopcandle.com), filling just to the top. Refrigerate until completely set, about 45 minutes. Remove from mold by turning out (chocolates should fall out easily). Spread about 1/8 teaspoon of remaining milk chocolate onto 1 pinecone half, and sandwich with another half. Repeat with remaining pinecone halves. Refrigerate until set, about 15 minutes.
CHOCOLATE LINED CONES
Make and share this Chocolate Lined Cones recipe from Food.com.
Provided by katew
Categories Dessert
Time 25m
Yield 24 serving(s)
Number Of Ingredients 2
Steps:
- Melt chocolate in a heatproof bowl over pan if simmering water.
- Stir til smooth.
- Spoon chcocolate inside cones, swirl to coat the inside.
- Pour out excess, leave thin layer in cone.
- Place in fridge to set.
CHOCOLATE-DIPPED ICE CREAM CONE
Steps:
- Make a cone holder: Find a small, sturdy, clean box that will fit in your freezer. Turn it over, and cut eight X's about 2 inches apart with a sharp knife. Open up each X with your fingers so it will securely hold an ice cream cone upright.
- Cook the chocolate, coconut oil and a pinch of salt in a small saucepan over medium-low heat, stirring constantly with a rubber spatula, until melted, about 4 minutes. Transfer to a small bowl.
- Pour about 1 tablespoon of melted chocolate into a sugar cone, and swirl to completely coat the inside. Pour any excess chocolate back into the bowl. Place the cone in the cone holder. Repeat with the 7 remaining cones. Freeze the cones to set the chocolate, about 10 minutes.
- Fill each cone to the top with ice cream, and top with an additional 1/3-cup scoop. Return the cones to the cone holder, and freeze to harden the ice cream, about 30 minutes.
- Dip the cones: Put your desired topping in a small bowl. If the remaining chocolate starts to solidify, heat it in the microwave in 10-second increments, stirring in between, until it is fluid again. Dip each top scoop of ice cream in the chocolate to mostly cover it, leaving a little bit exposed. Let any excess chocolate drip off, then immediately dip the top scoop in the topping. Work quickly, as the chocolate shell sets in seconds.
- Serve the cones immediately, or put them in the freezer until ready to serve. To freeze individually (for up to 2 weeks), roll the cone up in a large triangle of wax paper and tape closed.
CHOCOLATE-DIPPED ICE CREAM CONES
When you're hanging by the pool with no ice cream truck in sight, cool off with our homemade, customizable version of a classic: an ice cream cone with a crunchy chocolate shell (and cone inner coating) studded with toppings. Coconut oil helps the shell harden quickly, but you can use shortening if coconut isn't your thing. Our favorite combos to try: strawberry ice cream with pistachios, coconut ice cream with toasted coconut and salted caramel gelato with a sprinkle of sea salt. For a nice serving presentation, cover your cone holder in decorative wrapping paper (click the Photos tab for our step-by-step guide).
Provided by Cooking Channel
Categories dessert
Time 50m
Yield 8 cones
Number Of Ingredients 6
Steps:
- Make a cone holder: Find a small, sturdy, clean box that will fit in your freezer. Turn it over, and cut eight X's about 2 inches apart with a sharp knife. Open up each X with your fingers so it will securely hold an ice cream cone upright.
- Cook the chocolate, coconut oil and a pinch of salt in a small saucepan over medium-low heat, stirring constantly with a rubber spatula, until melted, about 4 minutes. Transfer to a small bowl.
- Pour about 1 tablespoon of melted chocolate into a sugar cone, and swirl to completely coat the inside. Pour any excess chocolate back into the bowl. Place the cone in the cone holder. Repeat with the 7 remaining cones. Freeze the cones to set the chocolate, about 10 minutes.
- Fill each cone to the top with ice cream, and top with an additional 1/3-cup scoop. Return the cones to the cone holder, and freeze to harden the ice cream, about 30 minutes.
- Dip the cones: Put your desired topping in a small bowl. If the remaining chocolate starts to solidify, heat it in the microwave in 10-second increments, stirring in between, until it is fluid again. Dip each top scoop of ice cream in the chocolate to mostly cover it, leaving a little bit exposed. Let any excess chocolate drip off, then immediately dip the top scoop in the topping. Work quickly, as the chocolate shell sets in seconds.
- Serve the cones immediately, or put them in the freezer until ready to serve. To freeze individually (for up to 2 weeks), roll the cone up in a large triangle of wax paper and tape closed.
HOT CHOCOLATE CONES
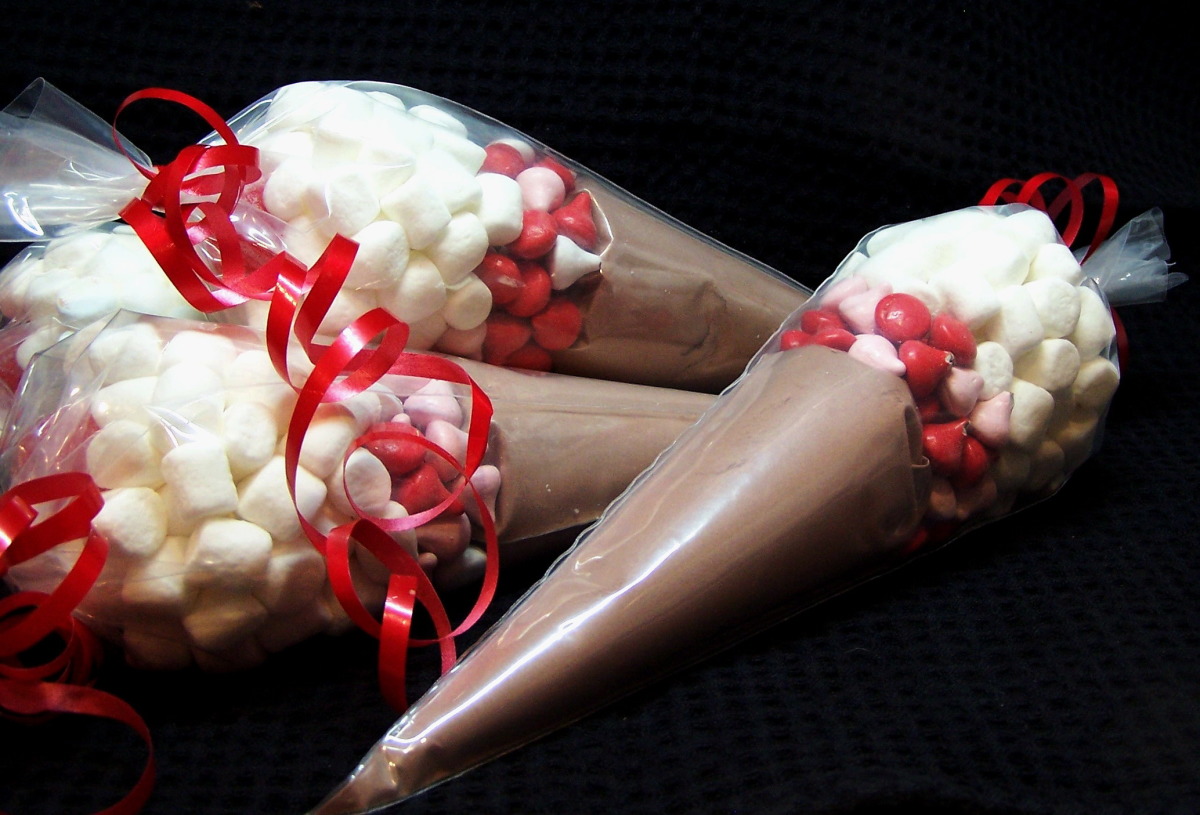
I saw this recipe in a magazine at my doctor's office this afternoon and then when I was doing some shopping I saw them again advertised as hot chocolate for 2 using the optional ingredients listed. I thought they were very cute to give as gifts to co-workers, teachers, or to include in a gift basket with a special mug. You will need 2 (6 x 12) clear cone bags and 2 clear rubber bands to make the cones. I couldn't list with the ingredients list.
Provided by PaulaG
Categories Low Cholesterol
Time 15m
Yield 1 cone
Number Of Ingredients 5
Steps:
- Pour the cocoa mix into a 6 x 12 clear cone bag and seal with a clear rubber band; trim 1 inch above band.
- Place the filled bag into a second cone bag, flattening the top.
- Layer either the chocolate chips or the M&M candies followed with the mini-marshamallows.
- Top all off with a red gumdrop and sercure the bag with the last rubber band.
- Attach a tag for instructions on making the hot chocolate. Divide the hot chocolate mix into thirds, place in a cup and fill with 3/4 cup boiling water.
- Top each cup with equal amounts of chocolate chips and marshamallows, enjoy.
Nutrition Facts : Calories 1529.2, Fat 13.8, SaturatedFat 8.2, Cholesterol 3.4, Sodium 1762.4, Carbohydrate 328.9, Fiber 12.4, Sugar 276.2, Protein 23.5
Tips:
- Make sure your ice cream cones are completely frozen before dipping them in chocolate. This will help the chocolate set quickly and prevent it from melting.
- Use a good quality chocolate for dipping. This will make a big difference in the taste of your cones.
- If you don't have a candy thermometer, you can test the temperature of the chocolate by dropping a small amount into a glass of cold water. If the chocolate hardens immediately, it is ready to use.
- Be careful not to overheat the chocolate. Overheated chocolate will be thick and difficult to work with.
- If you want to add toppings to your cones, do so before the chocolate hardens. This will help the toppings stick to the cones.
Conclusion:
Chocolate lined cones are a delicious and easy-to-make treat that is perfect for any occasion. With a few simple ingredients and a little bit of time, you can create a delicious dessert that your family and friends will love. So next time you're looking for a sweet treat, give chocolate lined cones a try!
Are you curently on diet or you just want to control your food's nutritions, ingredients? We will help you find recipes by cooking method, nutrition, ingredients...
Check it out »
#weeknight #30-minutes-or-less #time-to-make #course #main-ingredient #preparation #occasion #for-large-groups #5-ingredients-or-less #desserts #easy #kid-friendly #vegetarian #chocolate #dietary #inexpensive #novelty #number-of-servings
You'll also love