Best 3 Blue Ribbon Gluten Free Pie Crust Recipes


Indulge in a delightful gluten-free baking experience with our comprehensive guide to making the perfect pie crust. Discover the secrets of creating a flaky, golden-brown crust that will elevate your pies and tarts to new heights.
This collection of recipes caters to every dietary preference, offering variations for classic pie crust, vegan pie crust, and even a grain-free alternative. With step-by-step instructions, expert tips, and a troubleshooting guide, we'll guide you through the process, ensuring success every time.
Embrace the joy of gluten-free baking and create stunning pies that are both delicious and visually appealing. Whether you're a seasoned baker or just starting out, our recipes will empower you to craft extraordinary gluten-free pies that will impress your family and friends.
**Recipes Included:**
1. **Classic Gluten-Free Pie Crust:**
- A versatile recipe that forms the foundation for a variety of pies and tarts.
- Made with a blend of gluten-free flours, butter, and ice water, this crust is flaky and tender.
2. **Vegan Gluten-Free Pie Crust:**
- A plant-based alternative that delivers the same flaky texture and golden-brown color.
- Utilizes a combination of gluten-free flours, vegan butter, and ice water.
3. **Grain-Free Gluten-Free Pie Crust:**
- A unique crust option for those with grain sensitivities or following a paleo diet.
- Made with a combination of almond flour, coconut flour, and butter, this crust is nutty and flavorful.
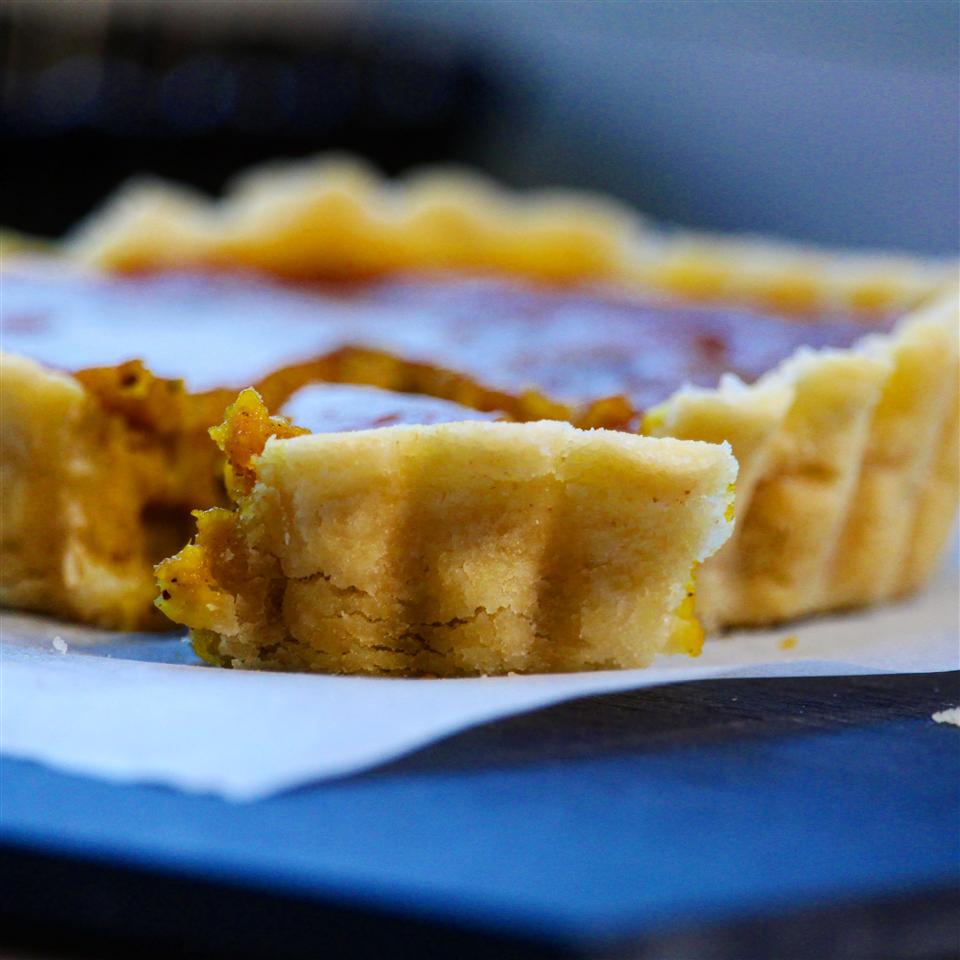
GLUTEN-FREE PIE CRUST
Make a homemade gluten-free pie crust using just three simple ingredients-gluten-free flour, shortening or butter, and cold water.
Provided by Jolinda Hackett
Categories Dessert Pie Ingredient
Time 30m
Number Of Ingredients 3
Steps:
- Gather the ingredients.
- Heat the oven to 400 F. Have an 8-inch pie pan at the ready.
- In a medium bowl, cut the shortening or butter into the gluten-free flour until crumbly.
- Add the cold water and use your hands to work the dough until soft. The mixture will be crumbly at first but will slowly come together. Do not overmix.
- Form the dough into a single ball.
- Place the dough in an 8-inch pie pan and press it into the bottom and sides. You can use the back of a spoon, a fork, or even your fingers. Alternatively, you can roll out the dough , line the pan with the rolled-out dough and crimp the edges.
- Use a fork to prick the bottom of the crust a few times. This allows steam to escape as needed and helps to ensure that your pie will bake evenly and smoothly.
- Place your prepared pie crust in the heated oven and bake for 12 to 15 minutes, or until the edges of the pie crust are golden brown. Cool completely on a wire rack before adding pie filling.
Nutrition Facts : Calories 224 kcal, Carbohydrate 24 g, Cholesterol 7 mg, Fiber 1 g, Protein 2 g, SaturatedFat 5 g, Sodium 0 mg, Sugar 0 g, Fat 13 g, ServingSize 1 crust (4 servings), UnsaturatedFat 0 g
NEVER-FAIL GLUTEN-FREE PIE CRUST
A gluten-free pie crust using common ingredients. I've adjusted the method over time and have found this final recipe to work every time. It is perfect for both sweet and savory dishes. The trick is leaving large chunks of butter, whole, so they create a flaky crust. The baked crust holds its shape quite well and delivers a nice slice of filled pie beautifully without falling apart.
Provided by Buckwheat Queen
Categories Desserts Pies 100+ Pie Crust Recipes Pastry Crusts
Time 1h10m
Yield 16
Number Of Ingredients 6
Steps:
- Place brown rice flour in a resealable plastic bag. Add butter to the bag one cube at a time, shaking to coat each cube evenly with flour. Seal bag and place in the freezer for 15 minutes.
- Whisk eggs and vinegar together in a small bowl. Place in the refrigerator.
- Pour gluten-free flour into a large bowl. Cut in butter with your fingers until mixture resembles pebbles with some large lumps of butter remaining. Stir in egg and vinegar mixture. Mix in water one tablespoon at a time until dough is no longer sticky and forms a ball.
- Wrap dough in plastic wrap; refrigerate until firm, about 30 minutes.
- Divide dough into 2 pieces and roll out to desired thickness on a lightly floured work surface.
Nutrition Facts : Calories 185.4 calories, Carbohydrate 16.5 g, Cholesterol 53.8 mg, Fat 12.9 g, Fiber 2.2 g, Protein 3.1 g, SaturatedFat 7.5 g, Sodium 90.6 mg, Sugar 0.8 g
PIE CRUST - BLUE RIBBON
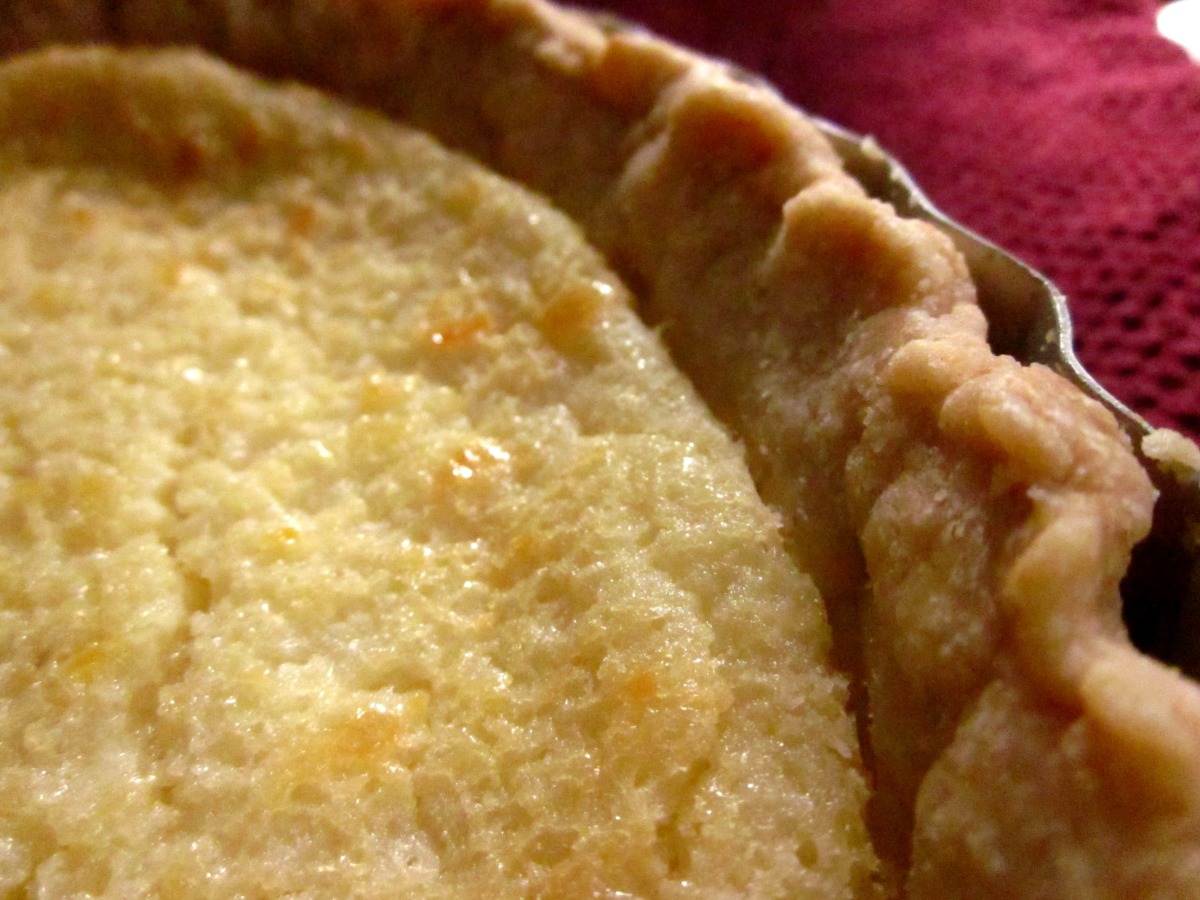
My family has used this recipe for years, it has even won First Prize at our local fair, many times. I hated to post this but I could not find another like it. I use Recipe #148727 for the filling, every holiday :) Note: I just tried this crust with Chicken Pot Pie and ummmm just the best This will make 3 each 8" crust or 2 ea 9" crusts. When I take the time to make crust, I make extra, I roll it out between 2 sheets of wax paper and place in the large tupperware (about 2" high) flat bowl and place in freezer...then when I want to make a pie, I can do so in a hurry!
Provided by Big Sis
Categories Dessert
Time 5m
Yield 3 serving(s)
Number Of Ingredients 6
Steps:
- Using a pastry cutter, or fork and knife, combine flour shortening to resemble small peas OR do what I do, using my Kitchen Aid Mixer, mix until mixture resembles small peas. Do NOT over Mix.
- In a separate bowl, mix balance of ingredients.
- Add egg mixture (Egg, Salt, Water & Vinegar) to shortening and flour, until mixture forms together.
- DO NOT over mix.
- EDIT (11/5/2019): I no longer roll out between two pieces of wax paper. I now use a Bethany 20 Inch Pastry Board and Cloth. Before that I was using a pastry cloth with a rolling pin cover. Either of these methods I found was so much easier than the 2 sheets of wax paper as my Mom showed me how to do. (I am now 65).
- Follow your recipes for baking directions. I cook a two crust cherry pie at 375 for approx 50 minutes. Sometimes I have to use a pie crust shield for the edge for the last 10 min or so.
- If I am doing a cream pie, I put on my lower rack for 425 and immediately lower the oven to 400 for 10 to 12 minute.
Nutrition Facts : Calories 1083.9, Fat 71.1, SaturatedFat 17.8, Cholesterol 62, Sodium 414.6, Carbohydrate 95.5, Fiber 3.4, Sugar 0.4, Protein 15
Tips:
- Use a food processor to make the pie crust. This will help to ensure that the ingredients are evenly mixed and that the crust is flaky.
- Chill the dough before rolling it out. This will help to prevent the dough from becoming too sticky and will make it easier to work with.
- Roll out the dough on a lightly floured surface. This will help to prevent the dough from sticking to the surface and will make it easier to transfer to the pie plate.
- When transferring the dough to the pie plate, be careful not to stretch it. This could cause the dough to tear.
- Trim the edges of the dough so that they are even with the edges of the pie plate. This will help to prevent the crust from shrinking during baking.
- Bake the pie crust for 10-12 minutes, or until it is golden brown.
Conclusion:
This gluten-free pie crust is a delicious and easy-to-make alternative to traditional pie crust. It is perfect for people with celiac disease or gluten sensitivity, or for anyone who wants to enjoy a delicious pie without the gluten. With its flaky texture and golden brown color, this pie crust is sure to be a hit with everyone who tries it.
Are you curently on diet or you just want to control your food's nutritions, ingredients? We will help you find recipes by cooking method, nutrition, ingredients...
Check it out »
You'll also love