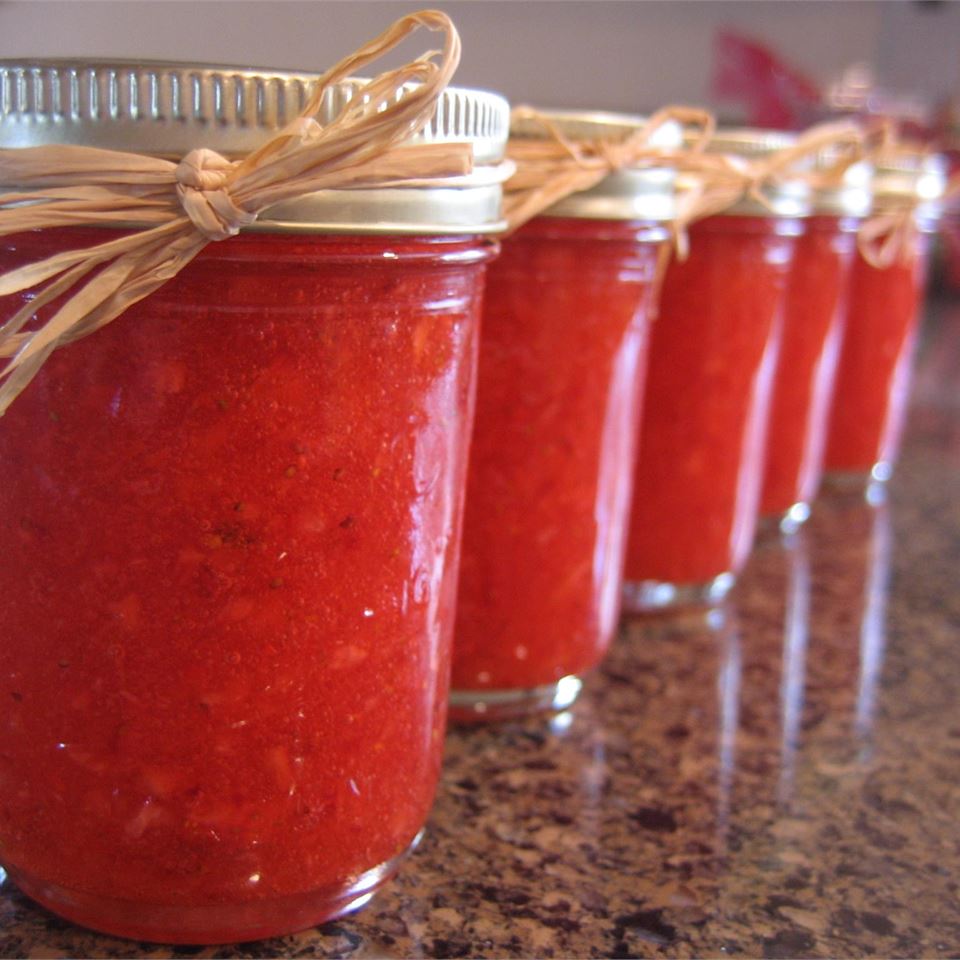
Best 6 Best Ever Strawberry Jam Recipes


Indulge in the delightful experience of homemade strawberry jam, a timeless classic that captures the essence of summer's sweet bounty. With its vibrant color, luscious texture, and burst of fruity flavor, this versatile spread elevates your culinary creations to new heights. Whether you prefer a traditional approach or a unique twist, this curated collection of recipes offers a delectable journey through the world of strawberry jam. From the classic whole berry jam to tantalizing variations like strawberry-rhubarb and strawberry-lavender, each recipe promises an explosion of flavor that will leave you craving more. Embark on this culinary adventure and transform your breakfast toast, pastries, and desserts into unforgettable味蕾 delights.
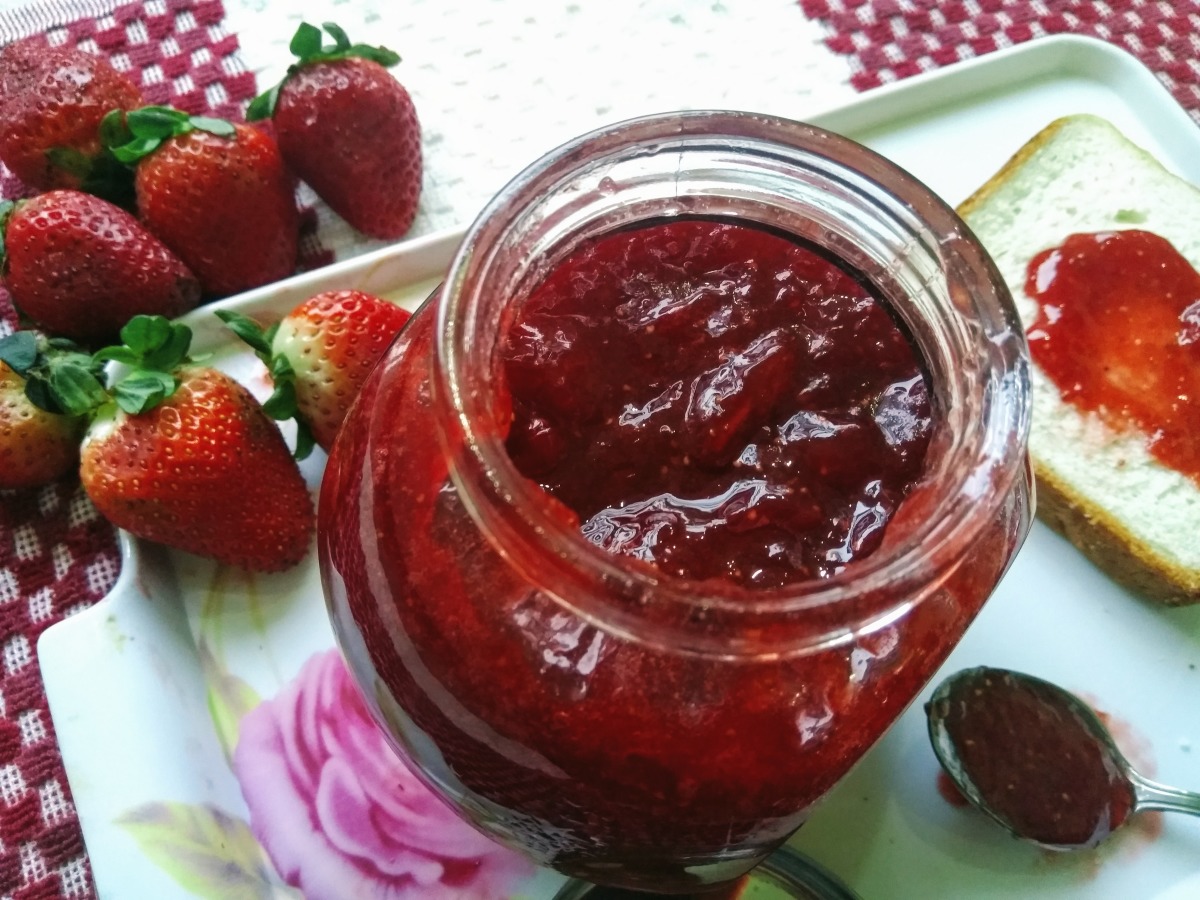
Here are our top 6 tried and tested recipes!
STRAWBERRY JAM

Provided by Ree Drummond : Food Network
Categories condiment
Time P1DT1h10m
Yield Eight 8-ounce jars of jam
Number Of Ingredients 4
Steps:
- Place the mason jars in a large hot water bath canner (or pot). Cover with water and bring to a simmer. Simmer the center lids in separate saucepan full of water.
- Place the mashed strawberries and lemon juice in a separate pot. Stir in the pectin until dissolved. Bring the strawberries to a strong boil.
- Add the sugar (measure beforehand so you can add it all at once), and then return the mixture to a full (violent) boil that can't be stirred down. Boil hard for 1 minute 15 seconds. Skim foam off the top.
- Remove one jar at a time from the simmering water. Pour water back into the pot. Using a wide-mouth funnel, fill each jar with jam, being careful to keep the liquid/fruit ratio consistent. Fill the jars so that they have 1/4-inch of space at the top. Run a knife down the side of the jar to get rid of air bubbles. Wipe the rim of the jar with a wet cloth to remove any residue or stickiness.
- Remove the center lid from the simmering water and position it on top. Put screw bands on jars, but do not over tighten! Repeat with all the jars, and then place the jars on a canning rack and lower into the water. Place the lid on the canner, and then bring the water to a full boil. Boil hard for 10 to 12 minutes.
- Turn off the heat and allow the jars to remain in the hot water for an addition 5 minutes. Remove the jars from the water using a jar lifter, and allow them to sit undisturbed for 24 hours.
- After 24 hours, remove the screw bands and check the seal of the jars. The center lids should have no give whatsoever. If any seals are compromised, store those jars in the fridge. Otherwise, fill your pantry with your newly canned goodness.
STRAWBERRY JAM
This is by far the easiest recipe I have found for strawberry jam without using a pectin. The jam is soft, spreadable and delicious.
Provided by Katharine
Categories Side Dish Sauces and Condiments Recipes Canning and Preserving Recipes Jams and Jellies Recipes
Time 40m
Yield 40
Number Of Ingredients 3
Steps:
- In a wide bowl, crush strawberries in batches until you have 4 cups of mashed berry. In a heavy bottomed saucepan, mix together the strawberries, sugar, and lemon juice. Stir over low heat until the sugar is dissolved. Increase heat to high, and bring the mixture to a full rolling boil. Boil, stirring often, until the mixture reaches 220 degrees F (105 degrees C). Transfer to hot sterile jars, leaving 1/4 to 1/2 inch headspace, and seal. Process in a water bath. If the jam is going to be eaten right away, don't bother with processing, and just refrigerate.
Nutrition Facts : Calories 85 calories, Carbohydrate 21.9 g, Fat 0.1 g, Fiber 0.5 g, Protein 0.2 g, Sodium 0.2 mg, Sugar 21.1 g
FRESH STRAWBERRY JAM
Provided by Ina Garten
Time 30m
Yield 2 pints
Number Of Ingredients 3
Steps:
- Combine the sugar, lemon zest, and lemon juice in a small saucepan and cook over very low heat for 10 minutes, until the sugar is dissolved. Add the strawberries and continue to cook over very low heat for 20 minutes, until the strawberries release some of their juices and the mixture boils slowly. Cook until a small amount of the juice gels on a very cold plate. (I keep one in the freezer.) Pour carefully into 2 pint canning jars and either seal or keep refrigerated. Use immediately, or follow proper canning guidelines below.
- Sterilizing Tips:
- Jars should be made from glass and free of any chips or cracks. Preserving or canning jars are topped with a glass, plastic, or metal lid, which has a rubber seal. Two piece lids are best for canning, as they vacuum seal when processed.
- To sterilize jars, before filling with jams, pickles, or preserves, wash jars and lids with hot, soapy water. Rinse well and arrange jars and lids open sides up, without touching, on a tray. Leave in a preheated 175 degree F oven for 25 minutes. Or, boil the jars and lids in a large saucepan, covered with water, for 15 minutes.
- Use tongs when handling the hot sterilized jars, to move them from either boiling water or the oven. Be sure the tongs are sterilized too, by dipping the ends in boiling water for a few minutes.
- As a rule, hot preserves go into hot jars and cold preserves go into cold jars. All items used in the process of making jams, jellies, and preserves must be clean. This includes any towels used, and especially your hands.
- After the jars are sterilized, you can preserve the food. It is important to follow any canning and processing instructions included in the recipe and refer to USDA guidelines about the sterilization of canned products.
STRAWBERRY FREEZER JAM
This strawberry freezer jelly is quick, easy and delicious on toast, ice cream or even in milkshakes! Keep jars of this in the freezer and take them out when you are ready to use them. Once thawed, they will last approximately 1 month in the refrigerator. If it lasts that long!
Provided by JORDAN76
Categories Side Dish Sauces and Condiments Recipes Canning and Preserving Recipes Jams and Jellies Recipes
Time 25m
Yield 80
Number Of Ingredients 4
Steps:
- Mix crushed strawberries with sugar, and let stand for 10 minutes. Meanwhile, stir the pectin into the water in a small saucepan. Bring to a boil over medium-high heat, and boil for 1 minute. Stir the boiling water into the strawberries. Allow to stand for 3 minutes before pouring into jars or other storage containers.
- Place tops on the containers, and leave for 24 hours. Place into freezer, and store frozen until ready to use.
Nutrition Facts : Calories 40.6 calories, Carbohydrate 10.4 g, Fiber 0.1 g, Sodium 0.1 mg, Sugar 10.3 g
BEST-EVER STRAWBERRY JAM
Hi, Today's recipe is strawberry jam. It's very easy to prepare strawberry jam, you need just three ingredients, but you need to have a lot of patience until till the jam is done
Provided by shilpa j.
Categories Breakfast
Time 3h15m
Yield 10 serving(s)
Number Of Ingredients 3
Steps:
- 1.Cut all the strawberries and put them into a pan.
- 2. Now squeeze 1/2 lemon on strawberries.
- 3. Add sugar until all the strawberries are completely covered in sugar.
- 4. Now mix well and keep it aside for 2hrs. After 2 hrs you will see that sugar is dissolved.
- 5. Now cook these strawberries on Low flame until it's thick and starts to leave the sides of the pan. Keep stirring for every 5mins.To check whether the jam is ready or not, put a drop of jam on a plate ( keep this plate in the freezer for 10 mins) and see whether the jam flows down or not. If the jam does not flow then it's ready ��.
- In order to get more clarity, check out my youtube video. Please subscribe to my youtube channel as well.
- https://youtu.be/MIcBgk5tGZ0?sub_confirmation=1.
- Thank you for reading.
Nutrition Facts : Calories 5.4, Fat 0.1, Sodium 0.4, Carbohydrate 1.7, Fiber 0.5, Sugar 0.5, Protein 0.2
STRAWBERRY JAM
James Martin's step-by-step guide to making homemade preserve - the resulting jars are ideal for gift hampers
Provided by James Martin
Categories Afternoon tea, Condiment
Time 1h
Yield Makes 3-4 jars
Number Of Ingredients 4
Steps:
- Prepare the strawberries by wiping them with a piece of damp kitchen paper. (Wiping the strawberries rather than washing them ensures the fruit doesn't absorb lots of water - too much water and the jam won't set easily.) To hull the fruit, use a knife to cut a cone shape into the strawberry and remove the stem. Cut any large berries in half.
- Put the strawberries in a bowl and gently toss through the sugar. Leave uncovered at room temperature for 12 hrs or overnight. This process helps the sugar to dissolve, ensures the fruit doesn't disintegrate too much and helps to keep its vibrant colour.
- Before starting the jam, put 2 saucers in the freezer. Tip the strawberry mixture into a preserving pan with the lemon juice. Set over a low heat and cook very gently. If any sugar remains on the sides of the pan, dip a pastry brush in hot water and brush the sugar away.
- When you can no longer feel any grains of sugar remaining, turn up the heat to start bubbling the jam and bringing it to the boil. (The sugar must be completely dissolved before increasing the heat, otherwise it will be difficult for the jam to set, and it may contain crystallised lumps of sugar.)
- Boil hard for 5-10 mins until the jam has reached 105C on a preserving or digital thermometer, then turn off the heat. If you don't have a thermometer, spoon a little jam onto one of the cold saucers. Leave for 30 secs, then push with your finger; if the jam wrinkles and doesn't flood to fill the gap, it is ready. If not, turn the heat back on and boil for 2 mins more, then turn off the heat and do the wrinkle test again. Repeat until ready.
- Use a spoon to skim any scum that has risen to the surface and discard this. Do this only once at the end, rather than constantly during the boiling stage, to reduce wastage.
- Add a knob of butter, if you like, to the finished jam, and stir in to melt. This will help to dissolve any remaining scum that you haven't managed to spoon off the top. Leave the jam to settle for 15 mins - this will ensure that the fruit stays suspended in the mixture and doesn't all float to the top of the jam jar. Meanwhile, sterilise your jars.
- Ladle into warm jars, filling to just below the rim. Place a wax disc on top of the jam (this prevents mildew forming), then cover with a lid or a cellophane circle and elastic band. Pop on a label (include the date), plus a pretty fabric top, if you like. The jam can be stored for up to 1 year in a cool, dry place. Refrigerate after opening.
Nutrition Facts : Calories 35 calories, Carbohydrate 9 grams carbohydrates, Sugar 9 grams sugar
Tips:
- Choose ripe and juicy strawberries for the best flavor.
- Use a large pot or Dutch oven to make sure the jam has enough room to bubble and thicken.
- Stir the jam frequently to prevent it from sticking to the bottom of the pot and burning.
- Use a candy thermometer to monitor the temperature of the jam. It should reach 220 degrees Fahrenheit (105 degrees Celsius) for a thick consistency.
- Remove the jam from the heat and let it cool slightly before transferring it to jars.
- Seal the jars tightly and process them in a boiling water bath for 10 minutes to ensure they are properly sealed.
Conclusion:
Making homemade strawberry jam is a delicious and rewarding experience. With a little time and effort, you can create a batch of jam that is perfect for spreading on toast, topping pancakes or waffles, or using as a filling in pies and pastries. And with the tips and instructions provided in this recipe, you can be sure that your jam will turn out perfectly every time.
Are you curently on diet or you just want to control your food's nutritions, ingredients? We will help you find recipes by cooking method, nutrition, ingredients...
Check it out »
You'll also love