Best 3 Anniversary Cheesecake Recipes


**Indulge in a Culinary Symphony: Celebrate Special Occasions with a Decadent Anniversary Cheesecake**
Mark those special milestones with a taste of pure bliss - the Anniversary Cheesecake. This luscious dessert is a symphony of flavors and textures, guaranteed to leave a lasting impression on your loved ones. This delectable treat combines a creamy, velvety cheesecake filling nestled on a graham cracker crust, adorned with a vibrant array of fruits, nuts, and chocolate. Impress your guests with the classic New York-Style Cheesecake, or surprise them with the tangy burst of Lemon Cheesecake. Whichever recipe you choose, this Anniversary Cheesecake is sure to steal the spotlight and make your celebration truly unforgettable.
TRADITIONAL CHEESECAKE
Our Test Kitchen shares this recipe for a basic cheesecake that tastes great alone or with any number of garnishes. Try serving it with Raspberry Sauce and Sour Cream Topping.
Provided by Taste of Home
Categories Desserts
Time 1h15m
Yield 12 servings.
Number Of Ingredients 10
Steps:
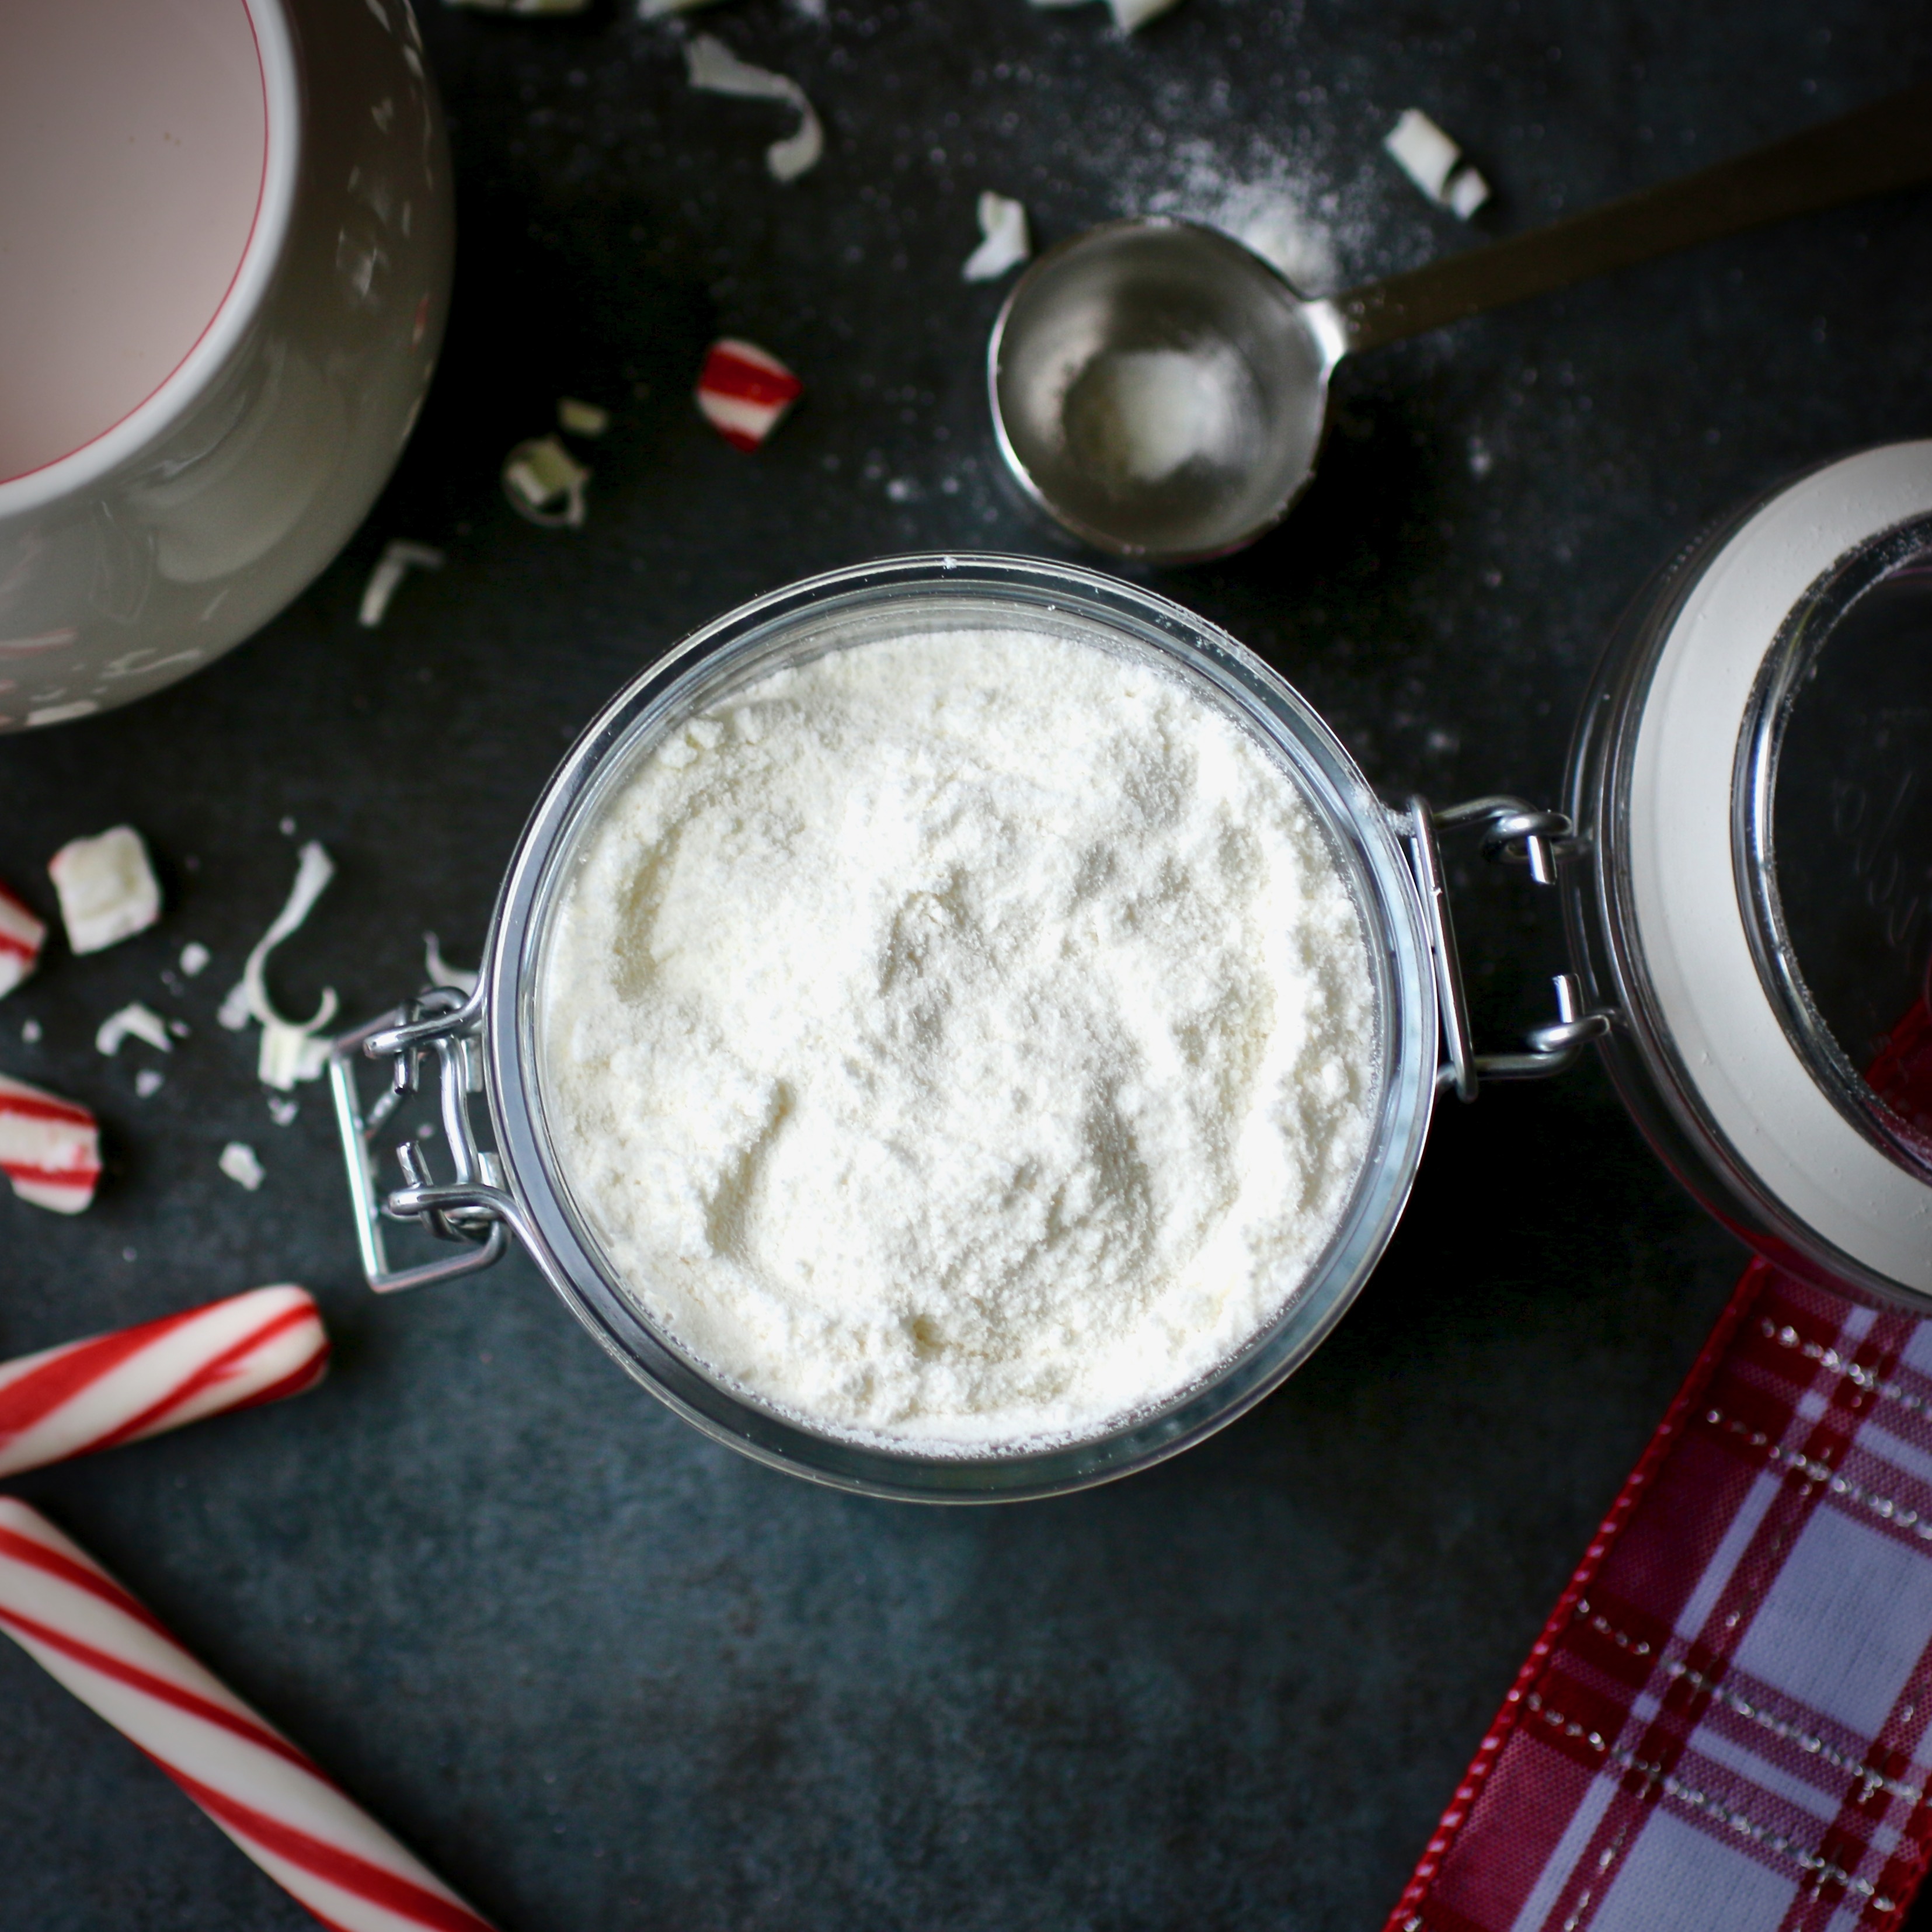
- In a small bowl, combine cracker crumbs and sugar; cut in butter until crumbly. Grease the sides only of a 9-in. springform pan; press crumb mixture onto bottom of pan. Place on a baking sheet. Bake at 350° for 10 minutes. Cool on a wire rack., In a large bowl, beat cream cheese and sugar until smooth. Beat in lemon juice and vanilla. Add eggs; beat on low speed just until combined. Pour filling onto crust. Return pan to baking sheet. , Bake at 350° for 45-55 minutes or until center is almost set. Cool on a wire rack for 10 minutes. Carefully run a knife around edge of pan to loosen; cool 1 hour longer., Refrigerate overnight. Serve with Raspberry Sauce and Sour Cream Topping if desired. Refrigerate leftovers.
Nutrition Facts : Calories 424 calories, Fat 31g fat (19g saturated fat), Cholesterol 144mg cholesterol, Sodium 311mg sodium, Carbohydrate 30g carbohydrate (24g sugars, Fiber 0 fiber), Protein 8g protein.
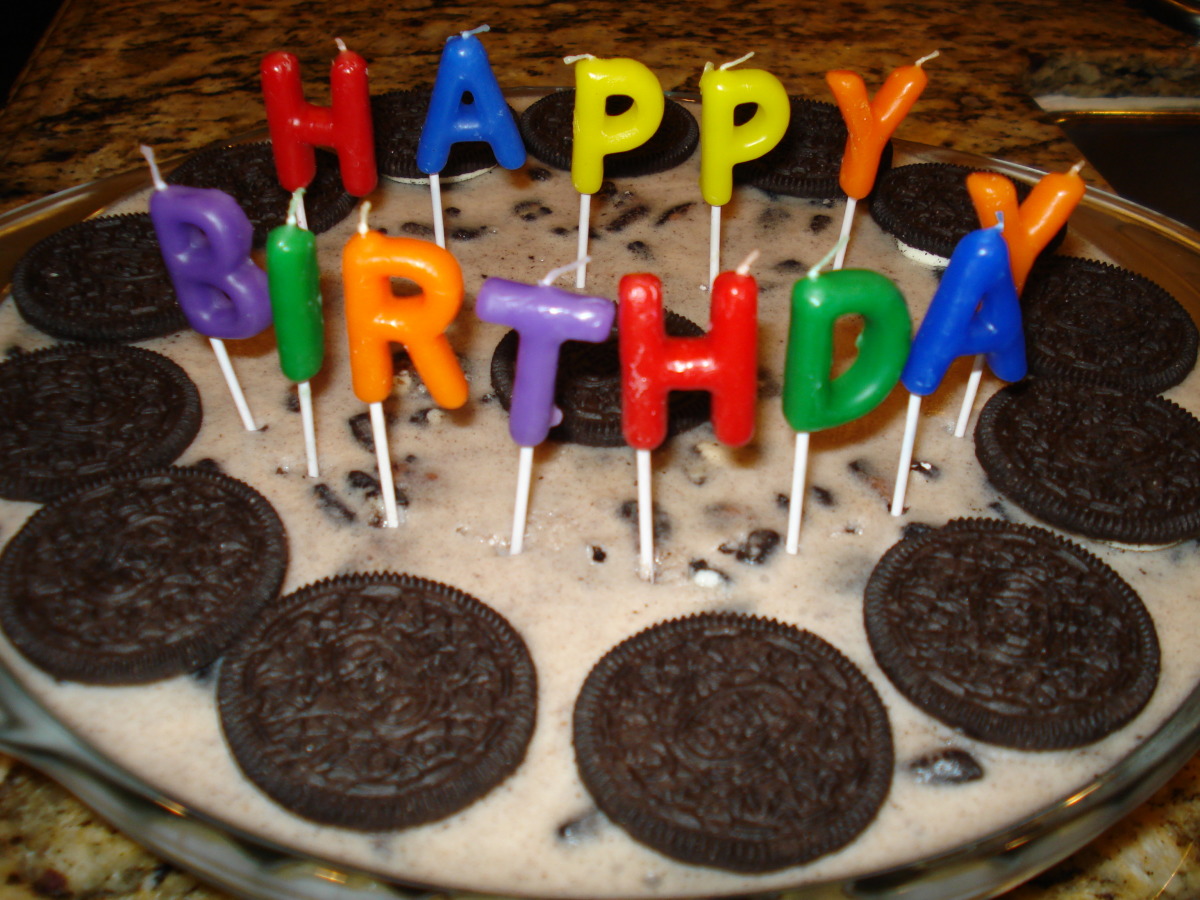
ANNIVERSARY CAKE
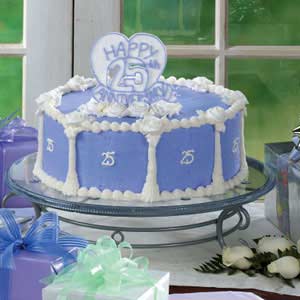
You can make this lovely anniversary cake, even if you're not celebrating a milestone! Flavor the cake as you wish, and if possible, tint the frosting to match the wedding colors. -Taste of Home Test Kitchen, Milwaukee, Wisconsin
Provided by Taste of Home
Categories Desserts
Time 1h50m
Yield 25-30 servings.
Number Of Ingredients 31
Steps:
- In a bowl, combine the confectioners' sugar, 1/3 cup water, meringue powder and cream of tartar; beat on low speed just until combined. Beat on high for 7-10 minutes or until stiff peaks form. (Keep icing covered at all times with a damp cloth to keep from drying out. If necessary to restore texture later, beat again on high speed. Prepare only half of the icing recipe if using store-bought candy roses or edible flowers to decorate.), ROSES: Divide icing in half; set half aside. If using store-bought roses, refer to photo for position and attach roses to top of cake using a dab of icing. If making icing roses, cut a hole in the corner of pastry or plastic bag; insert round tip # 12 and fill with remaining icing. Holding the bag straight up, pipe a dome-shaped mound or icing on the flower nail., With petal tip #103 and icing, hold pastry bag with narrow end farther away from the rose tip and turning the nail, pipe a row of three standing petals. Pipe a second row of petals, holding the narrow tip end at a greater angle. Repeat for a third row., Gently slide scissor ends underneath rose and remove it from nail to waxed paper; let dry completely. Repeat with remaining icing to make 20-22 roses. (Flowers can be made several weeks in advance and stored in an airtight container.), NUMERALS AND CAKE TOPPER: Set aside 1/2 cup of reserved icing. With round tip #4 and remaining reserved icing, pipe at least ten 3/4-in.-square "25"s, making sure to connect the two and five at the base of each., For cake topper, place pattern of your choice under waxed paper; tape both to work surface. Completely outline edges; let dry for 10 minutes. To reserved 1/2 cup icing, stir in remaining 2-3 teaspoons water to thin. Fill in outline of cake topper with thinned icing, using the same tip. Let dry completely, thin place in an airtight container to store before use., CAKE: Line two greased 12-in. round baking pans with parchment or waxed paper; grease and flour paper and set aside. In a bowl, cream shortening and sugar. Add eggs, one at a time, beating well after each. Combine the flour, baking powder and salt; add to the creamed mixture alternately with the milk. Stir in additional cake ingredients based on the desired cake flavor. Pour into prepared pans. Bake at 350° for 50-55 minutes or until a toothpick inserted in the center comes out clean. Cool for 10 minutes before removing from pans to wire racks to cool completely., FROSTING: In a large bowl, cream the butter, shortening and confectioners' sugar until well combined. Beat in milk, vanilla and salt until mixture becomes light and fluffy., ASSEMBLING: Split each cooled cake into two horizontal layers. Place bottom layer on serving plate; spread with a thin layer of frosting. Top with 3/4 cup filling of your choice. Spread a thin later of frosting over the bottom of next layer; place cake, frosted side down, over filling. Repeat layers twice. Top with remaining cake layer., Set aside 3 cups frosting. Tint remaining frosting with color of your choice; set aside 1/2 cup. Spread remaining tinted frosting over top and sides of cake. Place reserved tinted frosting in a pastry or plastic bag with round tip #4. Pipe lettering and outlines over cake topper. Let dry., FINISHING: Place reserved white frosting in a pastry bag with star tip #21. Pipe eight vertical columns around sides of cake. With the same tip, pipe a shell border around top and bottom of cake., Just before serving, use small dabs of frosting to attach numerals between columns and roses at top of columns. Stand cake topper up in center of cake; continue to hold while piping two large dollops of frosting on either side of cake topper. Using leaf tip #69, pipe leaves around cluster of roses. (Dried decorations will collapse upon refrigeration. Remove to save.)
Nutrition Facts :
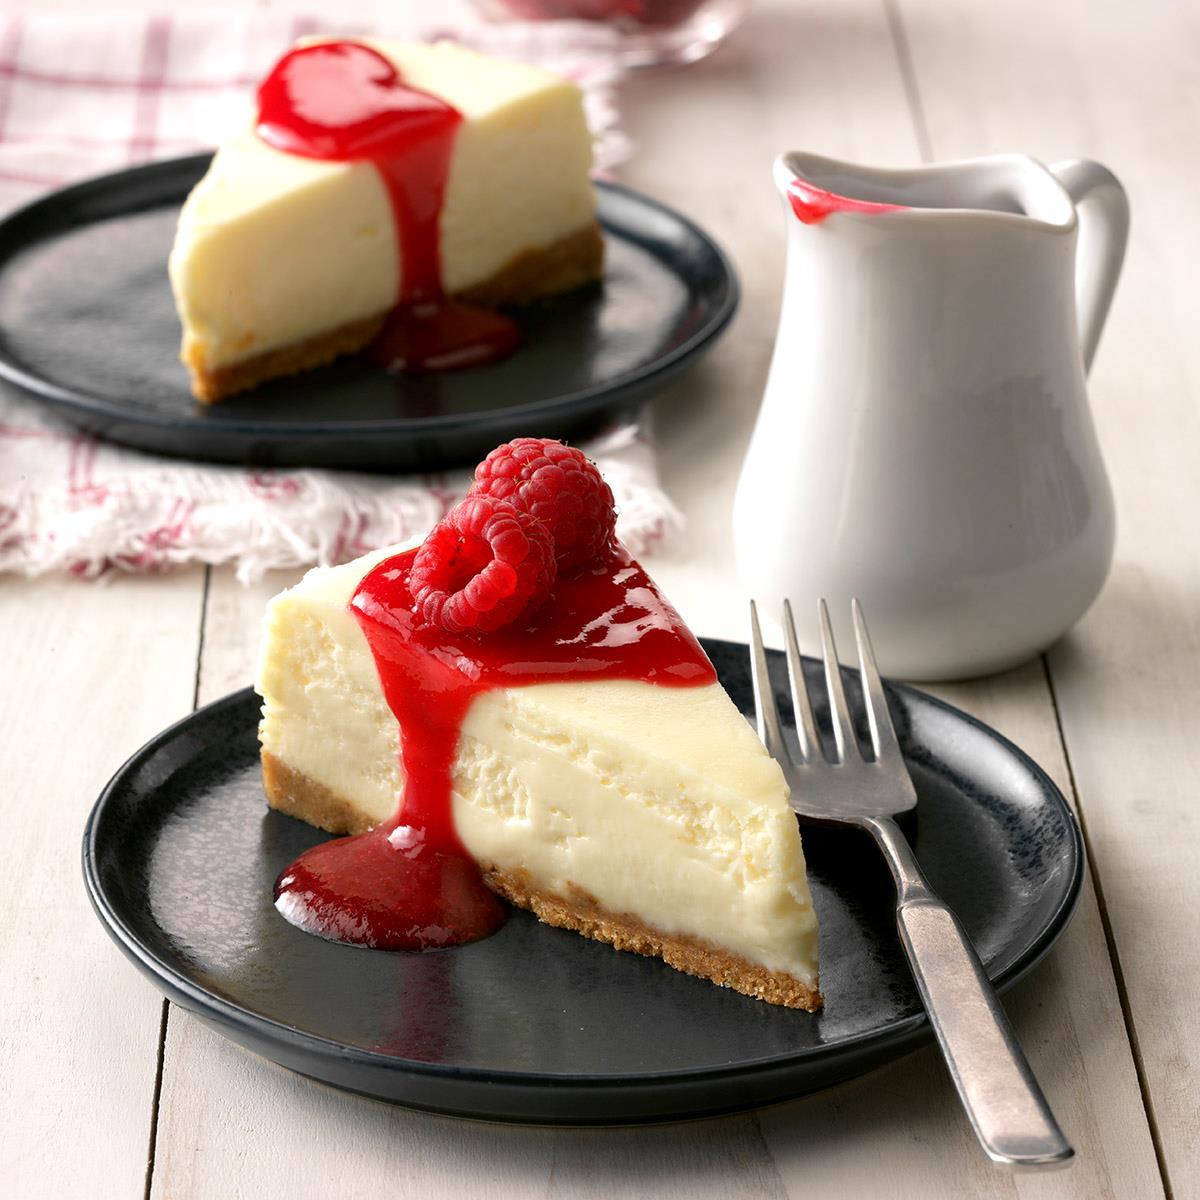
CLASSIC NEW YORK CHEESECAKE
With this recipe, a creamy, gorgeous, crack-free New York-style cheesecake is totally doable, even for beginners!
Provided by Jennifer Segal
Categories Desserts
Time 2h25m
Yield 8 to 10
Number Of Ingredients 15
Steps:
- Preheat the oven to 375°F and set an oven rack in the lower middle position. Wrap a 9- or 10-inch springform pan with one large piece of heavy-duty aluminum foil, covering the underside and extending all the way to the top so there are no seams on the bottom or sides of the pan. Repeat with another sheet of foil for insurance. Spray the inside of the pan with nonstick cooking spray.
- Make the crust: In a medium bowl, combine the graham cracker crumbs, melted butter, sugar, and salt. Stir until well combined. Press the crumbs into an even layer on the the bottom of the prepared pan. Bake the crust for 10 minutes, until set. Remove the pan from the oven and set aside.
- Reduce the oven temperature to 325°F. Set a kettle of water to boil.
- Make the batter: In the bowl of an electric mixer fitted with the paddle attachment or beaters, beat the cream cheese, sugar, and flour together on medium speed until just smooth, about 1 minute. Scrape the bottom and sides of the bowl to be sure the mixture is evenly combined. Add the vanilla, lemon zest, lemon juice, and salt; beat on low speed until just combined. Add the eggs, one at a time, mixing on low speed until incorporated, scraping the bowl as necessary. Mix in the sour cream. Make sure the batter is uniform but do not over-mix.
- Check to make sure your oven has cooled to 325°F, then set the cheesecake pan in a large roasting pan. Pour the batter on top of the crust. Pour the boiling water into the large roasting pan to come about 1 inch up the side of the cake pan. Bake until the cake is just set, 1 hour and 30 minutes to 1 hour and 45 minutes. (If the cheesecake starts to look too golden on top towards the end, cover it loosely with foil.) The cake should not look liquidy at all but will wobble just a bit when the pan is nudged; it will continue to cook as it cools. Carefully remove the roasting pan from the oven and set it on a wire rack. Cool the cheesecake in the water bath until the water is just warm, about 45 minutes. Remove the springform pan from the water bath and discard the foil. If necessary, run a thin-bladed knife around the edge of the cake to make sure it's not sticking to the sides (which can cause cracks as it cools), then cover with plastic wrap and transfer to the refrigerator to cool for at least 8 hours or overnight.
- For serving: Remove the sides of the springform pan. Serve the cheesecake right from the base of the pan; or, to transfer it to a serving platter, run a long, thin spatula between the crust and the pan bottom, and then use two large spatulas to carefully transfer the cheesecake to a serving dish. Slice with a sharp knife, wiping the knife clean between slices. Serve with berry sauce, if you like.
- Make Ahead: The cheesecake can be made and stored in the springform pan in the fridge, tightly covered with plastic wrap, up to two days ahead of time.
- Freezer-Friendly Instructions: The cheesecake can be frozen for up to 3 months. To freeze, place the cake in the freezer briefly, unwrapped, to firm it up. Then double-wrap it tightly with aluminum foil or plastic freezer wrap, or place it in heavy-duty freezer bag. Thaw in the refrigerator the night before you plan to eat it.
- Pro Tip: Springform pans are notorious for leaking. Since a cheesecake bakes in a water bath, the foil prevents the water from seeping in during baking. Please do not attempt to use standard 12-inch (30cm) aluminum foil - you can't have any foil seams on the bottom or sides of the pan. No matter how well (or how many times) you wrap the pan, if there are seams exposed to the water, the water will find a way in. Even when wrapped properly, you can occasionally get some condensation inside the foil. If this happens, don't worry - the crust is likely just a bit moist around the edges. Simply remove the sides of the springform pan before refrigerating and let it dry out in the refrigerator.
Nutrition Facts : ServingSize 1 slice, Calories 659, Fat 43 g, Carbohydrate 59 g, Protein 11 g, SaturatedFat 24 g, Sugar 49 g, Fiber 1 g, Sodium 464 mg, Cholesterol 233 mg
Tips:
- Use high-quality ingredients to ensure the best flavor and texture for your cheesecake.
- Make sure all ingredients are at room temperature before mixing to ensure even incorporation.
- Do not overmix the batter, as this can result in a dense cheesecake.
- Bake the cheesecake in a water bath to prevent cracking and ensure even cooking.
- Chill the cheesecake for at least 4 hours, or overnight, to allow the flavors to develop and the texture to firm up.
- Decorate the cheesecake with fresh fruits, whipped cream, or a drizzle of chocolate sauce before serving.
Conclusion:
With careful preparation and attention to detail, you can create a delicious and stunning anniversary cheesecake that will be the perfect way to celebrate your special day. Whether you choose a classic New York-style cheesecake, a decadent chocolate cheesecake, or a light and airy mousse cheesecake, there's a recipe in this article to suit your taste and skill level. So gather your ingredients, preheat your oven, and get ready to create a memorable anniversary cheesecake that you and your loved ones will cherish for years to come.
Are you curently on diet or you just want to control your food's nutritions, ingredients? We will help you find recipes by cooking method, nutrition, ingredients...
Check it out »
You'll also love