Best 2 4 Qt Pressure Cooker Recipes


**Explore the World of Pressure Cooking with our 4-Quart Pressure Cooker Recipes**
Delve into the realm of quick and effortless cooking with our comprehensive guide to mastering the 4-quart pressure cooker. Unlock the secrets of tender meats, fluffy rice, hearty stews, and delectable desserts, all within the confines of this compact kitchen神器. Discover a treasure trove of recipes carefully curated to showcase the versatility and convenience of pressure cooking. Embark on a culinary journey that will revolutionize your meal preparation routine, saving you time and energy without compromising on taste. From classic dishes like fall-off-the-bone ribs and chicken teriyaki to innovative creations such as creamy risotto and cheesecake, our 4-quart pressure cooker recipes cater to every palate and skill level. Prepare to transform your kitchen into a haven of culinary efficiency and indulge in a symphony of flavors with every bite.
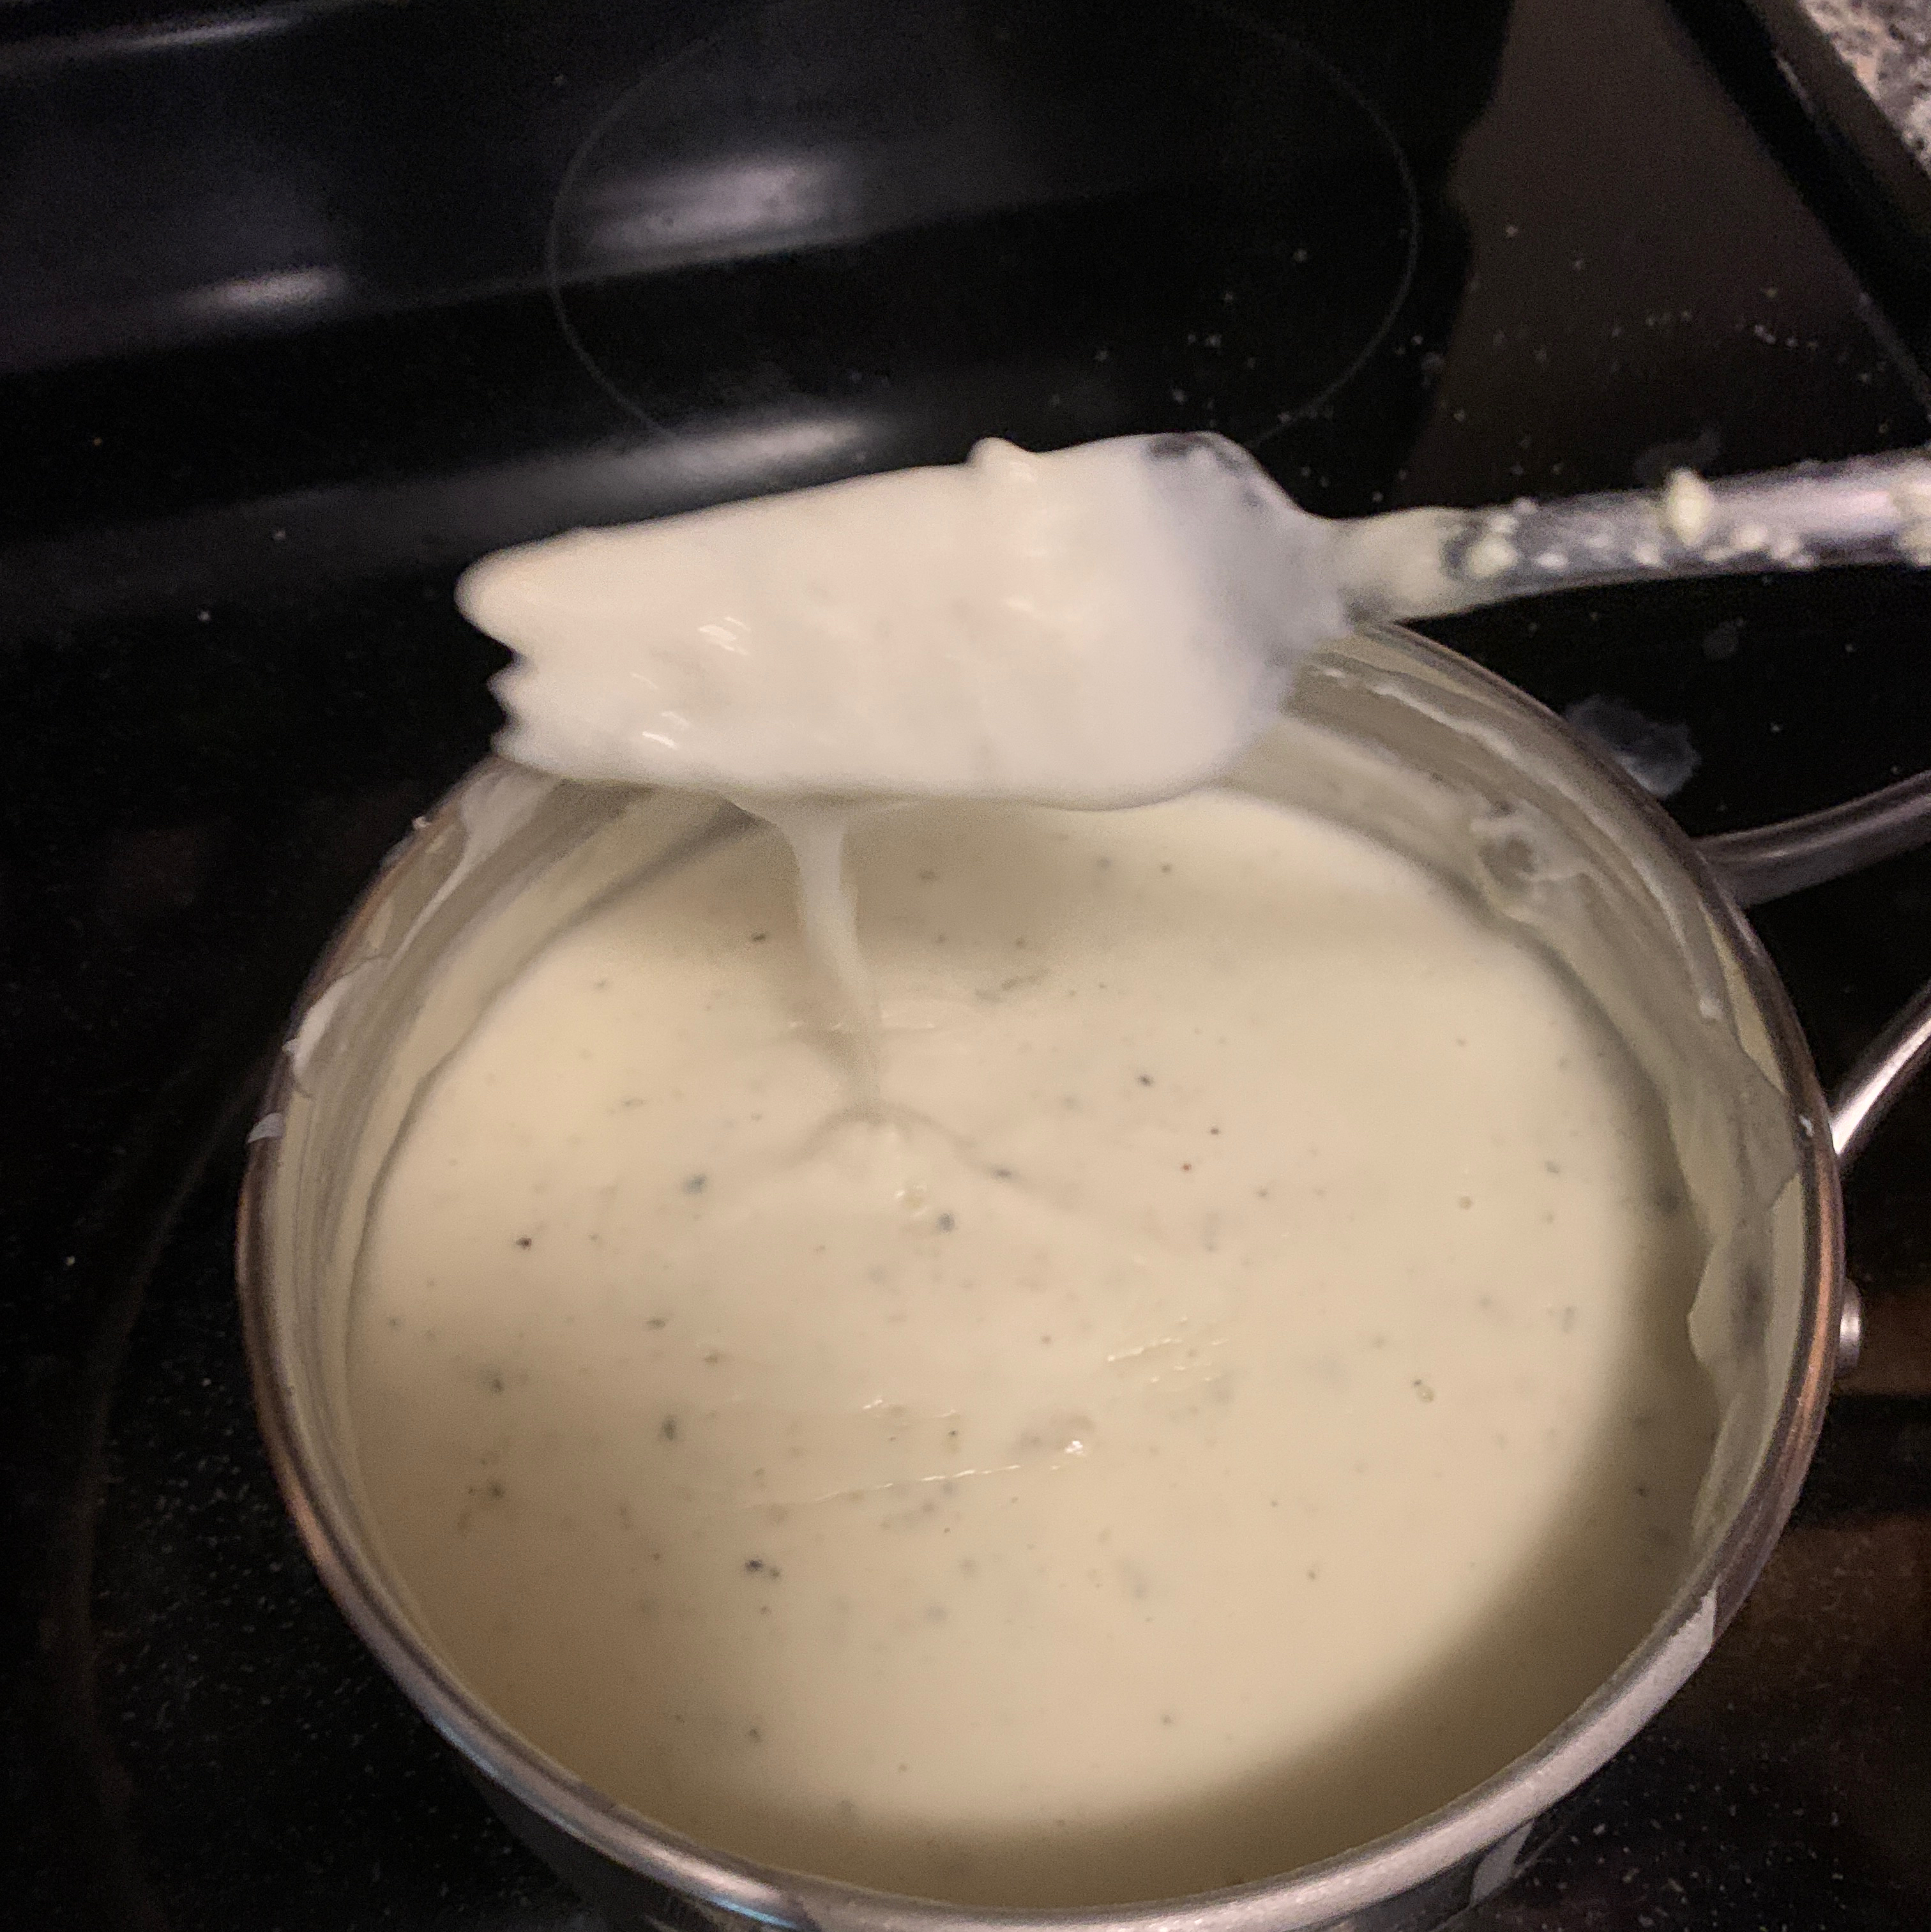
SIMPLE GARLIC MASHED POTATOES - 4-QT. PRESSURE COOKER

Entered for safe-keeping, from Kuhn Rikon's "Quick Cuisine. If you want a more robust garlic flavor, roast one head of garlic, drizzled with olive oil and wrapped with foil, in a 350-degree-F oven for 45 minutes. Use a potato ricer, food mill or potato masher, or even a fork to mash, but do not use a food processor, as the potatoes will become "gluey". The smallest size pressure cooker K-R recommends for this recipe is 4-quarts. The benefit of the p.c. is getting steamed potatoes, keeping more of the nutrients than if you boiled or microwaved the potatoes. Of course, you can gussy up these mashed potatoes to your heart's content. Yukon Gold, or other waxy potatoes recommended for boiling, do not absorb as much water and result in a more flavorful end product, but can be difficult to obtain a really smooth texture without turning them to glue (but they're great for "lumpy" mashed potatoes). Idaho and russet potatoes have a mealier texture that lends to a smoother texture, if that is desired. (It's a waste of money to use new potatoes for this recipe.) This recipe was developed for a 15 psi p.c. As always, check your p.c. manual for its suggested cooking time. Do not use a quick release method for potatoes.
Provided by KateL
Categories Mashed Potatoes
Time 18m
Yield 6-8 serving(s)
Number Of Ingredients 7
Steps:
- Place a trivet in the bottom of a 4-quart or larger pressure cooker. Add water and potatoes.
- Secure lid and over high heat reach high pressure. Adjust heat to stabilize pressure. Time from moment high pressure has been reached, cooking for 8-10 minutes. (Check at 8 minutes; if not done, recover and bring up to pressure for additional time.).
- Remove from heat and allow pressure to drop naturally, per your p.c. manual.
- Drain potatoes into a colander and let stand for a minute to dry excess moisture.
- Put potatoes through a potato ricer, food mill, or mash with a potato masher and transfer to a warmed serving dish.
- Add warmed milk, 1/4 cup at a time, while beating, until the potatoes are creamy.
- Add garlic and butter and beat until blended.
- Season with salt and pepper to taste.
Nutrition Facts : Calories 315.4, Fat 8.7, SaturatedFat 5.4, Cholesterol 23.2, Sodium 96.7, Carbohydrate 54.2, Fiber 6.7, Sugar 2.4, Protein 6.9
LEMON DRIZZLE PUDDING - 4-QT. PRESSURE COOKER
Entered for safe-keeping, adapted from Gina Steer's "The Pressure Cooker Cookbook. Superfine sugar is not the same as powdered sugar or confectioners sugar. If you can't find superfine sugar, you can process granulated sugar for 1 minute in a food processor to get fine sugar crystals.
Provided by KateL
Categories Dessert
Time 23m
Yield 6 serving(s)
Number Of Ingredients 14
Steps:
- Lightly oil a 6-1/2 cup ovenproof dish.
- Cream butter with 1/4 cup of the superfine sugar until light and fluffy. Gradually beat in the eggs, one at a time, adding 2 teaspoons of flour with each addition.
- Stir in 1 tablespoon lemon zest with the remaining flour, the ground almonds and baking powder. Spoon into the prepared dish.
- In a small bowl, mix the remaining sugar, 1 tablespoon lemon zest and 4 tablespoons lemon juice with 1 1/4 cups boiling water. Pour into prepared dish.
- Cover prepared dish with aluminum foil and secure around dish. Also make 2 long aluminum foil "handles" by folding aluminum foil into long strips.
- Place the trivet in the pressure cooker so the prepared dish will not sit on the bottom, allowing room for liquid to heat underneath. Add the 2 tablespoons lemon juice to the pot. Set the aluminum foil handles in place on top of the trivet, crossing each other at a 90-degree angle (as if about to wrap a present with ribbon).
- Set prepared dish on top of the middle of the "handles" in the cooker, on top of the trivet. For each handle, complete the loop, pressing together the ends of the aluminum foil.
- Pour the remaining 4 cups boiling water between the side of the prepared pan and the edge of the cooker wall.
- Secure the lid. DO NOT TURN ON HEAT YET. Allow to presteam for 15 minutes from the boiling water in the pot.
- Bring pot up to 10 psi or low pressure, and adjust heat to maintain low pressure. From moment that low pressure was reached, cook for 10 minutes.
- Remove from heat. Allow to depressurize naturally until steam vent has sunk.
- Remove lid. Serve pudding in bowls and sprinkle with confectioners sugar.
Nutrition Facts : Calories 343.2, Fat 17.8, SaturatedFat 10.3, Cholesterol 95.2, Sodium 192.3, Carbohydrate 44.4, Fiber 0.8, Sugar 35.2, Protein 3.5
Tips:
Conclusion:
Mastering the art of pressure cooking with a 4-qt model opens up a world of culinary possibilities. From quick and effortless meals to tender and flavorful dishes, this versatile kitchen tool can transform your cooking routine. Remember to follow safety guidelines, choose the right ingredients, cook with precision, and experiment with various recipes to unlock the full potential of your 4-qt pressure cooker. Embrace the convenience, efficiency, and culinary creativity that this amazing appliance brings to your kitchen!
Are you curently on diet or you just want to control your food's nutritions, ingredients? We will help you find recipes by cooking method, nutrition, ingredients...
Check it out »
You'll also love